
Choosing braces colors sounds simple until you’re suddenly staring at a color wheel like it’s a final exam in Smile Engineering. Do you go bold? Stay subtle? Pick a shade that makes your teeth look brighter? Avoid the one that makes your lunch look like it never left? The good news is that choosing the color of your braces does not have to be a high-stakes fashion crisis.
For most people with traditional braces, the color comes from the tiny elastic ties around the brackets, not the brackets themselves. That means your choice is personal, flexible, and refreshingly low-risk. If you hate it, you are not stuck forever. At your next adjustment appointment, you can switch it up and pretend the previous choice was all part of your experimental era.
This guide breaks the process into 14 practical steps so you can pick braces colors that suit your teeth, your style, your schedule, and your sanity. Whether you want a polished look for work, fun bands for school, or colors that make your smile look a little brighter in photos, these tips will help you choose wisely.
Step 1: Know What You’re Actually Choosing
Before you fall in love with a shade called “electric grape” or “midnight ocean,” know what part of your braces is getting the color. In most traditional braces, the color comes from small elastic ligatures, sometimes called ties or bands, that hold the wire to the brackets.
That matters because these ties are changed during adjustment visits. In other words, you are not committing to “neon green forever.” You are committing to it for a few weeks, which is a very different level of responsibility.
Step 2: Decide Whether You Want Your Braces to Stand Out or Blend In
The smartest starting point is not a color. It is a vibe.
Ask yourself one simple question: do you want your braces to be noticeable or more discreet? If you like the idea of turning your smile into an accessory, brighter colors can be fun and expressive. If you would rather keep things understated, silver, gray, navy, or other muted tones usually feel calmer and more polished.
This is especially helpful for adults balancing braces with work meetings, interviews, presentations, or formal events. On the other hand, kids and teens often enjoy making braces feel playful instead of purely clinical. Neither approach is better. Your braces are on your face, not on a committee.
Step 3: Use Contrast If You Want Your Teeth to Look Whiter
One of the best-known braces color tricks is contrast. Darker cool-toned shades such as navy blue, deep purple, and sometimes charcoal or silver can make teeth appear whiter by comparison.
If your goal is “I would like my smile to look brighter without becoming a toothpaste commercial,” this is usually the most reliable strategy. Deep blue and purple are especially popular because they feel stylish without being too loud, and they often work well across age groups.
Silver can also be a solid pick if you want a clean, neutral effect that does not compete with your natural tooth color.
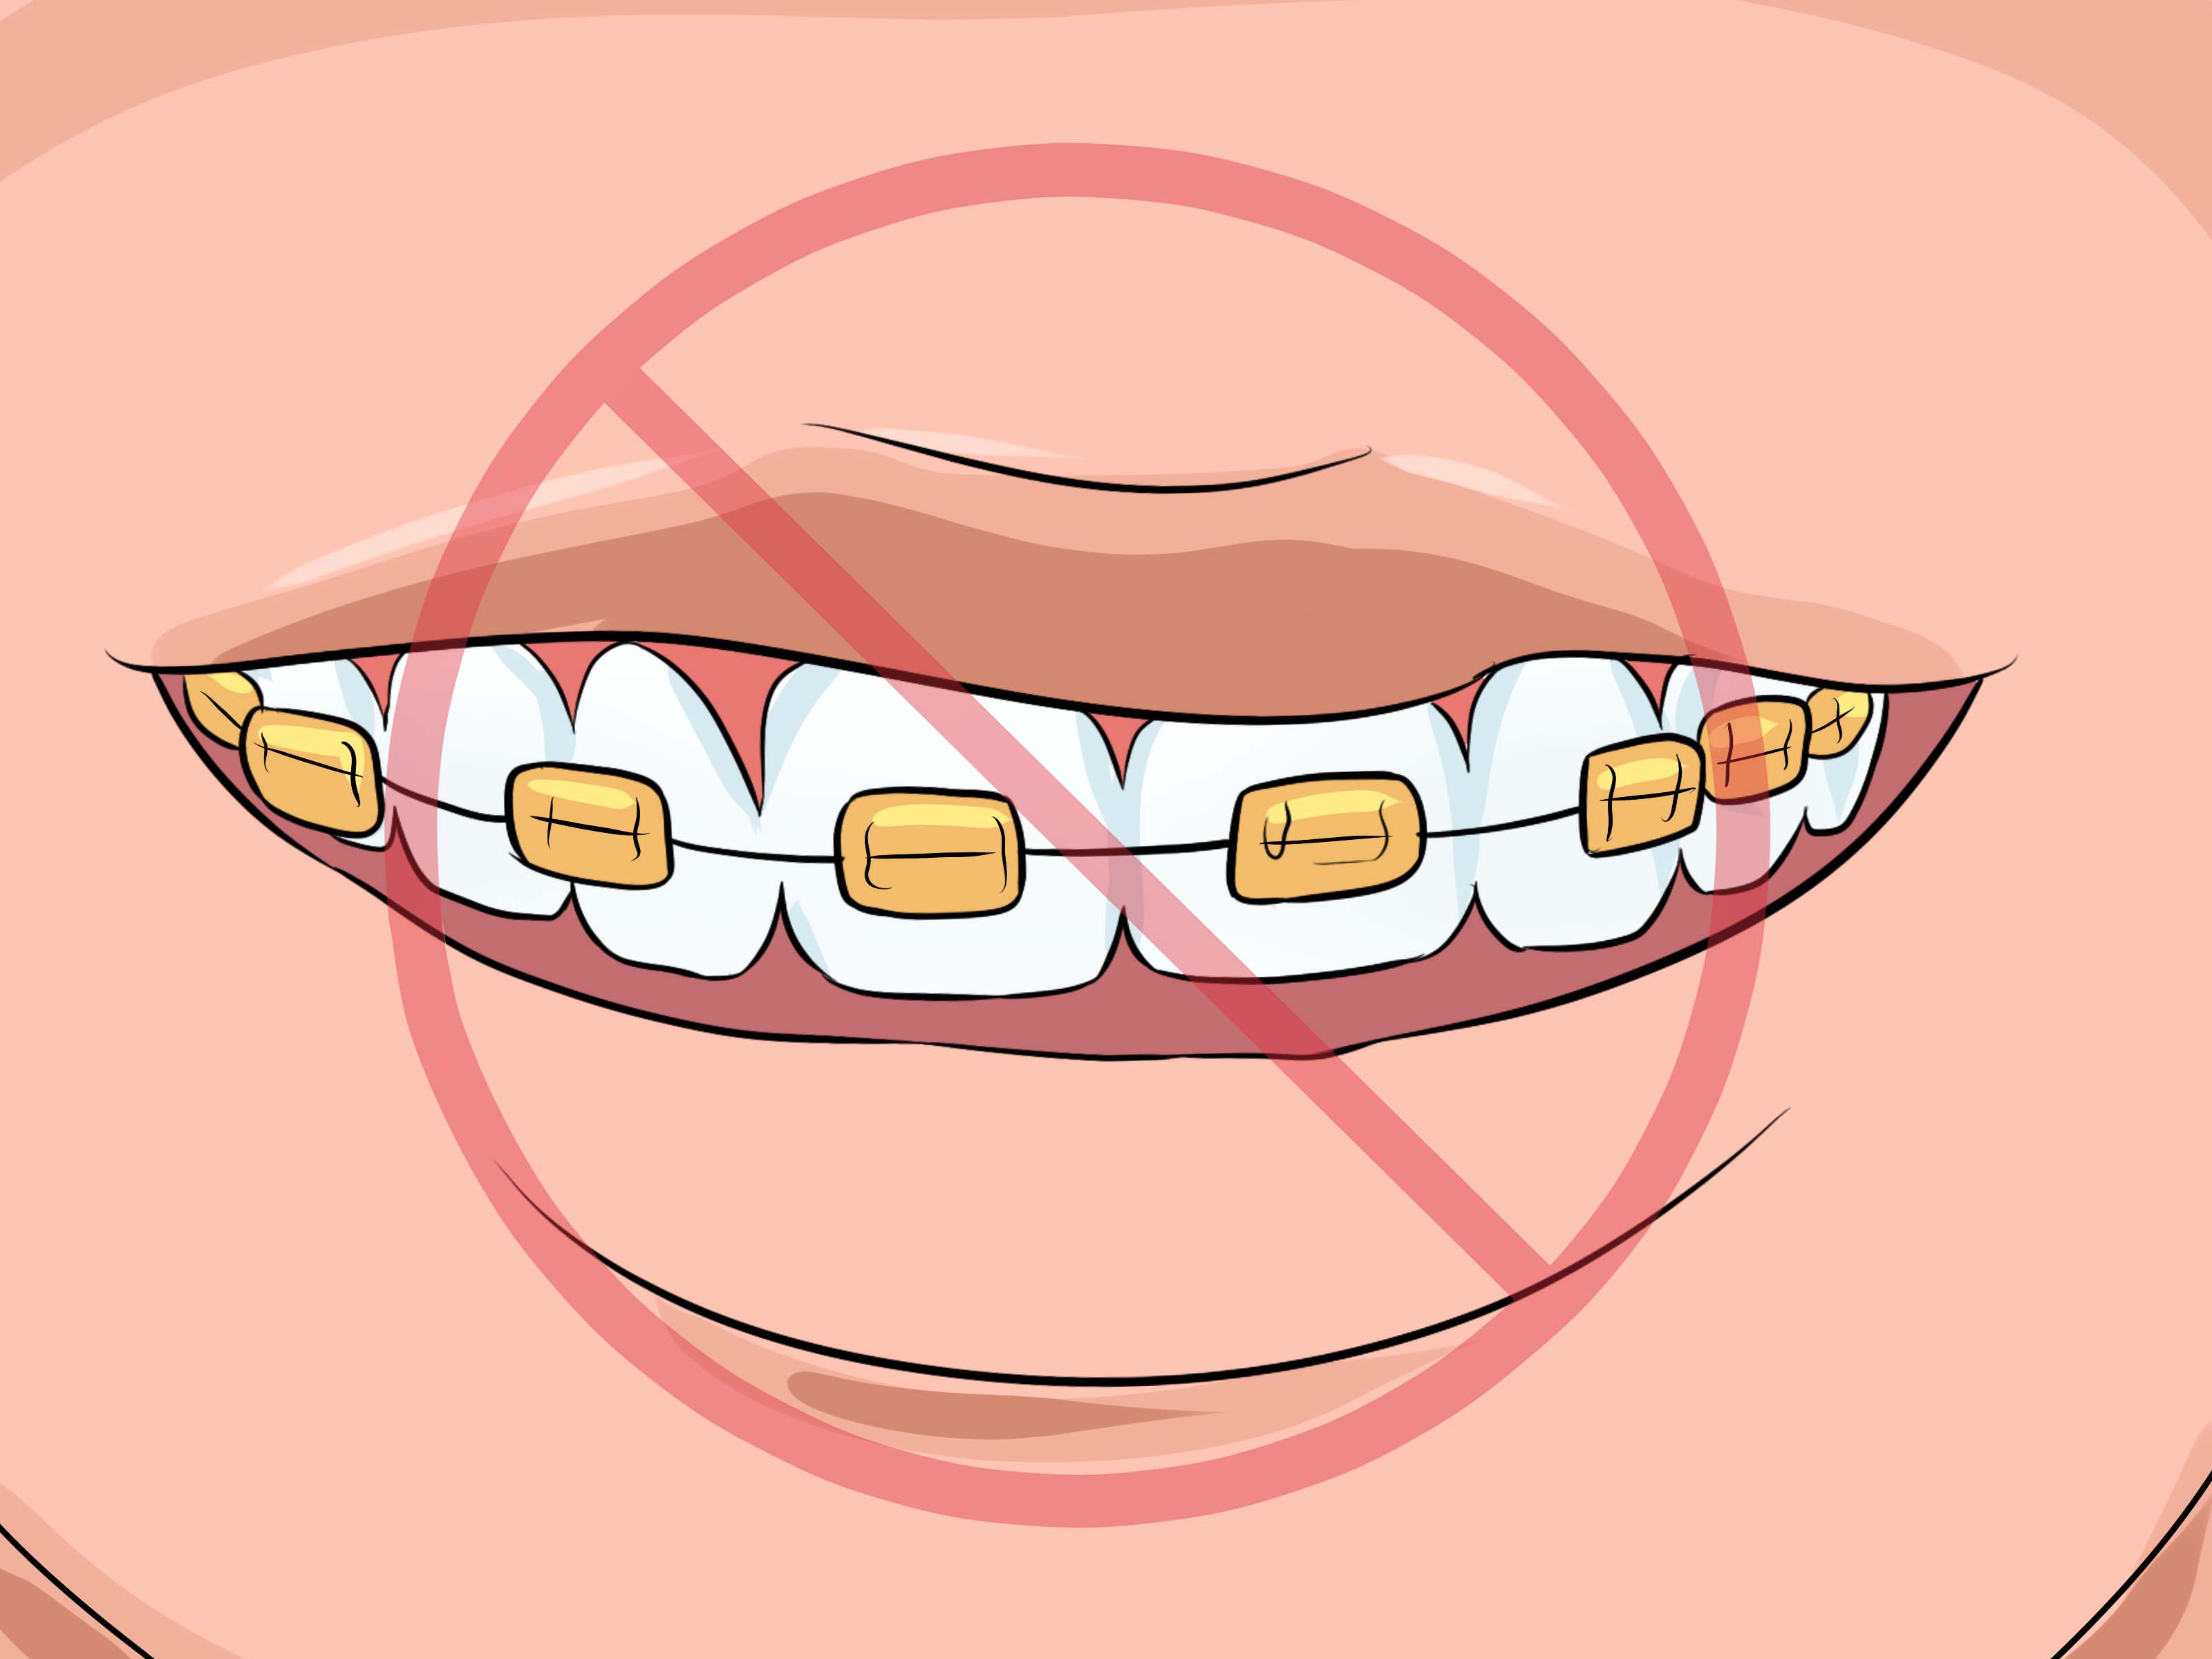
Step 4: Be Careful With White, Clear, and Yellow
At first glance, white or clear bands seem like the obvious choice for a neat and subtle look. In real life, they can be high-maintenance little drama queens. They may stain over time, especially if you drink coffee, tea, soda, or eat tomato-based sauces, curry, and other strongly pigmented foods.
Yellow bands can also be tricky because they may make teeth look more yellow. White can create a weird comparison effect too. When the band looks extra bright, your teeth may look less bright next to it. That is not rude. That is color theory doing what color theory does.
Step 5: Skip Colors That Can Look Like Food
Some shades are technically fine but visually risky. Brown, olive, and certain dark greens can sometimes look like food caught in your braces from a conversational distance. Not always. But often enough that many orthodontists mention it as something to consider.
If you love dark green, try a cooler green, a jewel tone, or pair it with navy or silver instead of going full “possibly spinach.” If you love earthy colors, choose them on purpose and check them in natural light before committing.
Step 6: Think About What You Eat and Drink Every Week
Your diet does not need to control your life, but it should influence your color choice. If you drink coffee every morning, love pasta with red sauce, or snack on foods that stain, very light bands may not stay cute for long.
Darker colors are usually easier to maintain because they do not show discoloration as quickly. If you want low-maintenance braces colors, navy, dark purple, medium blue, or gray are usually safer bets than white, pale pink, or clear.
Also remember that braces already require some food awareness. Sticky, crunchy, and hard foods can damage appliances, and sugary buildup around brackets can leave stains on teeth. The prettier your color choice, the more tragic it is when oral hygiene gets lazy.
Step 7: Consider Your Skin Tone and Features
Braces colors do not have to “match” your skin tone the way foundation does, but some shades will look more flattering than others. In general, bright jewel tones often pop beautifully on deeper skin tones, while pinks, blues, purples, reds, and silver tend to work well on lighter complexions. Medium skin tones can usually wear bold shades such as teal, red, blue, and green really well.
You can also think about your eye color, hair color, and the colors you naturally wear most often. If navy always looks good on you in clothes, there is a decent chance it will also look good on your braces.
Step 8: Match Your Lifestyle, Not Just Your Mood
That color wheel can tempt you into making decisions based on a single burst of enthusiasm. Resist the urge to pick a color that only works with one hoodie and your current emotional weather.
Think about your day-to-day life. Do you wear a school uniform? A work uniform? Do you spend weekends at sports events? Do you have senior photos, a wedding, graduation, or job interviews coming up? If your calendar is full of cameras or formal settings, a subtle shade may make more sense. If you are in a fun, casual season of life, brighter colors can be a blast.
Step 9: Choose for Photos and Big Events
Braces colors live on in selfies, family photos, school pictures, and social media posts. If you have a major event coming up, think beyond what looks fun in the orthodontist’s office and consider what will photograph well.
Navy, deep purple, silver, and classic blue tend to be dependable in photos. Very pale bands may look dingy after a few weeks, while highly neon shades can dominate your smile in pictures. If you want a balanced look, pick something with enough color to feel intentional but not so much that your teeth become supporting actors in the story of your bands.
Step 10: Do Not Forget Two-Color Combinations
You do not have to choose just one color. Two-color combinations can look more creative and more flattering than a single shade. They can also help you avoid committing to a color you sort of like but do not fully trust.
Popular pairings include navy and silver, pink and purple, teal and blue, red and black, and school-color combinations. A monochrome approach also works well: light blue with dark blue, or lavender with deep purple. That gives your braces some dimension without turning them into a tiny carnival ride.
Step 11: Use Seasons, Holidays, and School Spirit for Easy Ideas
If you freeze every time someone asks, “So what colors do you want today?” seasonal inspiration can save you. Holiday and event-based colors are popular for a reason. They are easy, cheerful, and already pre-approved by your brain.
Think red and green in December, orange and black around Halloween, pastels in spring, deep green and gold in fall, or your school and team colors during sports season. This approach also makes each adjustment visit feel fresh, which is useful when treatment lasts months or even years.
Step 12: Ask to See the Actual Shade Wheel
Never choose braces colors based only on what you think “purple” means in your head. Orthodontic shade names are not always emotionally honest. One office’s “rose” may be another office’s “surprisingly loud bubblegum.”
Ask to see the real color wheel or sample bands in person. Better yet, hold it near your face in decent lighting. What looks amazing on a plastic display may look very different next to your skin tone and teeth. A two-minute reality check can prevent six weeks of accidental regret.
Step 13: Remember That You Can Change Colors at Future Visits
This may be the most comforting step of all: you can try again. Orthodontic adjustment visits often happen every several weeks, commonly around 4 to 8 weeks depending on your treatment plan. That means you can experiment.
If you loved bright red once, great. If black made you feel like a stylish supervillain, amazing. If pale yellow made your smile look like it had been through a mustard incident, lesson learned. Braces colors are one of the few beauty decisions in life that come with a built-in reset button.
Step 14: Pick a Color You Can Keep Looking Good
The best braces color is not just the one that looks good on day one. It is the one that still looks decent after coffee, lunch, and a week of actual human behavior.
Brush carefully, floss as recommended, rinse after meals when you can, and keep up with dental cleanings. Clean braces and healthy teeth will make almost any shade look better. Dirty braces can make even the most elegant color choice look like a cry for help.
So yes, choose something flattering. But also choose something realistic. The goal is not perfection. The goal is a smile that feels like you while treatment moves along.
Best Braces Color Ideas at a Glance
If you want your teeth to look whiter
Navy, deep blue, dark purple, gray, or silver.
If you want a subtle look
Silver, gray, navy, or muted purple.
If you want a fun look
Teal, hot pink, bright blue, purple, or a two-color combo.
If you want low maintenance
Darker shades that do not stain easily or show discoloration quickly.
If you want to avoid common regrets
Be cautious with white, clear, yellow, brown, olive, and some dark greens.
What Real-Life Braces Color Experiences Usually Teach You
One of the funniest things about choosing braces colors is how confident people feel before the first appointment and how strangely philosophical they become after the second or third. At first, the decision seems huge. People zoom in on every possibility. They ask whether purple is too dramatic, whether navy is too safe, whether silver looks cool or boring, and whether clear bands will make them look sophisticated or simply under-caffeinated. Then real life happens, and that is when the useful lessons show up.
A lot of first-time braces wearers choose colors emotionally. They pick whatever is brightest, cutest, or most exciting in the moment. That is not a mistake. It is practically a rite of passage. The interesting part comes a week later when they realize braces colors do not live in a showroom. They live through school lunches, coffee runs, awkward selfies, rushed mornings, and the occasional mirror check in bad restroom lighting. That is when people start learning what they actually like wearing on their face instead of what they only liked in theory.
Many people discover that dark blue is the quiet hero of braces colors. It feels clean, flattering, and hard to mess up. Purple gets a similar reputation. It has personality, but it usually behaves. Silver often wins people over too, especially adults who were afraid braces would dominate their look. It tends to feel neat and neutral without trying too hard.
Then there are the colors that seemed like a good idea during a five-second burst of optimism. White and clear often fall into that category. They can look great right away, but some people get tired of babying them around coffee, tea, pasta sauce, and other stain-prone foods. Yellow is another one that sounds cheerful until someone realizes it can make teeth look less bright. Brown and certain greens usually teach a very specific lesson: if a shade can be mistaken for leftover lunch, somebody will eventually mention it. Usually at the worst possible time.
Another common experience is how much confidence can change with the right color. For some kids and teens, choosing bright bands makes braces feel less like a problem and more like a personality trait. For adults, finding a subtle shade can remove a lot of anxiety about work or social settings. It is amazing how much easier treatment feels when your braces look intentional instead of accidental.
Over time, most people stop looking for the “perfect” color and start choosing what fits their life that month. That is the sweet spot. Maybe one visit calls for school colors, another for wedding-photo silver, and another for a deep purple phase that feels unexpectedly excellent. The best braces color experience is usually not about finding one magical shade. It is about realizing you can experiment, adjust, laugh at the misses, and keep moving toward a better smile.
Final Thoughts
If you are wondering how to choose the color of your braces, the answer is part style, part strategy, and part common sense. Start with what you want your smile to say. Then factor in how your teeth look, how much maintenance you are willing to do, and what colors you will actually enjoy seeing for the next several weeks.
When in doubt, pick a shade that is flattering, practical, and easy to live with. Dark blue, purple, gray, and silver are popular for good reason. But the best choice is the one that makes you smile more often while your orthodontist does the hard part in the background.
Because straightening your teeth is serious business. Choosing your colors, thankfully, can still be fun.
SEO Tags