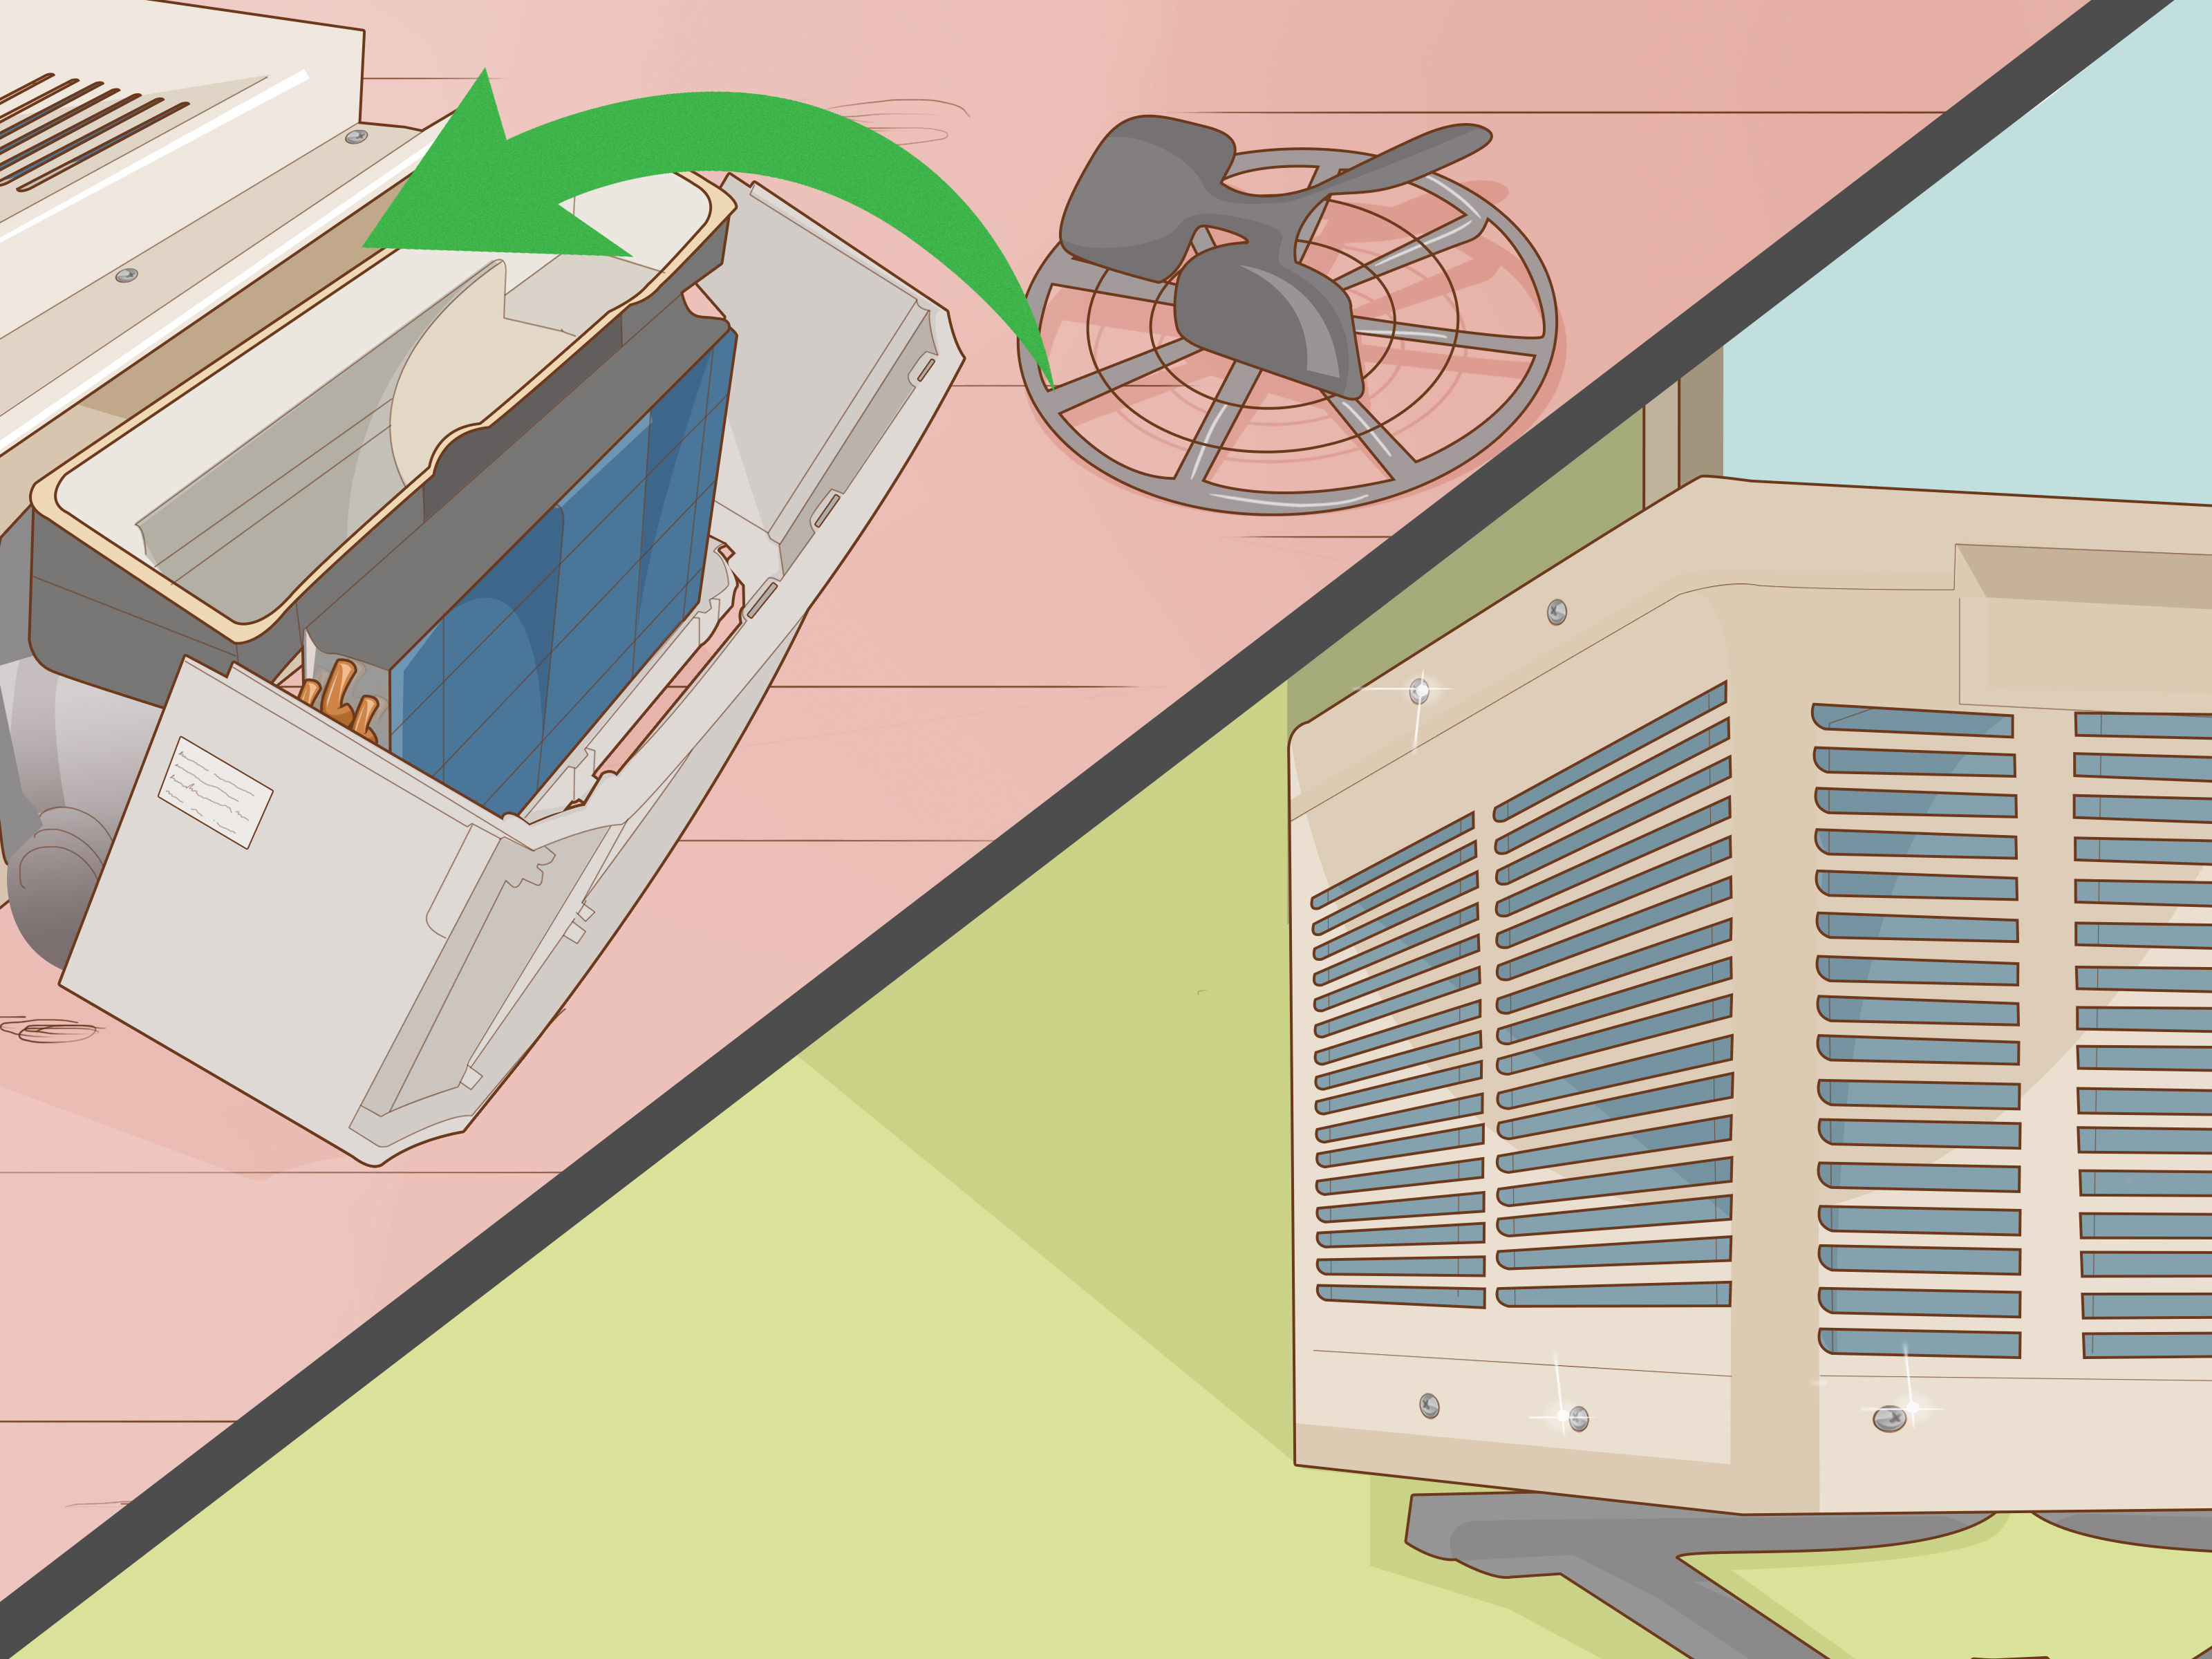

Air conditioner coils are the quiet workhorses of your cooling system. They do not beep, flash, or ask for attention. They simply collect heat, move it outside, and keep your home from feeling like a baked potato wrapped in drywall. But when dust, grass clippings, pollen, pet hair, and mystery yard fluff build up on those coils, your AC has to work harder, cool less effectively, and spend more energy doing a worse job.
Learning how to clean air conditioner coils is one of the smartest maintenance tasks a homeowner can understand. Clean coils help improve airflow, support better heat transfer, reduce strain on the system, and may help prevent expensive repairs. The key is knowing what you can safely do yourself and when to call an HVAC technician. Outdoor condenser coils are usually more DIY-friendly. Indoor evaporator coils are often harder to access and may involve electrical parts, refrigerant lines, warranty concerns, and condensate drainage issues.
This guide walks you through 14 practical steps for cleaning AC coils safely and effectively. Think of it as a spa day for your air conditionerminus the cucumber water and tiny robe.
What Are Air Conditioner Coils?
Most residential air conditioners and heat pumps have two main coils. The evaporator coil sits inside the home, usually near the air handler or furnace. It absorbs heat from indoor air as warm air passes over the cold coil. The condenser coil sits in the outdoor unit. It releases that collected heat outside.
Both coils rely on thin metal fins and steady airflow. When the fins get clogged or bent, the system cannot move heat efficiently. That can lead to weak cooling, longer run times, higher utility bills, frozen indoor coils, and extra wear on expensive parts like the compressor.
Before You Begin: Safety First
Before cleaning AC coils, remember one rule: electricity and water are not friends. Always turn off the system before touching panels, coils, wiring areas, or the outdoor unit. Use the thermostat, the breaker, and the outdoor disconnect box when available. If you are unsure how to safely shut off power, stop and call a professional.
You should also avoid high-pressure washers, harsh chemicals, acidic cleaners not approved for HVAC use, stiff wire brushes, and aggressive scrubbing. Coil fins bend easily. Treat them like delicate blinds, not a grill grate after a barbecue.
Tools and Supplies You May Need
- Work gloves and safety glasses
- Screwdriver or nut driver
- Soft-bristle brush or coil brush
- Shop vacuum with soft brush attachment
- Garden hose with gentle spray setting
- Approved foaming AC coil cleaner
- Mild dish soap and warm water
- Spray bottle or pump sprayer
- Fin comb for bent fins
- Rags or microfiber cloths
How to Clean Air Conditioner Coils: 14 Steps
Step 1: Identify Which Coils You Are Cleaning
Start by finding the coils. On a central air conditioner, the outdoor condenser coil is inside the large metal cabinet outside your home. It usually wraps around the sides of the unit behind protective grilles. The indoor evaporator coil is typically inside the air handler, furnace cabinet, or a metal plenum above the furnace.
If you are cleaning a window AC unit, both coil sets are inside the unit: one faces indoors and the other faces outdoors. Window units can often be cleaned by removing the front panel and carefully accessing the filter, cover, and coils.
Step 2: Turn Off the Air Conditioner Completely
Set the thermostat to “off.” Then shut off power at the electrical breaker. For outdoor units, also pull or switch off the disconnect box near the condenser. Do not rely only on the thermostat. The outdoor unit can still carry electrical risk if the breaker or disconnect remains on.
Wait several minutes before opening panels. If your AC has just been running, the components may be warm, wet, or under operating pressure. Give the system a short rest before you begin.
Step 3: Clear the Area Around the Outdoor Unit
Remove leaves, sticks, weeds, mulch, grass clippings, and other debris around the condenser. Trim plants back so the unit has at least two feet of open space for airflow. More space is even better if your landscape has a habit of trying to hug the air conditioner like an overfriendly shrub.
Good clearance helps the condenser release heat. If the unit is surrounded by tall grass or bushes, cleaning the coil will help, but the system may still struggle because air cannot move freely.
Step 4: Remove Access Panels Carefully
Use the correct screwdriver or nut driver to remove panels according to your owner’s manual. Set screws in a small container so they do not disappear into the lawn. For the outdoor unit, you may only need to remove the top grille or side panels, depending on the design.
Do not pull hard on panels that seem stuck. Wires may be attached to fan assemblies or controls. If removing a panel requires disconnecting wires, stop unless you are trained to do so.
Step 5: Inspect the Coil Before Cleaning
Look for visible dirt, leaves, cottonwood fluff, pet hair, grease, mold-like growth, crushed fins, corrosion, ice, or oily residue. A light coat of dust is normal. A thick blanket of grime is a problem. Oily spots may indicate a refrigerant leak and should be inspected by a licensed technician.
If the evaporator coil is frozen, do not chip at the ice. Turn the cooling off, let the coil thaw, replace a dirty filter, and call a pro if freezing returns. Ice often points to airflow problems, refrigerant issues, or other system faults.
Step 6: Vacuum Loose Dirt and Debris
Use a shop vacuum with a soft brush attachment to remove loose debris. Move gently in the direction of the fins, not across them. The goal is to lift dust without crushing the delicate metal fins.
For an outdoor condenser, vacuum the outside of the fins and the base of the cabinet. If leaves have collected inside the cabinet, scoop them out by hand while wearing gloves. Keep your hands away from sharp metal edges.
Step 7: Brush the Fins Gently
Use a soft-bristle brush or coil brush to loosen stuck dust. Brush up and down with the fin pattern. Never scrub side to side. Sideways force can fold fins over and block airflow, which is exactly the villain we are trying to defeat.
For indoor evaporator coils, be extra cautious. Many evaporator coils are hard to access and positioned above a drain pan. If you cannot see the coil clearly or cannot reach it safely, leave it for professional maintenance.
Step 8: Straighten Bent Fins With a Fin Comb
Bent fins reduce airflow and heat transfer. A fin comb can help straighten them, but you must match the comb to the fin spacing. Slide it gently through bent areas in the same direction as the fins.
If only a few fins are bent, do not panic. Your AC is not doomed. But if large areas are crushed, the system may lose efficiency. A technician can straighten fins more safely and inspect for hidden damage.
Step 9: Apply an Approved Coil Cleaner
For stubborn grime, use a non-corrosive foaming coil cleaner labeled for HVAC coils. Read the label carefully. Some cleaners are made for outdoor condenser coils only. Others are safe for evaporator coils. When in doubt, choose the gentlest approved cleaner or call an HVAC professional.
Spray evenly across the coil and let the foam sit for the time listed on the product instructions. Foaming cleaners expand between fins, lifting dirt from narrow spaces that brushes cannot reach.
Step 10: Use Mild Soap and Water for Light Cleaning
If the coil is only mildly dirty, a mixture of warm water and a small amount of mild dish soap may be enough. Apply it with a spray bottle or low-pressure sprayer. Let it sit briefly, then rinse gently if the coil location allows safe rinsing.
Avoid soaking insulation, electrical parts, circuit boards, motors, or wiring. Indoor coils require special caution because excess water can end up where it should not.
Step 11: Rinse Outdoor Condenser Coils Gently
Use a garden hose on a gentle spray setting. Never use a pressure washer or jet setting. High pressure can bend fins, force water into electrical areas, and turn a simple maintenance task into a dramatic repair bill.
For many outdoor units, rinsing from the inside out helps push debris back the way it entered. If you cannot safely access the inside of the cabinet, rinse gently from the outside and avoid blasting the fins.
Step 12: Clean the Drip Pan and Condensate Drain
When cleaning indoor evaporator coils, inspect the drip pan under the coil. Dirt from the coil can wash into the pan and clog the condensate drain line. A clogged drain can cause water damage, humidity problems, musty odors, and the kind of ceiling stain nobody wants to explain to guests.
Wipe the pan if it is accessible. If you see standing water, rust, slime, cracks, or a blocked drain, schedule service. Condensate problems can become expensive quickly.
Step 13: Let Everything Dry and Reassemble
Allow cleaned parts to dry as directed by the cleaner label. Replace panels, grilles, screws, and covers securely. Make sure nothing is left inside the cabinet. Tools do not make good fan accessories.
Check that panels are aligned properly. Loose panels can rattle, reduce airflow, or expose components to weather.
Step 14: Restore Power and Test the System
Turn the breaker and disconnect back on, then set the thermostat to cooling. Listen for normal startup. After several minutes, check whether the air feels cooler, airflow seems stronger, and the outdoor fan runs smoothly.
If the AC makes unusual noises, trips the breaker, blows warm air, freezes again, or smells burnt, shut it off and call an HVAC technician. Coil cleaning helps many problems, but it does not repair failed capacitors, refrigerant leaks, bad motors, or blocked metering devices.
How Often Should You Clean AC Coils?
For most homes, professional HVAC maintenance once a year is a smart baseline, ideally before the cooling season. Outdoor condenser coils may need light cleaning more often if your home has dusty conditions, cottonwood trees, heavy pollen, nearby landscaping, pets, or lawn clippings blowing toward the unit.
Filters matter too. A dirty filter allows dust to build up inside the system and can contribute to a dirty evaporator coil. Check filters monthly during heavy cooling season and replace or clean them according to the manufacturer’s instructions. At minimum, many homes benefit from changing filters every one to three months, depending on filter type, indoor air conditions, and system use.
Common Mistakes to Avoid
Using a Pressure Washer
A pressure washer may feel satisfyingly powerful, but AC coils are not driveway concrete. High-pressure water can flatten fins and restrict airflow.
Skipping the Power Shutoff
Never clean coils while the system is powered. Even if you are “just rinsing,” shut it down first.
Using the Wrong Cleaner
Some cleaners can corrode metal, damage coatings, or leave residue. Use only products approved for AC coils and follow label directions.
Ignoring the Indoor Coil
The outdoor coil gets the attention because it is visible, but the indoor evaporator coil is just as important. If airflow is weak, the coil freezes, or the system smells musty, schedule a professional inspection.
When to Call an HVAC Professional
Call a licensed HVAC technician if you notice ice on the evaporator coil, oily residue, refrigerant odor, electrical burning smells, repeated breaker trips, corroded coils, a cracked drain pan, inaccessible indoor coils, or performance problems that continue after cleaning and filter replacement.
You should also call a pro if your system is under warranty and the manufacturer limits DIY maintenance. A short service visit is usually cheaper than accidentally voiding coverage or damaging a coil.
Conclusion
Cleaning air conditioner coils is not glamorous, but it is one of those home maintenance chores that quietly pays you back. A clean condenser coil helps the outdoor unit release heat. A clean evaporator coil helps the indoor system absorb heat. Together, they support better cooling, smoother airflow, lower strain, and a happier AC system.
The safest DIY approach is simple: turn off power, clear debris, vacuum gently, brush with care, use approved coil cleaner when needed, rinse outdoor coils with low pressure, and leave complicated indoor coil work to a qualified technician. Your air conditioner will not write you a thank-you note, but your energy bill might look a little less dramatic.
Real-World Experience: What Coil Cleaning Teaches Homeowners
The first thing many homeowners learn while cleaning air conditioner coils is that the outdoor unit collects an astonishing amount of debris. It may look fine from across the yard, but once you get close, you might find grass clippings packed against the fins, leaves hiding in the bottom of the cabinet, and pollen stuck like yellow powdered sugar. One homeowner may think the AC is “getting old,” when the real issue is that the condenser has been wearing a fuzzy sweater all summer.
A practical experience is to clean the area before cleaning the unit. If you rinse the coil while dry leaves and mulch are still piled around the base, dirty water can splash debris right back into the fins. Start with the surroundings. Rake leaves, trim plants, and move storage items away from the unit. Air conditioners need breathing room. They are not patio shelves, garden decorations, or convenient places to lean a bicycle.
Another useful lesson is that gentle work usually wins. People often assume a dirtier coil needs more force. In reality, the better method is patience: vacuum loose material, brush lightly, let the cleaner work, and rinse slowly. If you bend the fins, you may solve one problem while creating another. A careful 30-minute cleaning is better than a 10-minute battle starring a pressure washer.
Homeowners also discover that filters and coils are connected. If a filter is clogged, damaged, missing, or poorly fitted, more dust can reach the evaporator coil. That dust mixes with moisture and can become sticky buildup. Replacing filters on schedule is like putting a bouncer at the door before dirt gets into the VIP section of your HVAC system.
One of the most common experiences after cleaning a condenser coil is improved airflow around the unit and quieter operation. The system may not suddenly turn into a brand-new high-efficiency machine, but it often runs with less struggle. If cleaning does not improve comfort, that is useful information too. It tells you the problem may be deeper, such as low refrigerant, a weak capacitor, duct leakage, thermostat issues, or a failing blower motor.
The best habit is to make coil inspection part of seasonal maintenance. Walk around the outdoor unit once a month during cooling season. Look for leaves, grass, weeds, cottonwood fluff, and blocked airflow. Indoors, check the filter and watch for signs like weak airflow, musty smells, water near the air handler, or ice on refrigerant lines. Small observations can prevent big repairs.
Note: This article is for general homeowner education. Always follow your AC manufacturer’s manual, use approved cleaners, shut off power before maintenance, and hire a licensed HVAC professional for electrical work, refrigerant issues, inaccessible evaporator coils, warranty-sensitive equipment, or any task you cannot perform safely.