
If you have ever picked up a quartz crystal that looked more like a muddy potato than a sparkly treasure, welcome to the club. Quartz is one of the most common and durable minerals on Earth, which is great news for collectors, decorators, crystal lovers, and anyone who has ever brought home a dusty cluster thinking, “This will clean up nicely.” Usually, it will. The trick is knowing how to clean quartz crystals without dulling their shine, cracking delicate points, or turning a simple rinse into a chemistry experiment gone rogue.
This DIY guide walks you through the safest and smartest ways to clean quartz crystals at home, from everyday dust and clay to stubborn iron staining. You will also learn when to stop, when to switch methods, and when a crystal should be left gloriously imperfect. Because in the world of quartz specimen cleaning, “clean” is good, but “accidentally destroyed” is a terrible decorating style.
Why Quartz Is Easier to Clean Than Many Other Stones
Quartz has a Mohs hardness of 7, which means it is tougher than many everyday materials that would scratch softer stones. That durability is part of why quartz is such a favorite in jewelry, home decor, mineral collections, and lapidary work. It also tolerates gentle cleaning very well, especially when you stick to mild soap, water, and soft tools.
But let’s not get cocky. Tough is not the same as indestructible. A quartz point can still chip if you bang it against the sink. A cluster can trap clay in tiny crevices that turn cleaning into an archaeological dig. And a quartz specimen growing with other minerals may react very differently than a plain, sturdy crystal point. If your quartz has matrix rock, delicate sidecar minerals, or obvious treatments like dye or coating, it needs extra caution.
Before You Clean Quartz Crystals, Identify What You Actually Have
Before the water starts running, take a closer look. A polished rose quartz palm stone, a raw smoky quartz cluster, and an amethyst geode are all quartz, but they do not need exactly the same treatment. This step saves a lot of regret.
Ask yourself these quick questions
Is it raw or polished? Polished quartz can lose its glossy finish if you attack it with abrasive powders or rough scrubbing. Raw quartz is usually more forgiving, but sharp points still chip easily.
Is it just quartz, or quartz with other minerals attached? Calcite, fluorite, malachite, pyrite, and other companion minerals may not survive the same cleaning methods quartz can handle.
Is it dyed, coated, glued, or treated? Some decorative crystals are color-enhanced, aura-coated, resin-filled, or artificially bonded. Strong cleaners and long soaks can damage those finishes fast.
Is the dirt on the surface, or is the discoloration part of the specimen? Surface clay, dust, grease, and iron staining can often be reduced. Internal veils, fractures, inclusions, and natural color zoning are not “dirt.” They are part of the stone’s story.
Supplies for a Safe DIY Quartz Crystal Cleaning Session
You do not need a wizard’s lab. In fact, the best quartz crystal cleaning kit is pretty humble:
- Lukewarm water
- Mild dish soap
- A soft toothbrush or soft paintbrush
- Cotton swabs
- Wooden toothpicks or bamboo skewers for tight crevices
- Microfiber cloth or lint-free towel
- Plastic bowl or container
- Gloves and eye protection if you are using anything stronger than soap and water
That list handles most routine jobs. If you are dealing with packed mud, some collectors also use a low-pressure dental water flosser or oral irrigator to help dislodge grime from tiny spaces. It is surprisingly handy, though you should use it gently and avoid blasting fragile points like you are pressure-washing a driveway.
Method 1: The Best Everyday Way to Clean Quartz Crystals
If you are wondering how to clean quartz crystals safely, this is the gold-standard starting point. It works for most quartz points, tumbled stones, amethyst clusters, citrine pieces, clear quartz, smoky quartz, and rose quartz that do not have unusual coatings or fragile neighbors.
Step 1: Rinse off loose dust
Hold the crystal under lukewarm running water or swish it in a bowl of clean water. This removes the easy stuff first and keeps you from grinding grit into the surface while brushing.
Step 2: Soak in warm water with mild dish soap
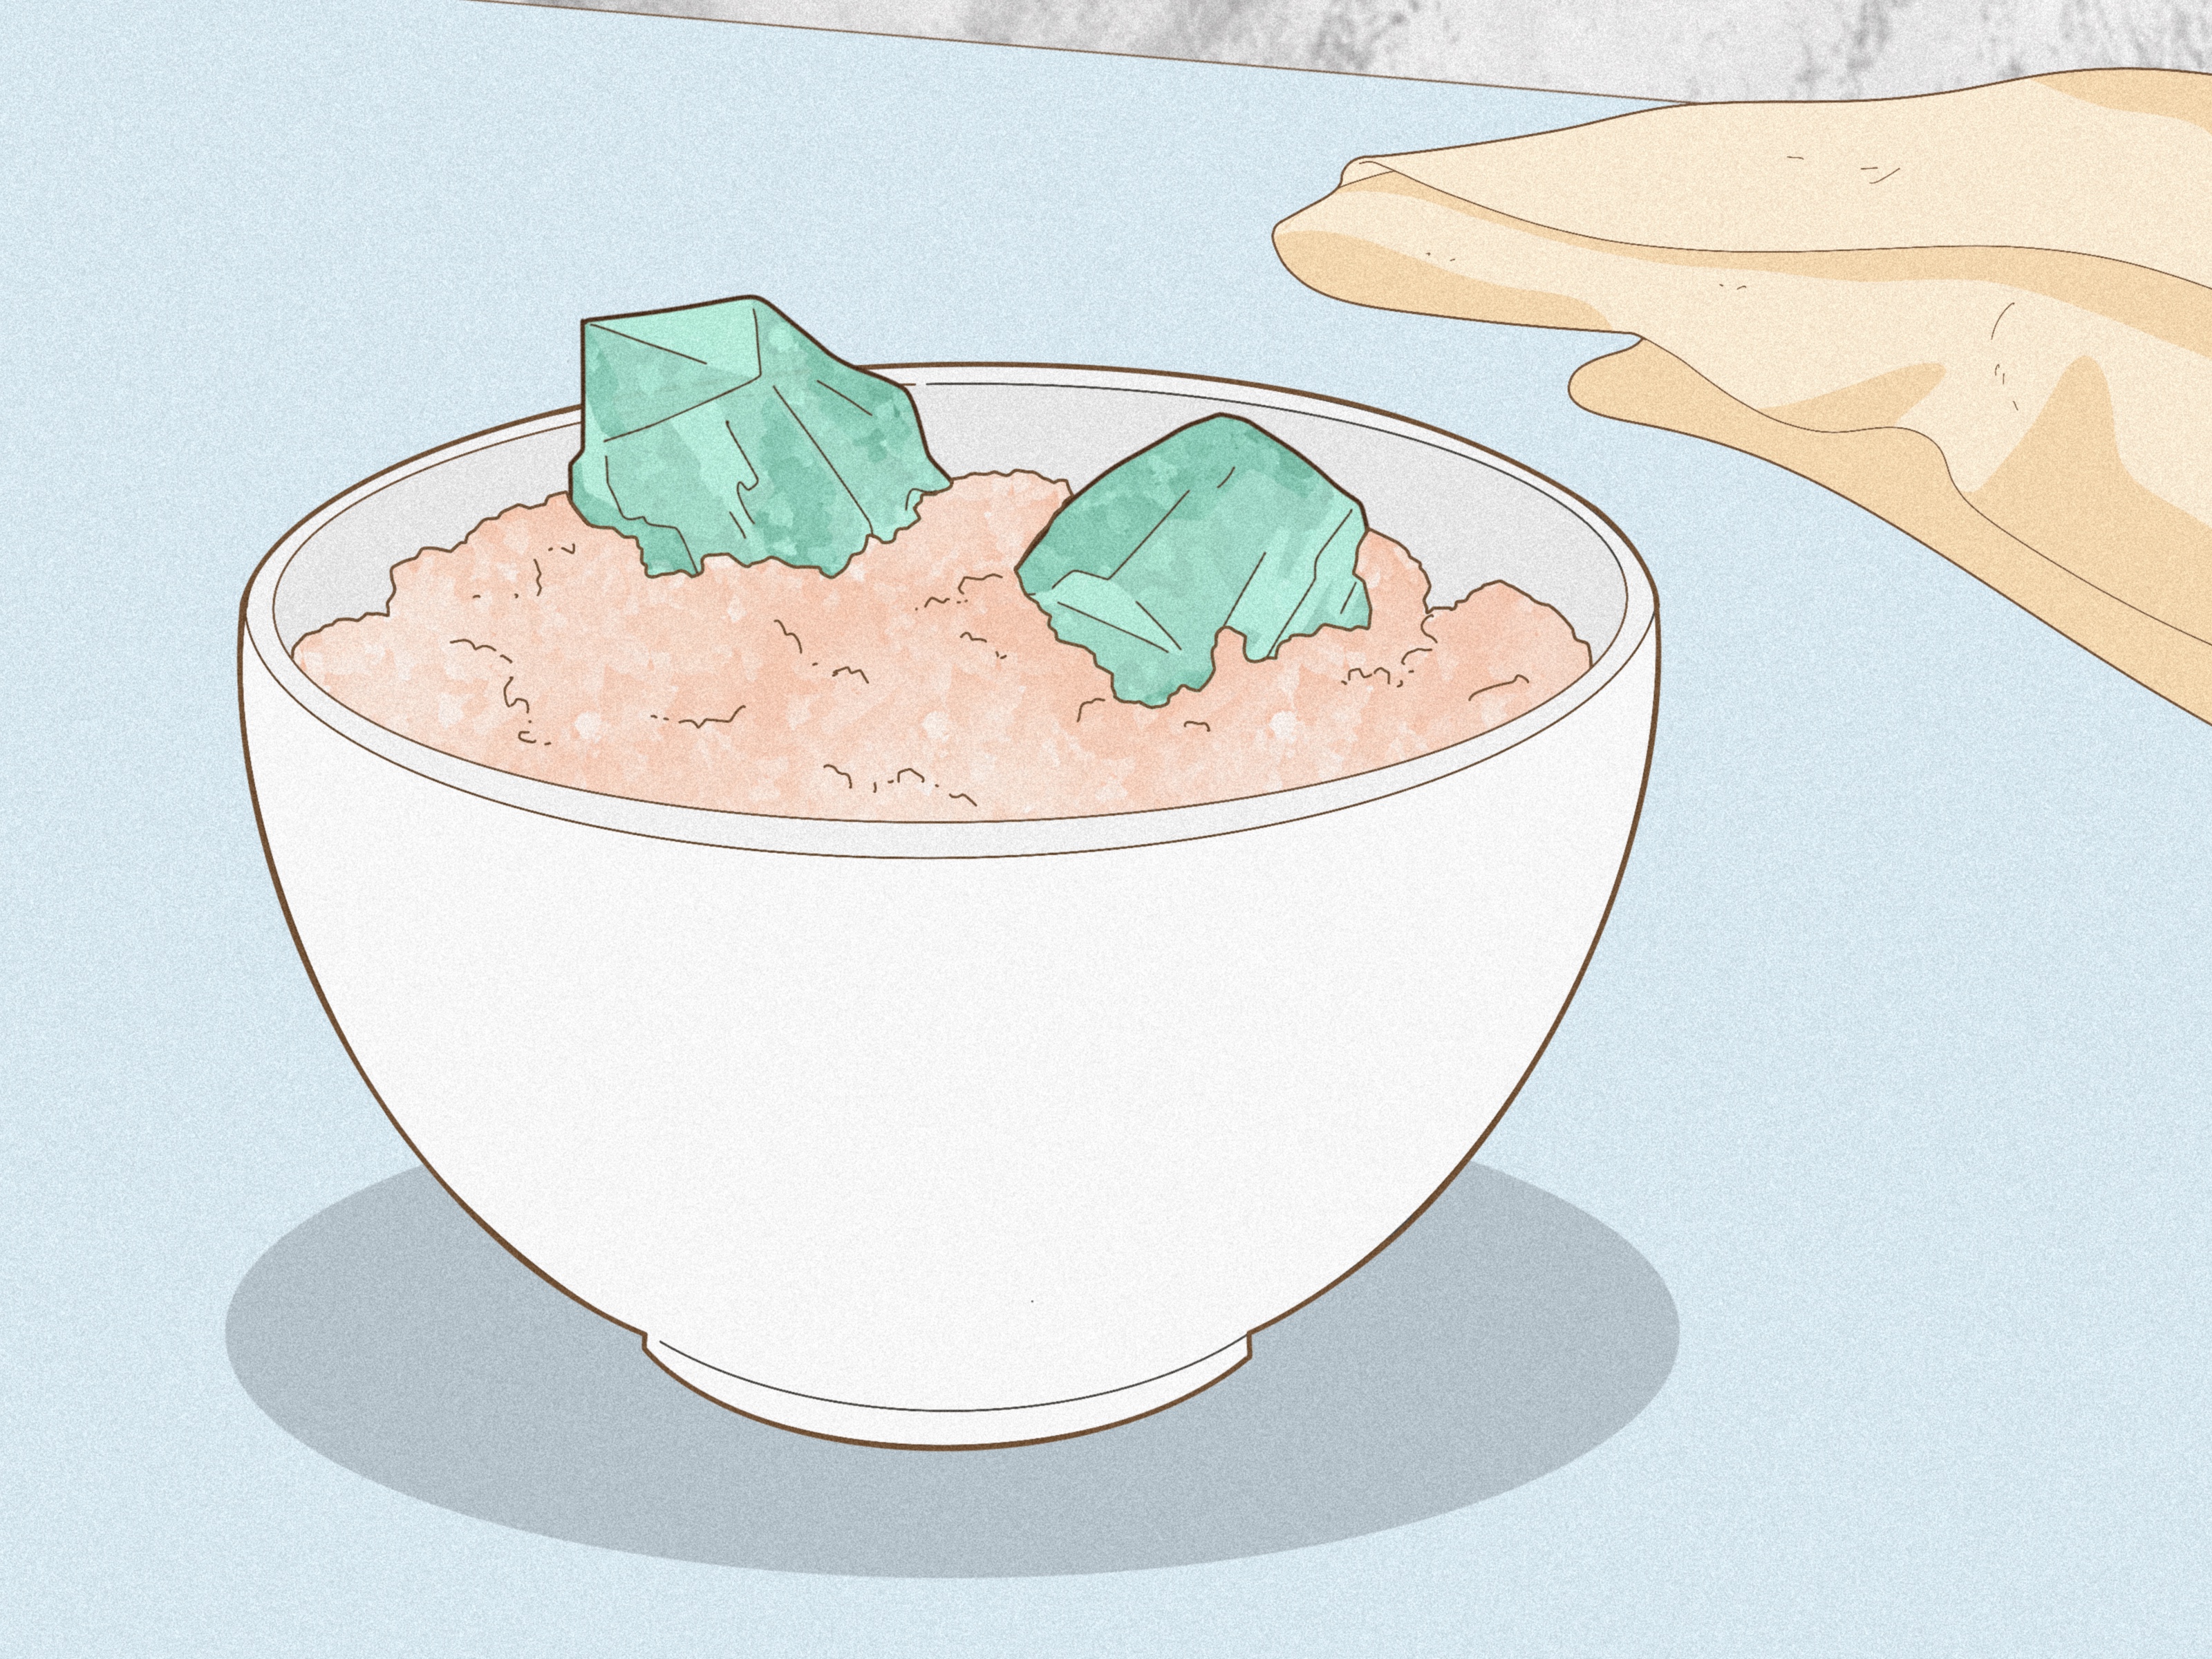
Add a few drops of mild dish soap to a bowl of lukewarm water and let the crystal soak for 10 to 30 minutes. If the grime is old and stubborn, you can go longer, but do not turn “longer” into “I forgot it for three days on the windowsill.” That is less crystal care and more accidental science fair.
Step 3: Gently brush the surface
Use a soft toothbrush or soft paintbrush to work over the crystal. Focus on grooves, growth lines, point junctions, and the back side where dirt likes to hide. Gentle pressure is enough. Quartz may be hard, but you are trying to remove dirt, not audition for a role as a medieval blacksmith.
Step 4: Clean tight crevices carefully
For compacted dirt in narrow spaces, use a cotton swab, wooden toothpick, or bamboo skewer. Avoid metal picks unless you are highly experienced and absolutely sure the specimen can take it. One slip and you will invent a brand-new crystal shape nobody asked for.
Step 5: Rinse thoroughly
Rinse away all soap residue with clean water. Leftover soap attracts dust, dulls the finish, and makes a beautiful crystal look like it just moisturized and regretted it.
Step 6: Dry completely
Pat dry with a microfiber cloth or let the crystal air-dry on a towel. Make sure water leaves the pockets and crevices before you display or store it.
Method 2: How to Remove Clay, Packed Dirt, and Gunk from Raw Quartz
Fresh-dug quartz and outdoor-found specimens often come home packed with clay, soil, and fine sediment. That kind of dirt usually needs patience more than power.
Start with repeated soaks in plain water or soapy water. As the dirt softens, brush gently and rinse. Repeat the cycle as many times as needed. This is boring, yes, but it works. Quartz cleaning is often less about heroic effort and more about not getting impatient on round two.
If the dirt is wedged into deep, narrow pockets, a low-pressure water flosser can help tease it out. Keep the pressure modest and test a small area first. Delicate clusters, skinny points, and geode interiors do not appreciate being treated like patio furniture.
For especially stubborn packed sediment, use a wooden tool after soaking. Never scrape dry dirt aggressively. Dry abrasion is a fast route to scratched polished areas, chipped edges, and a colorful vocabulary lesson.
Method 3: How to Clean Iron-Stained Quartz Crystals
Now we reach the part that separates casual rinsing from true quartz specimen cleaning. If your crystal has yellow, orange, red, or brown staining, there is a good chance iron oxides are involved. This is common in natural quartz, especially pieces pulled from pockets in iron-rich ground.
For mild staining, repeated soap-and-water cleaning may improve the look. For more stubborn iron staining, collectors sometimes use rust-removing products or oxalic acid. This can work well on sturdy quartz, but it is not a casual kitchen-counter project. It is a “read labels, wear gloves, and make good life choices” project.
Use stronger methods only when all of these are true
- The specimen is mostly sturdy quartz
- There are no companion minerals that could dissolve or react badly
- The crystal is not dyed, coated, glued, or resin-treated
- You can work outdoors or in a very well-ventilated area
- You have gloves, eye protection, and a way to rinse thoroughly
Important expert tips for iron-stained quartz
Test first on a lesser specimen. If you have a rough, less valuable piece from the same batch, try that first.
Follow the product label exactly. Do not freestyle dilution ratios because you once watched a chemistry video at 1.5x speed.
Never mix cleaning chemicals. Especially do not mix acids or rust removers with bleach.
Rinse far more than you think you need to. Chemical residue trapped in crevices can keep reacting after you think the job is done.
Do not use strong chemistry on specimens with calcite or unknown matrix minerals. Quartz may survive, but its neighbors may not.
If your quartz is valuable, museum-worthy, or emotionally important, it is smart to stop at gentle cleaning and consult a lapidary or mineral-preparation expert before moving on to chemical stain removal.
What Not to Use on Quartz Crystals
Knowing what not to do is half the battle. Sometimes more than half.
Skip these common mistakes
Harsh abrasive cleansers: Quartz is hard, but polished surfaces and delicate faces can still lose their shine. Abrasive powders are especially risky on finished or display pieces.
Steam cleaning and high heat: Some quartz varieties, including citrine and amethyst, can be sensitive to heat. High heat also increases the risk of cracking from thermal shock.
Hydrofluoric acid: Absolute no. It can etch quartz and is extremely dangerous.
Random internet chemistry cocktails: If the instructions sound like they belong in a villain origin story, close the tab.
Bleach mixed with anything acidic: Dangerous fumes are not a sign of success.
Direct, prolonged sunlight for colored quartz: Some amethyst can fade over time in strong light, so display with intention.
Expert Tips to Keep Quartz Looking Better for Longer
Start with the gentlest method first. Mild soap and water fix more problems than people think.
Clean for preservation, not perfection. Natural inclusions, tiny fractures, and mineral staining can be part of a specimen’s appeal.
Photograph the specimen before cleaning. This is especially helpful for collectors who care about provenance and original condition.
Dry every crevice before storage. Trapped moisture can encourage residue buildup and make a fresh clean feel pointless.
Store quartz separately from softer stones. Quartz can scratch minerals and gems that are less hard.
Use common sense around value. A flea-market crystal can be your practice specimen. A rare cluster with delicate matrix should not be your first chemistry experiment.
When You Should Leave a Quartz Crystal Alone
This may sound strange in a cleaning guide, but sometimes the smartest move is doing less. Museum conservators and mineral professionals often point out that cleaning is irreversible. Once you remove matrix, stain, or natural surface texture, you cannot magically put it back.
If the specimen has collector value, unusual associations, fragile growth, or scientific importance, a full makeover may not be the right move. Dust it gently. Document it well. Accept a little earthiness. Not every crystal needs a spa day.
Final Thoughts: The Smartest Way to Clean Quartz Crystals
The best answer to “how to clean quartz crystals” is delightfully unglamorous: start simple, go slow, and respect the specimen. In most cases, lukewarm water, mild soap, a soft brush, and patience will get you surprisingly far. For packed clay and ordinary grime, repetition beats aggression. For iron staining, stronger methods may help, but only when the specimen and the setting are right.
Quartz is durable, but expert quartz crystal cleaning is really about judgment. Know when to soak, when to scrub lightly, when to stop, and when to leave the heavy chemistry to experienced hands. Clean thoughtfully, and your crystals can keep their sparkle without losing their character.
Real-World Experiences: What Cleaning Quartz Crystals Teaches You
There is a very specific kind of satisfaction that comes from cleaning quartz crystals. At the beginning, a piece can look hopeless: brown film in the grooves, clay packed into the base, a cloudy surface that makes you wonder whether the crystal was ever attractive in the first place. Then you soak it, brush it, rinse it, and suddenly a clear point appears under the grime like a tiny stage light. That moment is why so many people get hooked.
One of the first things people notice is that quartz cleaning rarely rewards impatience. A fresh collector often wants instant sparkle. Real life usually delivers a slower lesson. You soak the crystal once and remove the easy dirt. You soak it again and a little more loosens. By the third round, the crystal starts looking dramatically better, and you realize the process is less about force and more about persistence. Quartz has a way of teaching restraint, which is a polite way of saying it refuses to be bullied.
Another common experience is discovering that every specimen behaves a little differently. A chunky clear quartz point may clean up with nothing more than soap, water, and a toothbrush. An amethyst cluster can hide dust in every tiny nook like it pays rent there. A smoky quartz piece with iron staining may look dull for a long time and then improve all at once after the right treatment. That unpredictability keeps the process interesting. It also keeps you humble.
Many people also learn that “cleaner” and “better” are not always the same thing. A natural stain can add warmth. A little matrix can provide context and character. A crystal that still looks earthy after cleaning may actually look more authentic than one scrubbed to within an inch of its dignity. The first time you overdo a cleaning attempt, even slightly, you understand why experienced collectors talk so much about caution. Quartz is forgiving, but it definitely remembers.
There is also the simple pleasure of handling the specimen closely. You notice growth patterns, tiny rainbows, fracture lines, and color zoning that were invisible under dirt. Cleaning becomes a way of studying the crystal, not just improving it. Even a basic DIY session can make you appreciate the stone more because you finally see what was there all along.
And perhaps the funniest part is how a “quick clean” almost never stays quick. You set out to wash one quartz point, then find yourself lining up three more pieces like a tiny mineral car wash. Before long, your sink looks like a geology department side quest. But when the crystals dry and catch the light, it feels worth it. Clean quartz has a way of rewarding patience with sparkle, and honestly, that is a pretty good trade.
SEO Tags