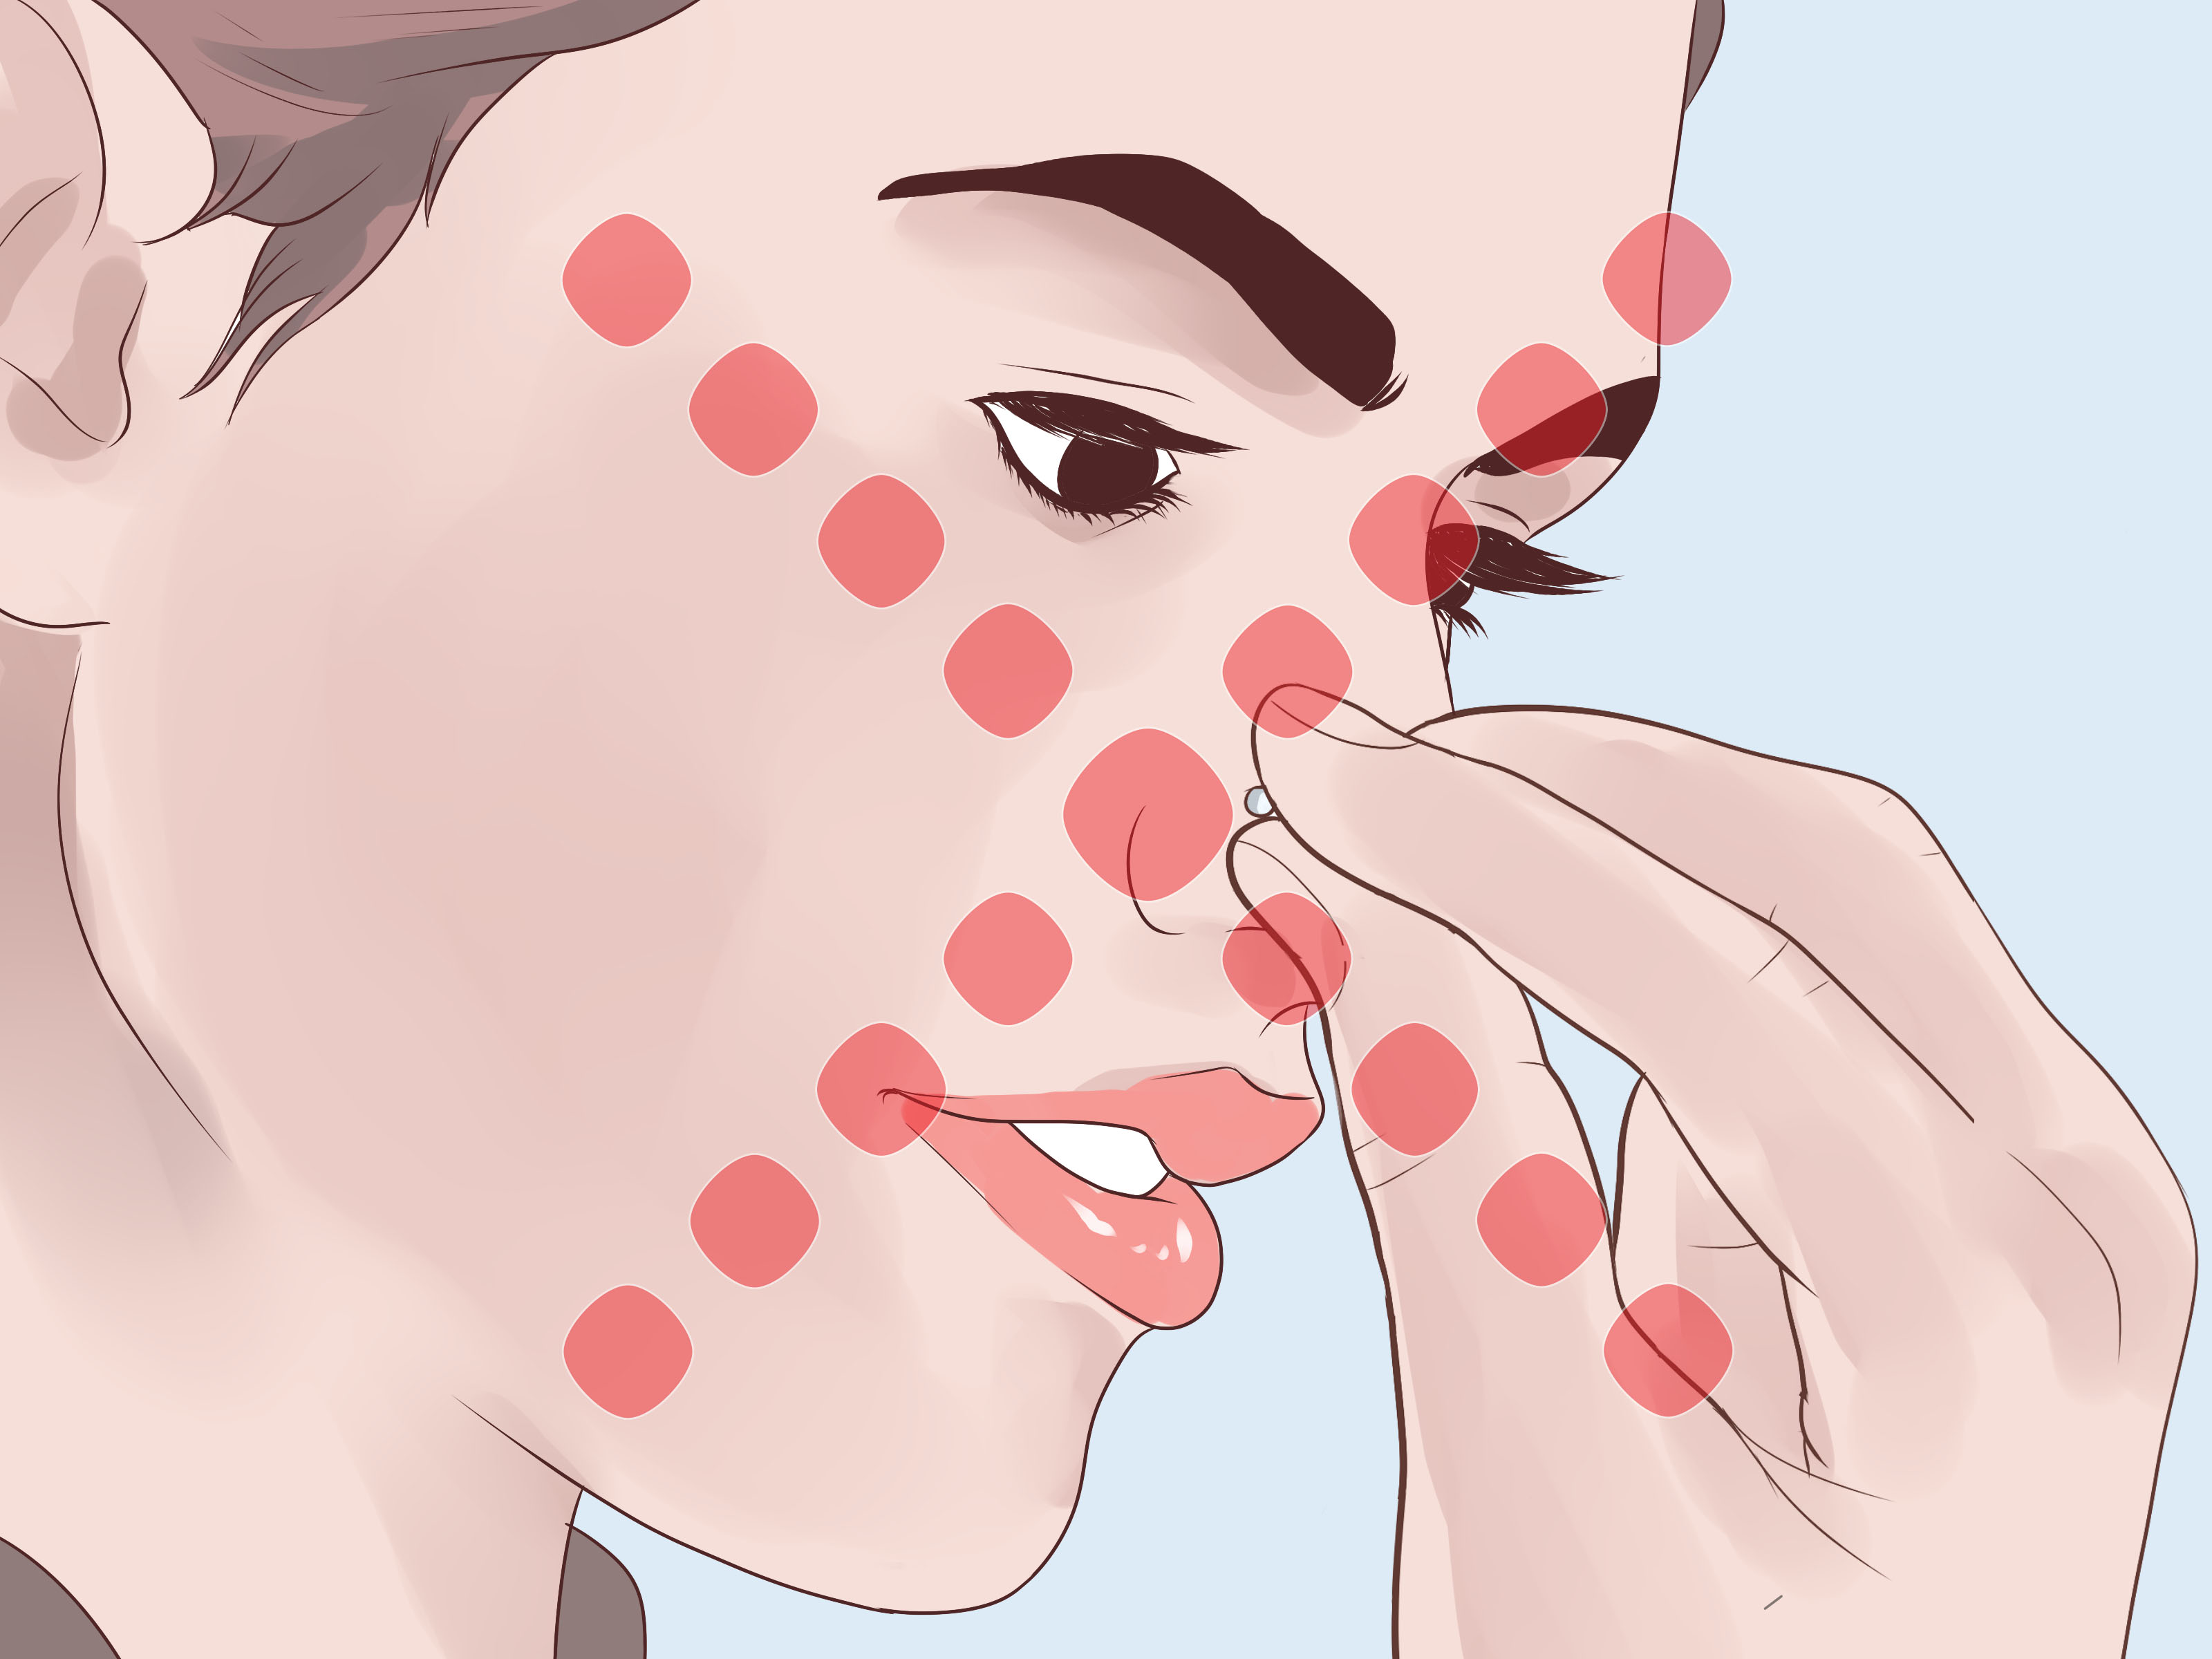

A fresh nose piercing is tiny, stylish, and surprisingly dramatic for something so small. One minute it is your new favorite accessory; the next, it is demanding a gentle cleaning routine, clean hands, and better pillowcase habits than a five-star hotel. The good news? Learning how to clean your nose piercing is simple when you stick to the basics: sterile saline, patience, and absolutely no “let me just twist it a little” behavior.
Whether you have a nostril piercing, septum piercing, or another nose placement, proper nose piercing aftercare helps reduce irritation, crust buildup, bumps, and infection risk. Your piercer’s advice should always come first because placement, jewelry style, and your skin can change the details. Still, the 12 steps below give you a practical, beginner-friendly routine based on widely accepted aftercare guidance.
Think of your piercing like a tiny houseplant with jewelry: do not overwater it, do not poke it every ten minutes, and definitely do not panic because it looks a little moody during the first few days.
Before You Start: What You Need to Clean a Nose Piercing
You do not need a luxury spa cart to clean a nose piercing. In fact, simple is usually safer. Gather these items:
- Sterile saline wound wash labeled as 0.9% sodium chloride
- Clean gauze or disposable paper towels
- Cotton swabs, used carefully and only when needed
- Clean running water
- Mild, fragrance-free soap for washing your hands
- A mirror and good lighting
Avoid hydrogen peroxide, rubbing alcohol, iodine, harsh antibacterial soap, toothpaste, makeup remover, essential oils, and random “my cousin swears by it” mixtures. Your piercing is healing tissue, not a science fair volcano.
How Often Should You Clean a Nose Piercing?
Most new nose piercings do best with gentle cleaning once or twice a day, unless your professional piercer gives different instructions. Overcleaning can dry and irritate the area, while under-cleaning allows sweat, oil, crust, and bacteria to build up. Balance is the goal: clean enough to support healing, but not so much that your skin files a formal complaint.
You should also rinse the area after sweating heavily, swimming accidentally, or getting skincare products near the piercing. However, avoid turning cleaning into an hourly hobby. Your piercing needs care, but it also needs to be left alone.
How to Clean Your Nose Piercing: 12 Steps
Step 1: Wash Your Hands First
Before touching your nose piercing, wash your hands thoroughly with soap and warm water. Scrub your palms, fingertips, under your nails, and the backs of your hands. Dry them with a clean towel or disposable paper towel.
This step is not optional. Your hands touch phones, keyboards, door handles, snack bags, and other bacteria-friendly objects all day. If your fingers are not clean, they can transfer germs to the piercing site. A clean piercing routine starts before you even look at your nose in the mirror.
Step 2: Check the Piercing Without Poking It
Stand in front of a mirror and look at the piercing. Notice whether there is dried fluid, crust, mild redness, swelling, or tenderness. Some crusting and sensitivity can be normal in the early healing stage. Thick yellow or green discharge, spreading redness, warmth, worsening pain, fever, or swelling that keeps getting worse may signal a problem.
The trick is to observe, not investigate like a detective with no boundaries. Do not squeeze bumps, scrape crust, tug jewelry, or rotate the stud or ring. Your piercing is not a loose screw.
Step 3: Spray Sterile Saline on the Outside
Hold the sterile saline spray a short distance from your nose and gently mist the outside of the piercing. Use enough to moisten the area and soften crust, but do not blast it like you are pressure-washing a driveway.
Sterile saline wound wash is popular because it is gentle and simple. Look for 0.9% sodium chloride as the main ingredient. Avoid contact lens solution, eye drops, homemade salty water that is too strong, or products with additives. Your nose piercing wants boring saline, and boring is beautiful here.
Step 4: Let the Saline Sit Briefly
Give the saline a minute or two to loosen dried buildup. This makes cleaning easier and reduces the temptation to pick at crust. If crust is stubborn, you can hold a piece of clean saline-soaked gauze against the area for a few minutes.
Do not force anything off. Crust is often dried lymph fluid, which can happen during healing. If it does not wipe away gently after soaking, leave it for the next cleaning session. Winning the battle against one tiny crust is not worth irritating the whole piercing.
Step 5: Gently Remove Loose Debris
Use clean gauze or a disposable paper towel to gently wipe away softened debris from the outside of the piercing. If you use a cotton swab, be careful: cotton fibers can snag on jewelry or leave lint behind. Use light pressure and stop if the area feels sore.
The goal is not to make the piercing look brand-new every time. The goal is to keep the area clean without disturbing the healing channel. Gentle beats aggressive every single time.
Step 6: Clean the Inside Carefully
For a nostril piercing, some buildup may form inside the nose. Wash your hands again if needed, then use saline spray or saline-moistened gauze to gently clean around the inside end of the jewelry. Move slowly and avoid pushing, pulling, or twisting.
Inside-the-nose cleaning can feel awkward at first. Good lighting helps, and so does patience. If you cannot reach a spot safely, ask your piercer for a demonstration instead of turning your nostril into a wrestling match.
Step 7: Rinse Away Leftover Saline or Soap
If you cleaned the area in the shower or used a mild cleanser around your face, rinse thoroughly with clean water. Soap residue can irritate healing tissue, especially if it is fragranced or strong. Keep facial cleansers, exfoliating acids, retinoids, sunscreen, foundation, and setting spray away from the piercing as much as possible.
Your skincare routine may be iconic, but your new piercing does not want to be included in every step. During healing, keep products around the nose simple and controlled.
Step 8: Dry With Clean Disposable Material
After cleaning, gently pat the piercing dry with clean gauze or a disposable paper towel. Do not use a shared bath towel, fluffy washcloth, or anything that may hold bacteria or snag jewelry.
Moisture trapped around jewelry can contribute to irritation. Drying is a small step, but it matters. Think of it as giving your piercing a clean, dry little landing pad instead of leaving it in a swampy situation.
Step 9: Leave the Jewelry Alone
Once the area is clean and dry, stop touching it. Do not twist, rotate, remove, flip, or “test” the jewelry. Modern piercing aftercare generally discourages unnecessary jewelry movement because it can irritate the healing channel and delay recovery.
Leave the original jewelry in place until your piercer confirms the piercing is ready for a change. Nose piercings can close quickly, especially when they are new. Removing jewelry too early may lead to closure, irritation, or a difficult reinsertion.
Step 10: Protect It From Makeup, Sweat, and Dirty Surfaces
Keep makeup, powders, brushes, and beauty sponges away from the piercing. Makeup tools can carry bacteria, and product buildup can irritate the area. If you exercise, gently rinse and dry the piercing afterward. Change pillowcases regularly, and avoid sleeping face-down on the piercing side.
Also be careful with helmets, masks, towels, shirts, and glasses. Nose jewelry loves to catch on fabric at the worst possible moment. Move slowly when drying your face or changing clothes, unless you enjoy surprise nostril drama.
Step 11: Avoid Swimming During Early Healing
Fresh piercings should stay away from pools, hot tubs, lakes, rivers, and oceans while they are healing, especially in the early stage. These environments can expose the piercing to bacteria and chemicals. If water exposure happens accidentally, rinse the piercing with clean water or sterile saline and dry it gently.
Yes, this may temporarily reduce your mermaid schedule. But protecting the piercing now can save you from bumps, irritation, and a much longer healing timeline later.
Step 12: Know When to Ask for Help
Contact a professional piercer if your jewelry feels too tight, the angle looks off, a bump keeps returning, or you are not sure whether your cleaning routine is working. Contact a healthcare professional if you notice spreading redness, worsening swelling, severe pain, thick pus, warmth, fever, red streaks, or symptoms that do not improve.
Do not remove jewelry from a possibly infected piercing unless a healthcare professional tells you to. In some cases, removing jewelry may allow the surface to close while irritation or infection remains trapped underneath. When in doubt, get expert advice instead of guessing.
What Not to Use on a Nose Piercing
Many piercing problems come from doing too much. Avoid these common aftercare mistakes:
- Hydrogen peroxide: It can be too harsh for healing tissue.
- Rubbing alcohol: It may dry and irritate the piercing.
- Iodine: It can be irritating unless specifically directed by a medical professional.
- Thick ointments: They may trap moisture and debris around the piercing.
- Tea tree oil: It can irritate skin and should not be used on a fresh piercing without professional guidance.
- Homemade salt mixtures: These can easily become too salty and drying.
- Makeup over the piercing: It can clog and contaminate the area.
More product does not mean more healing. Your nose piercing is not impressed by a 12-step skincare shelf. It wants clean hands, sterile saline, gentle drying, and personal space.
How Long Does a Nose Piercing Take to Heal?
Healing time depends on placement, jewelry, anatomy, aftercare, and whether the piercing gets irritated. Nostril piercings often take several months to fully heal, while septum piercings may heal faster for some people. However, “it looks healed” is not the same as “it is fully healed.” The outside can appear calm while the inner channel is still fragile.
Your piercer can check whether the piercing is ready for a jewelry change. Until then, keep your original jewelry in place and continue basic aftercare. Healing is not a race; it is more like waiting for toast when you are already hungry. Annoying, but worth not rushing.
Common Nose Piercing Problems and What They May Mean
A Small Bump Near the Piercing
A nose piercing bump can appear because of irritation, pressure, trauma, poor jewelry fit, or cleaning mistakes. Do not squeeze it. Instead, review your routine: Are you touching the piercing? Sleeping on it? Wearing makeup over it? Using harsh products? If the bump does not improve, visit your piercer or a dermatologist.
Crust Around the Jewelry
Light crust can be part of healing. Soften it with saline and gently remove only what comes away easily. Picking dry crust can cause tiny tears and restart irritation.
Redness and Tenderness
Mild redness and tenderness can happen after a new piercing, especially in the first few days. Symptoms should gradually improve. If redness spreads, pain gets worse, or the area feels hot, get professional advice.
Jewelry Feels Tight
If swelling makes jewelry feel tight or embedded, contact your piercer quickly. Jewelry that is too short can create pressure and irritation. Do not force it or attempt a risky change at home.
Daily Nose Piercing Aftercare Routine
Here is a simple daily routine you can follow:
- Wash your hands.
- Spray the piercing with sterile saline.
- Let crust soften naturally.
- Gently wipe away loose buildup with clean gauze.
- Rinse away residue if needed.
- Pat dry with disposable material.
- Leave the jewelry alone.
Repeat once or twice daily, based on your piercer’s recommendation. Keep your phone, pillowcases, towels, and skincare tools clean. Avoid touching the piercing when bored, nervous, or admiring yourself in every reflective surface. Admiring is allowed; poking is not.
Extra Experience-Based Tips for Cleaning a Nose Piercing
People who successfully heal nose piercings often learn the same lesson: the less dramatic the routine, the better the result. The first few days can feel exciting and slightly stressful. You may notice every tiny sensation and wonder whether your nose is healing normally or preparing to write a complaint letter. In most cases, mild tenderness, light swelling, and a little crust are part of the adjustment period. The key is to stay calm and consistent.
One helpful habit is setting a cleaning schedule. For example, clean your piercing after brushing your teeth in the morning and again before bed. Pairing aftercare with an existing routine makes it easier to remember without obsessing over it. If you clean randomly throughout the day, you may accidentally overdo it. A piercing does not heal faster because you stare at it every hour like it owes you money.
Another real-world tip is to create a small “piercing station” at home. Keep sterile saline, clean gauze, and disposable paper towels together in one place. This prevents the classic bathroom treasure hunt where you touch three drawers, two bottles, and a questionable towel before cleaning your piercing. The fewer things you touch, the cleaner the process stays.
Be careful during face washing. Many people accidentally hit their jewelry with a towel, scrub too close with cleanser, or drag a shirt neckline across the piercing. Move slowly around your nose, especially when you are half-awake. A fresh piercing can turn one careless towel swipe into a memorable life lesson.
If you wear makeup, give your piercing a product-free zone. Apply foundation, concealer, powder, and sunscreen around the piercing rather than directly over it. Clean makeup brushes regularly, and avoid using beauty sponges near the jewelry. If makeup gets into the piercing, gently rinse with sterile saline or clean water and pat dry. Do not dig around trying to remove every invisible molecule.
Sleeping is another surprisingly important part of nose piercing aftercare. Try not to sleep with your face pressed into the pillow on the pierced side. Change pillowcases often, especially if you use hair products, heavy skincare, or live with pets who believe your pillow is community property. A clean pillowcase is not glamorous, but neither is an angry piercing bump.
During colds or allergy season, be extra gentle. Blowing your nose can tug jewelry or leave moisture around the piercing. Use soft tissues, wash your hands often, and clean the piercing after heavy nose blowing if needed. If your piercing becomes very irritated during illness, check in with your piercer for placement-specific advice.
Finally, do not compare your healing timeline with someone else’s. One person may heal smoothly, while another deals with irritation from glasses, masks, skincare, sports, or sensitive skin. Your job is not to achieve the fastest healing story on the internet. Your job is to keep the piercing clean, avoid trauma, and ask for help when something seems off. Nose piercings reward patience. Give yours calm care, and it is more likely to become the effortless little sparkle you wanted in the first place.
Conclusion
Cleaning a nose piercing is not complicated, but it does require discipline. Wash your hands, use sterile saline, remove only loose debris, dry gently, and leave the jewelry alone. Avoid harsh products, makeup buildup, swimming during early healing, and the irresistible urge to twist the jewelry “just to check.”
The best nose piercing aftercare routine is boring in the best way: clean, gentle, consistent, and low-drama. When irritation, bumps, or infection signs appear, do not guess your way through it. A professional piercer can help with jewelry and placement issues, while a healthcare professional can evaluate possible infection or skin reactions. Treat your piercing kindly now, and your future nose-self will thank you.