
Colored pencils are the sneaky overachievers of the art world. They look innocent sitting in a tin, all neat and civilized, but in the right hands they can create soft gradients, crisp details, rich shadows, glowing skin, velvety petals, and fruit so realistic you’ll want to check whether it’s still edible. If you’ve ever wondered how to draw with colored pencils without ending up with a scratchy rainbow mess, you’re in the right place.
This guide breaks the process into plain English. No mystical artist fog. No “just feel the energy of the pigment” nonsense. You’ll learn what supplies matter, how to layer color, how to shade without muddying everything, and how to build drawings that look polished instead of panicked. Whether you’re a total beginner or someone whose colored pencils have been living in a drawer waiting for a heroic comeback, this article will help you draw with more confidence and better results.
Why Colored Pencils Are Worth Learning
Colored pencils are beginner-friendly, portable, relatively affordable, and surprisingly powerful. You can use them for light sketching, bold illustration, realistic portrait work, botanical art, animal fur, still lifes, and detailed decorative pieces. They also reward patience. Unlike paint, colored pencil doesn’t usually demand a big setup or dry time. You can stop, adjust, layer, and refine at your own pace.
That said, the medium has a learning curve. The biggest challenge is that great colored pencil work is often built slowly through layers. If you go too dark too fast, press too hard too soon, or use paper that fights back like an angry waffle, the drawing can become dull, waxy, or impossible to develop. The good news is that once you understand a few key techniques, the medium becomes much more cooperative.
What You Need Before You Start
1. Colored pencils
You do not need a 150-color palace-sized set to begin. A small, good-quality set is enough. What matters more is how the pencils behave. Softer pencils usually lay down richer color and blend more easily. Harder pencils hold a sharper point longer and are useful for crisp details. Many artists like using both: softer pencils for broad color and harder pencils for fine edges, texture, and final accents.
2. Paper with some tooth
Paper is not just the place where the drawing happens. It is part of the technique. Colored pencil works best on paper with enough tooth, or surface texture, to grab pigment. If the paper is too slick, the color may slide around and refuse to build. If it is too rough, the drawing may look grainy unless that texture is part of your plan. Bristol vellum, heavyweight drawing paper, and papers designed for colored pencil are excellent starting points.
3. A sharpener and eraser
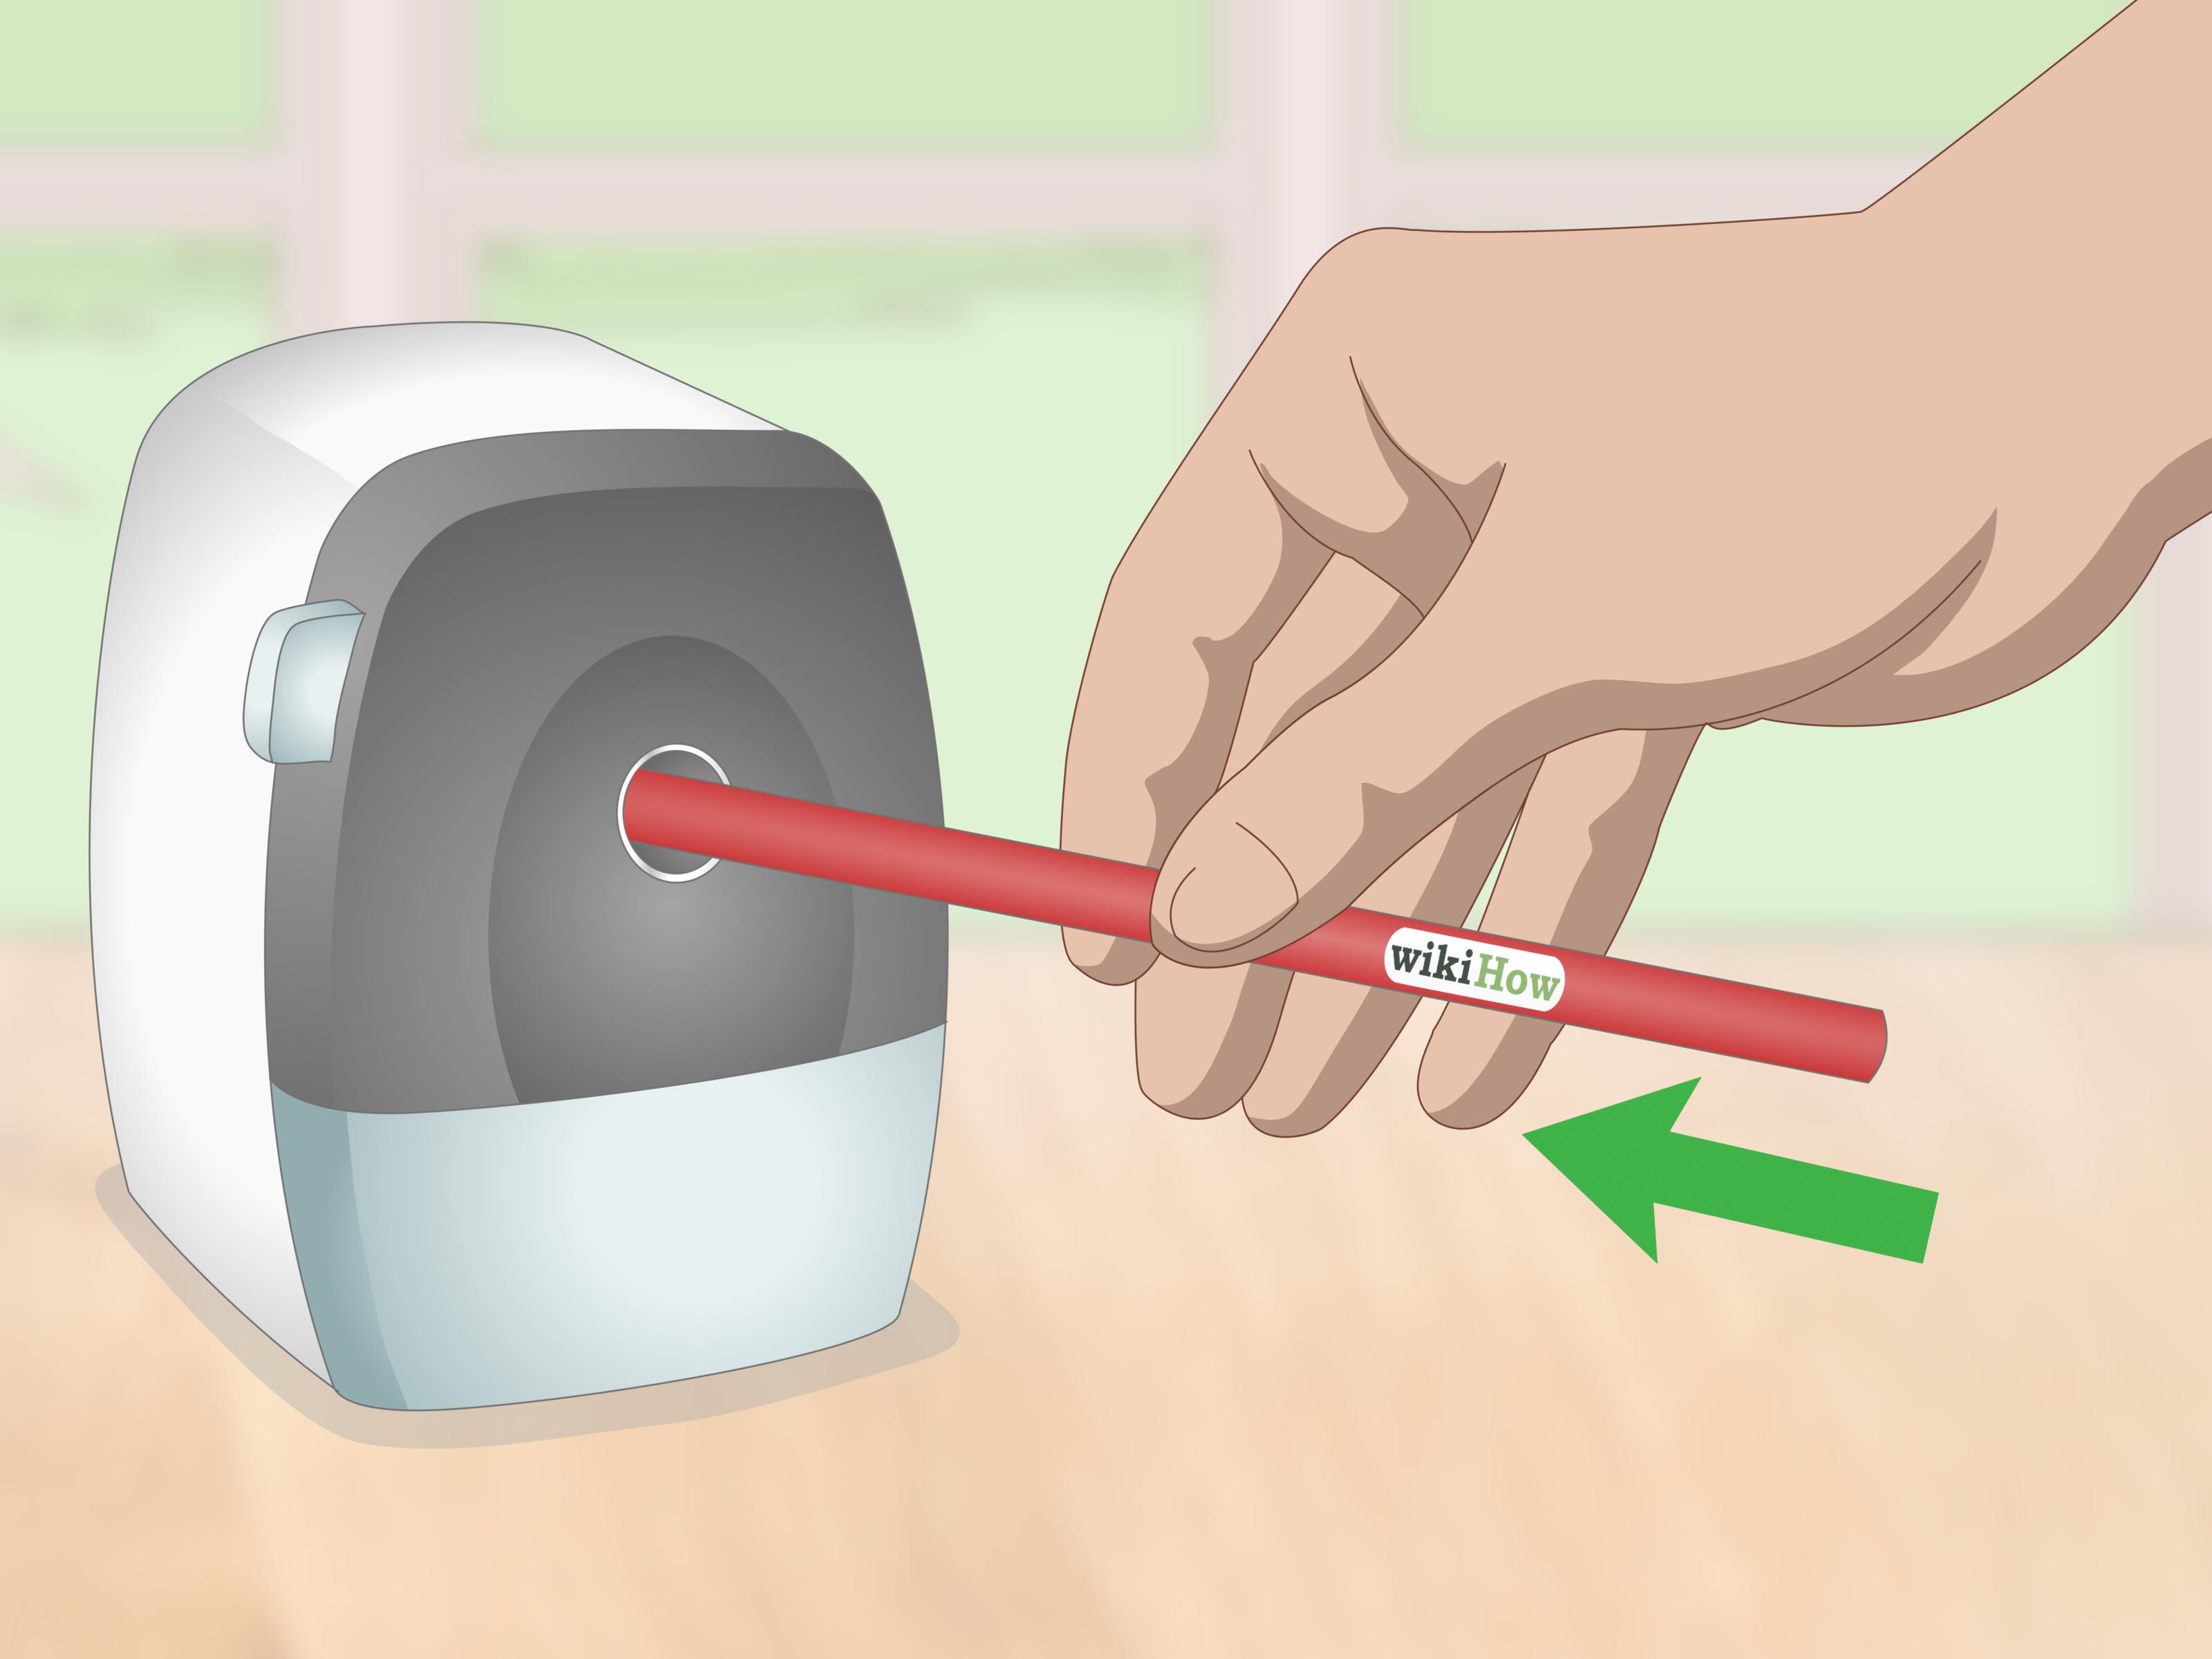
Sharp pencils matter. Very much. A dull pencil can flatten detail, muddy edges, and make your shading look like it was applied with a potato. Keep a good sharpener nearby. A kneaded eraser is helpful for lifting light graphite lines or softening small areas without destroying the surface.
4. Scrap paper for tests
Do not underestimate the humble test sheet. Use it for pressure scales, color swatches, blending trials, and mini experiments before touching the final drawing. It saves time, frustration, and dramatic speeches directed at your sketchbook.
How to Draw With Colored Pencils Step by Step
Step 1: Start with a clean, light sketch
Begin with a simple subject: an apple, a leaf, a flower, a mug, or a single feather. Keep the outline light. You want guidance, not trenches carved into the page. Many artists prefer sketching lightly with a colored pencil that blends into the final piece rather than using dark graphite that can smudge or show through later.
At this stage, focus on proportions and big shapes. Ask yourself three questions: What is the overall silhouette? Where is the light source? What are the darkest darks and lightest lights? If you answer those before diving into color, you’re already acting suspiciously like a real artist.
Step 2: Protect your highlights
One of the smartest things you can do in colored pencil is preserve the white of the paper where the brightest highlights will be. Colored pencils are not always easy to erase completely, especially after several layers. So if the top of an apple catches a bright glint or a ceramic cup has a sharp reflective edge, leave those areas mostly untouched early on.
Step 3: Build color with light layers
This is the golden rule of colored pencil drawing: apply light pressure first. Then layer. Then layer again. And yes, then layer some more. A beginner mistake is pressing hard immediately because the color seems too faint. But heavy pressure fills the tooth of the paper too soon, which means later layers have nowhere to go.
Instead, use soft, even strokes to place the first layer. Think of it as tinting the paper rather than trying to finish the drawing in one pass. For example, if you are drawing a red apple, don’t begin with your darkest red and attack the page like it owes you money. Start with a lighter red or warm base tone. Add orange, crimson, or brown in later layers to create depth and natural variation.
Step 4: Work from general shapes to details
First block in the big areas of local color. Then develop values. Then refine edges and details. This keeps you from polishing a tiny section while the rest of the drawing still looks like a confused map. Colored pencil rewards a gradual build. Broad forms first, sharp eyelashes later.
If you are drawing a leaf, first establish the overall green family and the main shadow pattern. Then begin adjusting temperature with yellow-green, olive, or blue-green. Only after the form feels solid should you sharpen the point and add veins, serrated edges, or tiny surface blemishes.
Step 5: Use multiple colors, not just one
Rich colored pencil drawings rarely rely on a single pencil per object. Real surfaces contain shifts in temperature, reflected color, and value. Skin can include peach, pink, cream, brown, lavender, and gray. A white mug may hold blues, warm grays, and pale reflections from nearby objects. A green leaf might contain yellow, blue, brown, and even touches of red around the edges.
This is where colored pencils become fun. Instead of hunting for one perfect “correct” color, build the illusion with layered combinations. Your drawing instantly looks more alive when the colors interact rather than sit there like isolated stickers.
Step 6: Control pressure like it actually matters, because it does
Pressure changes everything: value, saturation, texture, and blend quality. Practice making a pressure scale with one pencil. Start with a whisper-light stroke and gradually increase pressure until you reach a bold, saturated tone. This simple exercise teaches your hand how much control you really have.
Light pressure is ideal for early layers, subtle transitions, and smooth blending. Medium pressure helps deepen color. Heavy pressure is best saved for final accents, burnishing, or small areas that truly need a polished finish.
Step 7: Blend the smart way
Colored pencils can be blended in several ways, but the safest beginner method is layering similar colors in overlapping passes. Use short, consistent strokes or small circular motions to reduce visible lines. A colorless blender or white pencil can help smooth transitions, but it should support your layers, not rescue a rushed drawing.
Try this simple blend: shade from yellow into orange, then orange into red. Overlap each color slightly into the next zone. Repeat with light pressure until the transition looks smooth. If you press too hard too early, the surface can become slick and stubborn. Colored pencil has a long memory and is not always forgiving.
Step 8: Try burnishing for a polished look
Burnishing is the technique of layering with heavier pressure to press pigment into the paper and create a smoother, richer surface. It can make colors appear more saturated and unified. It works especially well after several light layers are already in place.
For example, once an apple is nearly complete, you can use a lighter pencil, white pencil, or blender pencil over selected areas to smooth the texture and intensify the finish. The key word is “selected.” Burnish everything too soon and you lose the ability to keep layering. Burnish strategically and your drawing looks refined instead of flattened.
Step 9: Add texture last
Texture is what makes a peach look fuzzy, wood look fibrous, and fur look touchable. But texture sits on top of form, not the other way around. First make the object look three-dimensional. Then add the surface character.
Use sharper pencils and directional strokes for texture. Fur follows growth patterns. Wood grain follows the object’s structure. Flower petals often need soft gradients with slightly crisper edges near folds. A strawberry might need tiny seed pockets and value changes around them. Texture becomes more convincing when it follows the contour of the object.
Best Beginner Subjects for Colored Pencil Practice
If you want fast progress, choose subjects that teach one major skill at a time.
Fruit
Apples, pears, oranges, and bananas are perfect for practicing shading, highlights, and color transitions. They are simple shapes with enough surface variation to keep things interesting.
Leaves and flowers
These help you study color variation, edges, and layered forms. A single leaf is excellent practice for veins, gradients, and natural texture. A flower teaches petal overlap and subtle shifts in value.
Simple still lifes
A mug, spoon, glass jar, or folded cloth helps build observation skills. These objects teach reflections, curves, and shadow shapes without overwhelming detail.
Eyes, feathers, and fur studies
Once you feel more comfortable, small realism studies are a great challenge. They teach precision, patience, and directional mark-making.
Common Mistakes to Avoid
Pressing too hard too early
This is the king of beginner mistakes. It fills the tooth, limits layering, and makes smooth development much harder.
Using the wrong paper
If your paper cannot hold multiple layers, your drawing may stay patchy no matter how much effort you pour into it.
Ignoring values
Color is exciting, but value does the heavy lifting. A drawing with accurate light and dark relationships can look convincing even with simple color choices. A drawing with weak values can look flat even if the palette is gorgeous.
Detailing too soon
Do not spend twenty minutes rendering one tiny shiny spot on a cherry while the cherry still looks like a red potato. Build the structure first.
Skipping swatches
Pencil barrels can lie. The color on paper often looks different from the outside of the pencil, especially after layering. Swatches save surprises.
A Simple Colored Pencil Practice Routine
If you want real improvement, keep the routine manageable. Try this:
Day 1: Make color swatches and pressure scales.
Day 2: Draw a sphere or apple to practice highlights and shadow.
Day 3: Blend three-color gradients in strips.
Day 4: Draw a leaf and focus on edges and veins.
Day 5: Draw a flower petal study with soft transitions.
Day 6: Copy a small texture such as wood, fur, or fabric.
Day 7: Combine everything in a simple still life.
This kind of structured practice teaches faster than randomly jumping into a giant masterpiece on day one. Save the museum retrospective for later.
How to Make Colored Pencil Drawings Look More Professional
Professional-looking work usually comes down to a few habits: cleaner edges, better value control, more patient layering, and smarter color choices. Here are the upgrades that matter most:
First, sharpen often. Crisp details and clean transitions depend on a good point. Second, observe more than you invent when learning. Draw what you actually see, not what your brain thinks an eye, leaf, or mug should look like. Third, step back from your work. Looking from a distance helps you catch value problems and uneven balance. Fourth, simplify. Not every inch needs maximum detail. Areas of rest make focal points stronger.
Finally, finish with intention. Add your darkest accents carefully. Refine important edges. Soften unimportant ones. Clean up the background if needed. Great colored pencil drawings often succeed because the artist knows where to stop, which is honestly one of the hardest skills in all of art.
Experiences You’re Likely to Have While Learning Colored Pencils
One of the most relatable experiences with colored pencils is the moment you realize the first layer looks almost disappointingly light. Many beginners stare at the page and think, “That’s it? I waited all this time for a whisper of pink?” Then something magical happens around the third, fourth, or fifth layer. The color starts to deepen. The form begins to turn. The object suddenly feels round instead of flat. Colored pencil teaches delayed gratification better than almost any medium.
Another common experience is discovering that the paper is either your best friend or your greatest enemy. When you use a sheet with the right amount of tooth, the pencils glide, grab, and build beautifully. When you use paper that is too smooth or too flimsy, every mark feels like a negotiation. Many artists remember the exact drawing where they finally understood that the problem was not a lack of talent. It was the surface.
There is also the very humbling experience of pressing too hard too soon. Almost everyone does it. You want strong color, so you push harder. Then the area gets slick, shiny, and resistant. Now every new layer seems to sit on top like a stubborn guest who will not mingle. It’s frustrating, but it teaches one of the most important lessons in colored pencil: patience creates richness. Force creates problems.
You may also notice that colored pencil changes the way you observe the world. A red apple stops being “red.” Suddenly it contains coral, burgundy, reflected yellow, a dusty violet shadow, and a tiny white highlight that makes the whole thing believable. A white cup is no longer white. It’s blue-gray near the rim, warm gray on the side facing the table, and almost silver where the light fades. This shift in observation is one of the most rewarding experiences the medium offers.
There is a physical side to the experience too. Your hand learns endurance. Your wrist learns control. You start sharpening pencils almost automatically, testing pressure without thinking, and turning the page so your strokes follow the form more naturally. These small habits feel boring at first, but later they become the quiet machinery behind better work.
Emotionally, colored pencil can be strangely calming. The repeated layering, the soft sound of pigment on paper, the focus required for details, and the gradual progress can feel meditative. Of course, it can also make you dramatically question your life choices when one shadow looks wrong for forty minutes. That’s part of the package. The important thing is that colored pencil rewards persistence. Even awkward drawings usually teach you something useful.
Perhaps the best experience comes when you compare your early work to a newer piece and realize you can actually see growth. Your colors are cleaner. Your shadows make sense. Your highlights feel intentional. Your objects look solid. That progress rarely happens in one grand leap. It happens in tiny improvements layered one on top of another, much like the medium itself. In that way, colored pencils are not just a drawing tool. They are a quiet lesson in how skill is built.
Conclusion
If you want to learn how to draw with colored pencils, keep it simple at first: choose decent paper, use light pressure, layer patiently, protect your highlights, and develop form before detail. The medium may look gentle, but it rewards serious observation and disciplined technique. Start with small subjects, practice consistently, and let your drawings build slowly. Over time, your color will get richer, your shading smoother, and your confidence a lot less fragile.
The best part is that colored pencil can grow with you. It welcomes beginners, but it does not run out of depth once your skills improve. So sharpen a few pencils, pick a subject that won’t emotionally destroy you, and start layering. Your future drawings will thank you.