
Few medical skills look as simpleand feel as oddly intimidatingas giving an intradermal injection. The needle barely enters the skin, the dose is tiny, and the goal is not to reach muscle, fat, or a dramatic movie-scene artery. Instead, the medication or testing solution is placed just under the outer skin layer, where it creates a small raised bump called a wheal or bleb. Tiny? Yes. Casual? Absolutely not.
An intradermal injection, often shortened to ID injection, is most commonly associated with the Mantoux tuberculin skin test, allergy testing, and certain vaccine administration situations. Because the injection is shallow, accuracy matters. Too deep, and the fluid may enter subcutaneous tissue. Too shallow, and the solution may leak out like it has decided to abandon the mission.
This guide explains how to give an intradermal injection from an educational, healthcare-training perspective. It is intended for trained healthcare professionals, students practicing under supervision, and readers who want to understand the procedure. It is not a green light to inject yourself, your roommate, your dog, or your houseplant. Always follow your facility policy, medication order, product instructions, and local scope-of-practice rules.
What Is an Intradermal Injection?
An intradermal injection places a very small amount of fluid into the dermis, the skin layer just below the epidermis. That is why the technique is different from subcutaneous and intramuscular injections. A subcutaneous injection goes into fatty tissue. An intramuscular injection goes deeper into muscle. An intradermal injection stays shallowalmost parallel to the skin.
The classic intradermal injection angle is about 5 to 15 degrees, with the needle bevel facing upward. When performed correctly, the solution creates a small, pale, raised bubble on the skin. That bubble is not a mistake; it is the visual “receipt” that the medication or testing material landed in the intended layer.
Common Uses of Intradermal Injections
Intradermal injections are used when the skin’s immune response is part of the goal. The best-known example is the Mantoux tuberculin skin test, also called a TB skin test or TST. A small amount of purified protein derivative is injected into the inner forearm, and the reaction is later assessed by a trained professional.
Intradermal technique may also be used for certain allergy tests, where tiny amounts of test solutions are placed into the skin to observe a controlled reaction. Some vaccines may be administered intradermally only when the product guidance allows it. For example, certain mpox vaccine guidance has included intradermal administration under specific public health conditions. The key phrase here is “specific guidance.” Never assume a medication or vaccine can be given intradermally just because the needle is small and confidence is large.
Intradermal Injection Sites
The most common intradermal injection site is the volar surface of the forearm, which is the inner side of the forearm. For TB skin testing, the site is usually selected away from the wrist, elbow crease, veins, scars, rashes, tattoos, bruises, or areas with heavy hair. Some protocols allow alternate sites, such as the upper back or scapular region, depending on the test or medication.
A good intradermal injection site should be clean, easy to see, relatively flat, and free of irritation. Avoid skin that looks inflamed, infected, burned, hardened, swollen, or recently injured. If the skin looks like it has already had a busy week, choose another approved site.
Supplies Needed
Before beginning, gather everything you need. Leaving mid-procedure to search for gauze is how small clinical tasks turn into scavenger hunts.
- Medication, vaccine, or test solution as ordered
- Tuberculin syringe or other approved syringe
- Appropriate small-gauge needle according to protocol
- Alcohol swab or approved skin antiseptic
- Clean gloves
- Gauze pad, if needed
- Sharps disposal container
- Documentation tools, such as electronic health record access or test form
- Skin marker, if protocol requires marking the site
For many intradermal procedures, the volume is extremely small, often around 0.1 mL, depending on the product. Always verify the ordered dose. A tuberculin syringe is commonly used because it allows precise measurement in tenths and hundredths of a milliliter.
Safety First: Before You Pick Up the Syringe
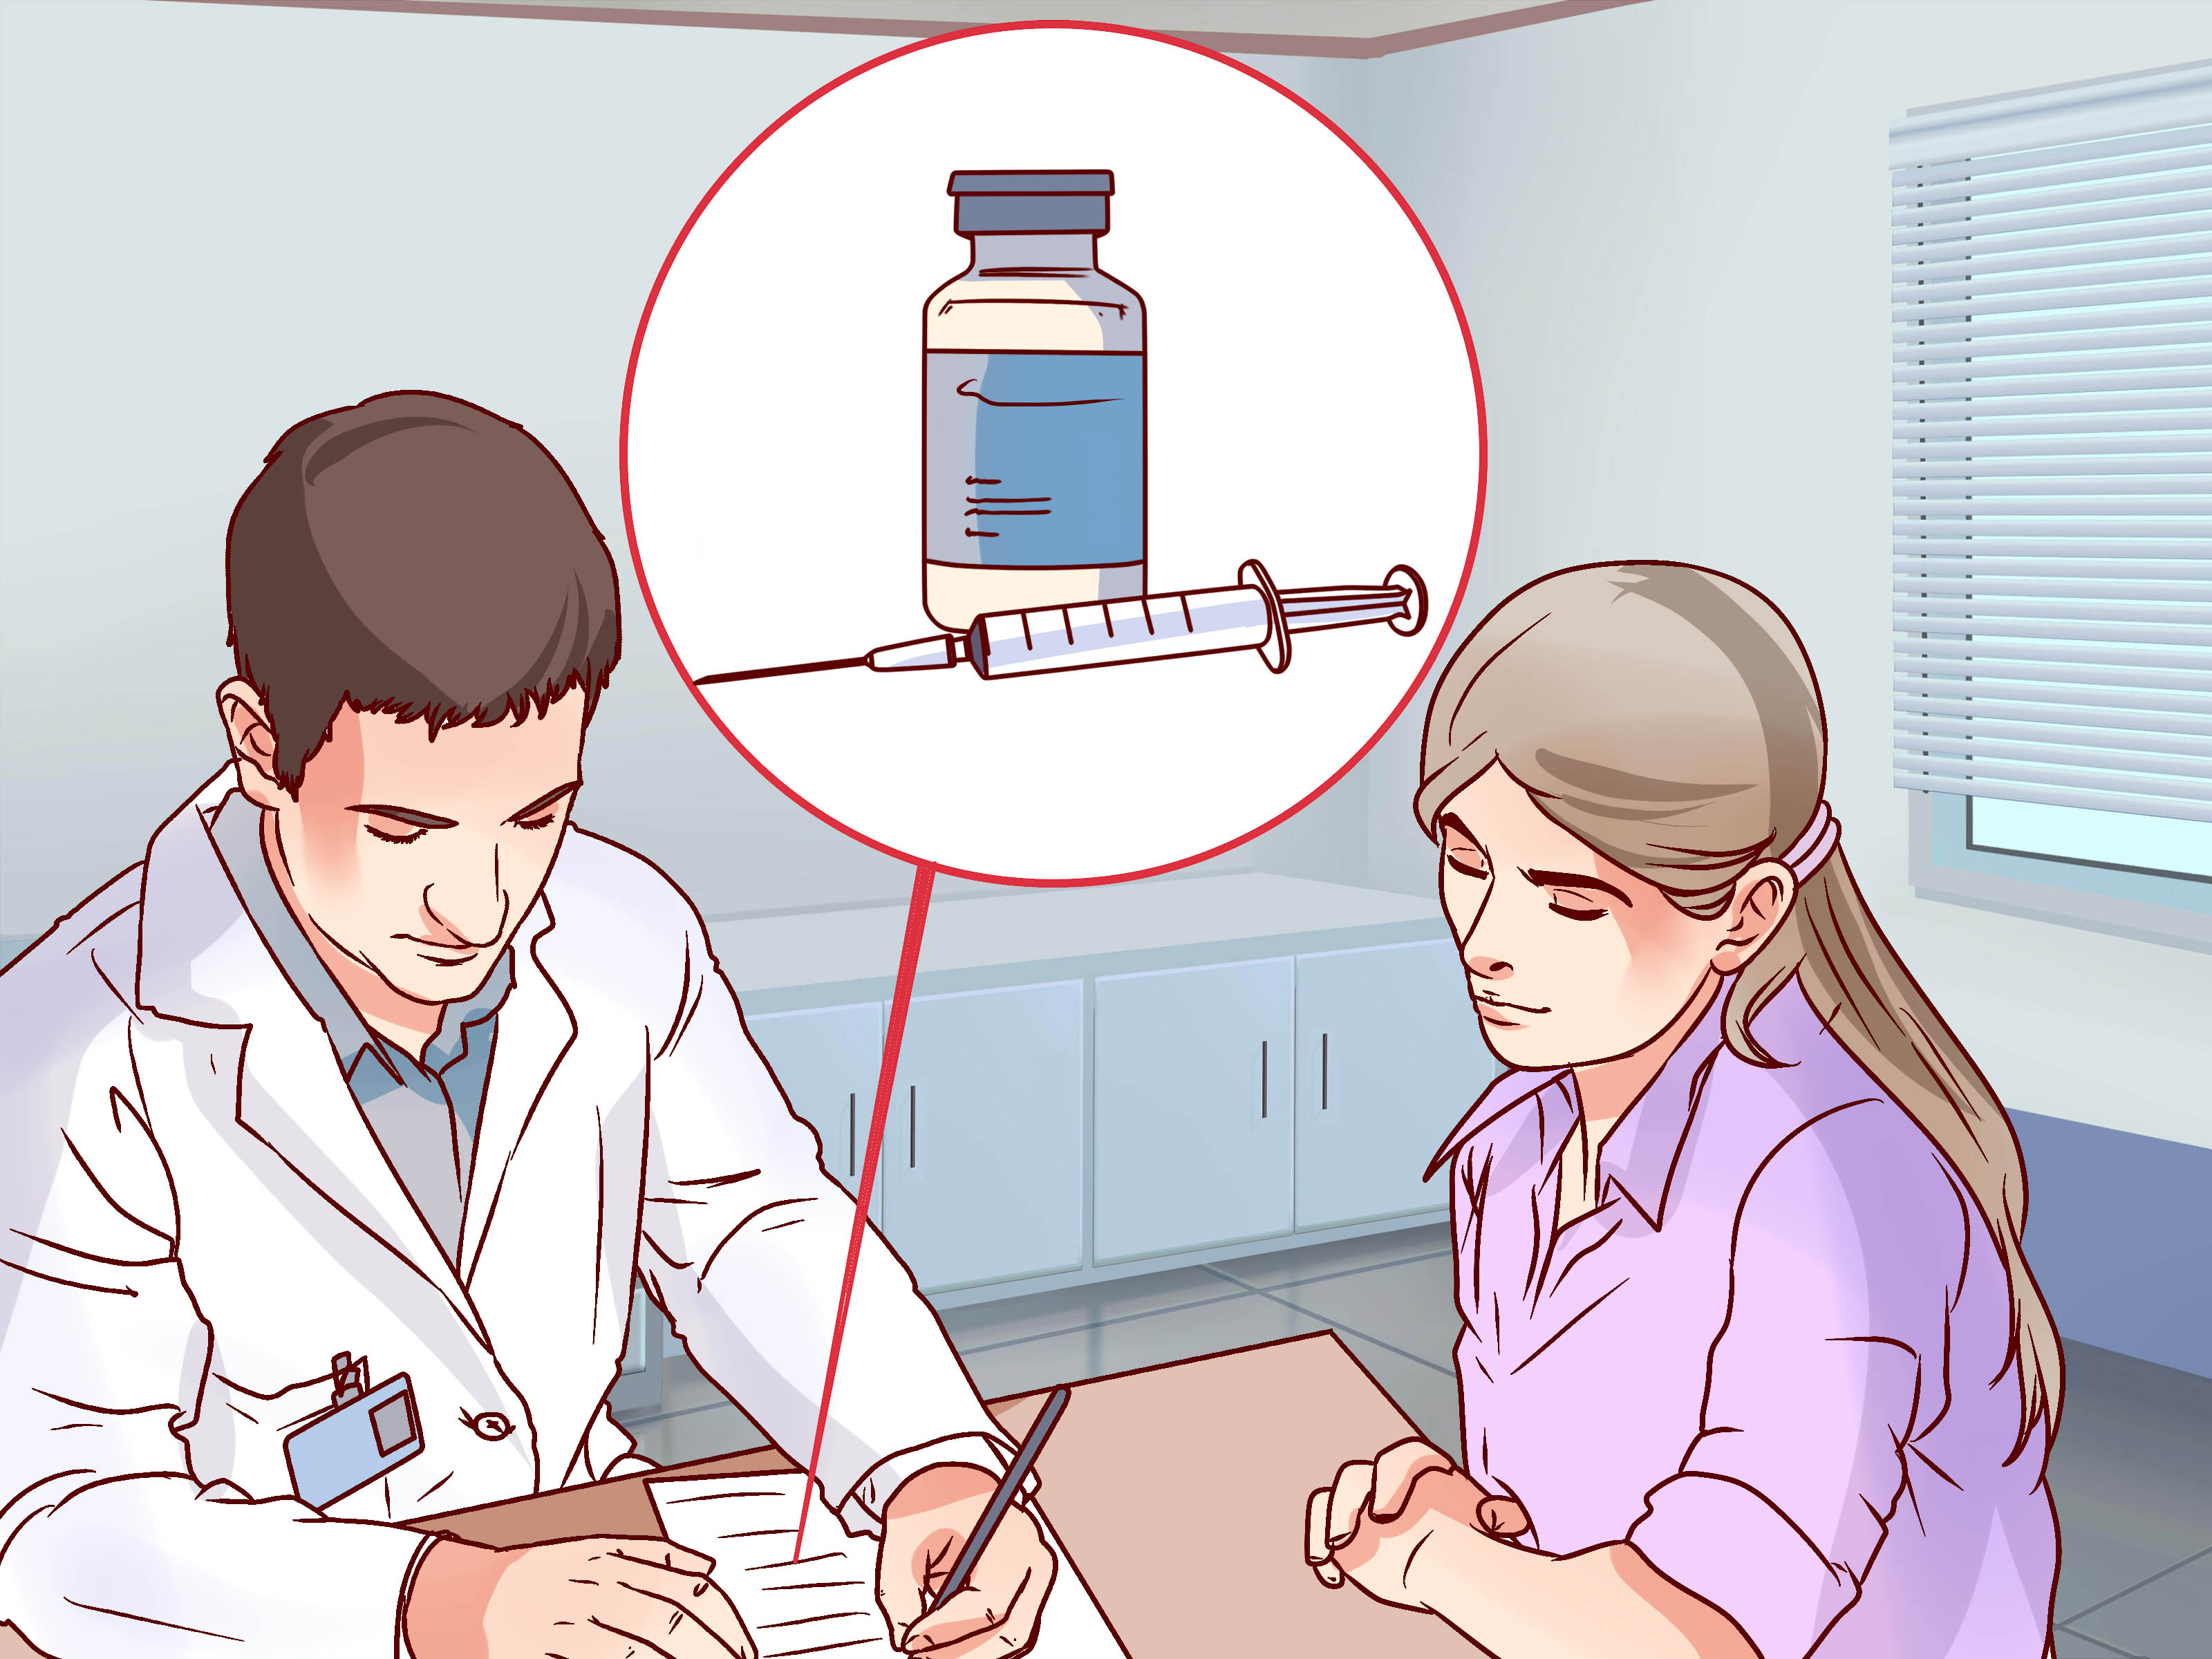
Safe injection technique begins before the needle appears. Confirm the right patient, right medication or test solution, right dose, right route, right time, and right site. Review allergies, contraindications, expiration dates, storage requirements, lot numbers, and whether the patient has had previous reactions.
Perform hand hygiene. Wear gloves when indicated by policy. Use a sterile, single-use needle and syringe. Do not reuse a needle. Do not reuse a syringe. Do not “just change the needle” and reuse the syringe. That is not being resourceful; that is inviting infection-control chaos to brunch.
Explain the procedure to the patient in plain language. A simple explanation helps reduce anxiety: “This injection goes just under the top layer of skin, so you may see a small raised bump afterward.” Tell the patient not to scratch, rub, or press the area unless instructed otherwise.
How to Give an Intradermal Injection: Step-by-Step
Step 1: Verify the Order and Prepare the Dose
Check the medication or test solution against the order and product instructions. Confirm the route is intradermal. Inspect the vial or prefilled device for expiration date, discoloration, cloudiness, damaged packaging, or questionable storage. If anything looks wrong, stop and clarify.
Prepare the exact dose using aseptic technique. If drawing from a vial, follow your facility’s medication-preparation policy. Label the syringe if there is any delay between preparation and administration. In healthcare, “I’ll remember which one this is” is not a documentation strategy.
Step 2: Identify and Position the Patient
Use two patient identifiers according to policy. Ask the patient to sit or lie comfortably with the selected site supported. For a forearm injection, position the arm palm-up on a stable surface. Good positioning prevents sudden movement and helps you keep the needle at the correct shallow angle.
Step 3: Select the Injection Site
Choose an approved site. For the inner forearm, select an area with intact skin, usually several inches from the wrist and elbow crease. Avoid visible veins, moles, scars, lesions, bruising, or skin irritation. If a previous intradermal test was placed recently, use a different approved site according to protocol.
Step 4: Clean the Skin and Let It Dry
Clean the site with an alcohol swab or approved antiseptic using facility technique. Let the skin air dry completely. Do not fan it, blow on it, or wave your hand over it like you are cooling soup. Drying time matters because wet antiseptic can sting and may interfere with technique.
Step 5: Hold the Skin Taut
Use your non-dominant hand to gently stretch the skin. Taut skin helps the needle enter smoothly and keeps the dermal layer stable. This is especially helpful for older adults or anyone with less elastic skin.
Step 6: Insert the Needle Bevel Up at a Shallow Angle
Hold the syringe in your dominant hand with the bevel facing up. Place the needle almost flat against the skin at a 5- to 15-degree angle. Insert only the bevel into the skin, just below the surface. The needle should not dive downward. Think “glide under the skin,” not “harpoon the forearm.”
In a proper intradermal injection, the bevel may be visible just beneath the skin. Advance only enough to cover the bevel unless the specific device instructions say otherwise. Keep the syringe steady.
Step 7: Inject Slowly and Watch for the Wheal
Depress the plunger slowly. A small, pale elevation should form. This raised area is the wheal or bleb. It may look like a tiny mosquito bite, minus the mosquito’s bad manners.
If a wheal forms, the fluid has likely entered the dermis. If no wheal forms, the injection may have gone too deep. Follow facility policy and product-specific instructions for whether the dose or test must be repeated at another site.
Step 8: Withdraw the Needle Carefully
Withdraw the needle at the same shallow angle used for insertion. Do not massage the site. Do not press firmly on the wheal unless the specific protocol says to do so. Pressure can disperse the fluid into deeper tissue and may affect results, especially for skin testing.
Step 9: Dispose of the Needle Immediately
Activate any safety device according to manufacturer instructions and place the used needle and syringe directly into an approved sharps container. Do not recap the needle unless your facility has a specific, approved reason and method. Safe disposal protects the patient, the healthcare worker, housekeeping staff, family members, and everyone else who did not sign up for a surprise needle encounter.
Step 10: Document the Procedure
Document immediately. Include the date, time, site, medication or test solution, dose, route, manufacturer, lot number, expiration date, and the name or credentials of the person administering it, as required. For TB skin testing, document instructions for return reading, usually within the required window set by protocol.
What a Correct Intradermal Injection Looks Like
A successful intradermal injection usually creates a visible wheal. The site may appear pale and raised. The patient may feel pressure, mild stinging, or a tiny pinch. The reaction should not be aggressively rubbed or covered with tight bandaging unless instructed by policy.
For a TB skin test, the wheal is not the final result. The result comes later, when a trained professional measures induration, which is the firm raised areanot redness. Redness may look dramatic, but for TB skin testing, the firm swelling is the star of the show.
Common Mistakes and How to Avoid Them
Going Too Deep
The most common intradermal injection mistake is inserting the needle too steeply. If the angle is closer to a subcutaneous injection, the fluid may go into fatty tissue instead of the dermis. Keep the syringe almost parallel to the skin.
Injecting Too Fast
Slow injection gives the dermis time to expand and form a wheal. Pushing too quickly can cause leakage or discomfort. This is not a race. The dermis is small real estate; move in politely.
Massaging the Site
Massaging may spread the solution away from the intended layer. For testing procedures, that can interfere with accuracy. Unless a specific protocol says otherwise, leave the wheal alone.
Using the Wrong Route
Never change a medication route because it seems convenient. Intradermal, subcutaneous, intramuscular, and intravenous routes are not interchangeable. The same dose given by the wrong route may be ineffective or harmful.
Poor Documentation
If it is not documented, it may as well have vanished into the clinical fog. Accurate records are especially important for tests that must be read later, vaccines that require lot tracking, and procedures that may need follow-up.
Aftercare Instructions for Patients
Tell the patient what to expect. A small bump may remain temporarily. Mild redness or itching may occur depending on the product. The patient should avoid scratching, rubbing, or covering the site tightly. For TB skin testing, they must return within the correct reading window. Reading the test too early or too late may produce unreliable results.
Patients should seek medical help if they develop signs of a severe allergic reaction, such as trouble breathing, swelling of the face or throat, dizziness, widespread hives, or rapid worsening symptoms. They should also contact a healthcare professional if the site becomes increasingly painful, hot, swollen, draining, or severely blistered.
Special Considerations for TB Skin Testing
The Mantoux tuberculin skin test is one of the most recognized intradermal procedures. It requires standardized administration, careful documentation, and trained interpretation. The result is read by measuring induration in millimeters, not by judging redness with a dramatic squint.
The patient should be told exactly when to return for reading. They should not be asked to read their own result at home. A phone photo of a forearm under kitchen lighting is not a reliable diagnostic tool.
Special Considerations for Vaccines
Some vaccines have specific route, dose, site, storage, and administration rules. Most routine adult vaccines are not given intradermally. If intradermal vaccination is allowed, the product guidance will say so. Healthcare professionals should always follow current recommendations, emergency-use instructions when applicable, and facility policy.
Vaccine handling matters as much as needle technique. A perfectly placed injection cannot rescue a vaccine that was stored incorrectly, expired, contaminated, or prepared against instructions. Before administration, check the product, dose, route, lot number, expiration date, temperature history, and any special preparation steps.
When Not to Give an Intradermal Injection
Do not administer an intradermal injection if there is no valid order, if the route is unclear, if the product is expired or compromised, if the patient has a contraindication, or if you are not trained and authorized to perform the procedure. Also avoid injecting into damaged or infected skin.
If the patient reports a previous severe reaction to the same test or product, pause and verify next steps with the ordering clinician. Safety is not a delay; safety is the job.
Experience Notes: What Makes Intradermal Injections Go Smoothly
In clinical training settings, intradermal injections often become the skill that teaches students humility. Many learners expect intramuscular injections to be the hard part because the needle is longer and the word “muscle” sounds more serious. Then they meet the intradermal injection, with its tiny angle and fussy little wheal, and suddenly everyone is negotiating with the laws of geometry.
The first practical lesson is that positioning matters more than people think. When the patient’s arm is floating in midair, the injector tends to chase the skin. When the forearm rests on a table, the site becomes stable, the skin can be stretched evenly, and the needle angle is much easier to control. A supported arm is like a good parking spot: it does not guarantee success, but it prevents several avoidable problems.
The second lesson is to slow down. New learners sometimes insert the needle correctly and then push the plunger too quickly. The fluid may leak out or create an uneven bump. A smooth, slow injection allows the dermis to lift gradually. The best intradermal technique has a calm rhythm: stretch, shallow angle, bevel under skin, slow push, watch the wheal, withdraw gently.
The third lesson is that the bevel is the boss. If the bevel is down, too deep, or not fully under the skin, the injection may fail. Experienced instructors often remind learners to keep the needle almost parallel to the skin, as though sliding the bevel under a very thin sheet of paper. That image helps because intradermal technique is not about force. It is about placement.
Another real-world challenge is patient anxiety. Some patients tense up when they see any needle, even a tiny one. A short explanation helps: “This goes just under the skin and should leave a small bump.” Calm communication prevents surprises. Humor can help too, as long as it is respectful. Saying “This is the shallow end of the injection pool” may get a smile; saying “Oops” at any point should be permanently banned from the clinical vocabulary.
Documentation is another area where experience makes people sharper. After placing a TB skin test, for example, the procedure is only half complete. The patient needs clear return instructions, and the chart needs accurate details. A beautifully placed test that no one reads at the correct time becomes a missed opportunity. Good intradermal technique includes the follow-through.
Finally, experienced clinicians know when to stop and ask. If the wheal does not form, if the wrong site was used, if the patient moves unexpectedly, or if the dose leaks out, the answer is not creative guessing. The answer is to follow policy, consult guidance, and document appropriately. Intradermal injections are small procedures, but they reward precision. The needle may be tiny, but the standards are full-sized.
Conclusion
Learning how to give an intradermal injection means mastering a shallow angle, a tiny dose, and a careful eye for the wheal. The basic idea is simple: place the solution into the dermis, not the fat or muscle. The safe execution requires training, clean technique, correct supplies, accurate documentation, and respect for product-specific instructions.
Whether the procedure is used for a TB skin test, allergy testing, or an approved vaccine situation, the same principles apply: verify first, prepare carefully, stretch the skin, insert bevel up at a 5- to 15-degree angle, inject slowly, avoid massaging, dispose of sharps immediately, and document like future-you will need the detailsbecause future-you probably will.
Intradermal injections may be small, but they are not casual. Done correctly, they are precise, useful, and surprisingly elegant. Done incorrectly, they can cause inaccurate results, discomfort, wasted medication, or safety risks. So keep the technique shallow, the documentation deep, and the sharps container closer than your coffee cup.