
Moving blankets are the overachievers of the home-improvement world. Sure, they were born to protect dressers, tables, and mysteriously heavy boxes labeled “miscellaneous,” but they also moonlight as sound dampeners, draft blockers, temporary room dividers, paint shields, and budget-friendly privacy panels. If you want a blanket to do more than sit in a closet and look rugged, learning how to hang moving blankets the right way is the trick.
The good news is that this is not a complicated project. The better news is that you do not need to be the kind of person who owns twelve specialty tools and calls every weekend a “build day.” With the right hardware, a little planning, and realistic expectations, you can hang moving blankets securely and neatly for a home studio, garage workspace, moving-day protection zone, or a temporary partition that does not scream, “I gave up halfway through decorating.”
This guide walks through how to hang moving blankets in 9 steps, including how to choose the best hanging method, what hardware works best, how to avoid wall damage, and how to make the finished setup look less like a panic fort and more like a smart DIY solution.
Why Hang Moving Blankets in the First Place?
People usually hang moving blankets for one of four reasons: to reduce echo, to protect walls and floors during a project or move, to block drafts or light, or to create a temporary divider. They are popular because they are thick, durable, relatively affordable, and easy to remove compared with a permanent installation.
That said, moving blankets are not magic capes. They can help soften echo, reduce some noise, add privacy, and protect surfaces, but they will not turn a busy apartment into a silent library or a spare bedroom into a professional recording studio overnight. Think of them as practical, flexible tools that improve a space, not miracle workers in quilted form.
What You’ll Need Before You Start
- Moving blankets
- Tape measure
- Pencil
- Level
- Stud finder
- Chosen hanging method: curtain rod, ceiling track, tension rod, hooks, cable wire, clamps, or freestanding frame
- Wall anchors or toggle bolts if you are not mounting into studs
- Grommet kit, curtain clips, spring clamps, or binder clips for blankets without grommets
- Drill and screwdriver
- Step stool or ladder
- Optional: zip ties, carabiners, bungee cords, washers, or command-style temporary clips for very light-duty setups only
Step 1: Decide What Job the Blanket Needs to Do
Before you drill anything, define the goal. This matters because the best way to hang moving blankets depends on why you are hanging them.
For sound dampening
You want coverage near reflective surfaces such as bare walls, corners, doors, or behind a microphone setup. In this case, a pleated or slightly spaced-off-the-wall installation works better than pulling the blanket flat and tight like a giant tortilla.
For a room divider
You want a rod, track, or wire system that lets the blankets slide or pull aside. Ceiling-mounted tracks usually look the cleanest, while tension rods can be a great renter-friendly option for narrower openings.
For draft or light blocking
You need full coverage over a doorway, window, or alcove. Overlap matters more than beauty here, though it is still possible to make it look intentional.
For wall or floor protection during a move or renovation
Your setup can be more temporary. Hooks, clamps, and even a simple rod may be enough if the blanket only needs to stay up during the job.
Step 2: Measure the Space Like You Plan to Win
Measure the width and height of the area you want to cover. Then add extra room for overlap. If you are hanging moving blankets over a doorway, wall section, or corner, do not measure with wishful thinking. Measure the actual area.
Many moving blankets are roughly around the size of a small wall panel, but sizes vary. Some are standard furniture pads, while others are oversized or grommeted versions designed for hanging. If you want a cleaner finish, plan for the blankets to extend slightly beyond the edges of the area. That extra few inches makes a huge difference in coverage and appearance.
If your goal is sound control, consider using more than one blanket and allowing some folds. Straight, flat coverage is fine, but a slightly gathered blanket often performs better and looks softer in the room.
Step 3: Pick the Best Hanging Method for Your Space
This is where your project gets real. The best hanging method depends on wall type, blanket weight, how temporary the setup is, and whether you are okay making holes.
Curtain rod
Great for doorways, windows, and short spans. This is one of the easiest ways to hang moving blankets neatly, especially if the blankets have grommets or clip rings. For heavier blankets, choose a sturdy rod with brackets and proper anchors.
Tension rod
Excellent for renters and temporary setups in narrow openings. This works best for lighter-duty configurations, single blankets, or smaller spaces. It is fast, convenient, and blissfully low-drama.
Ceiling track
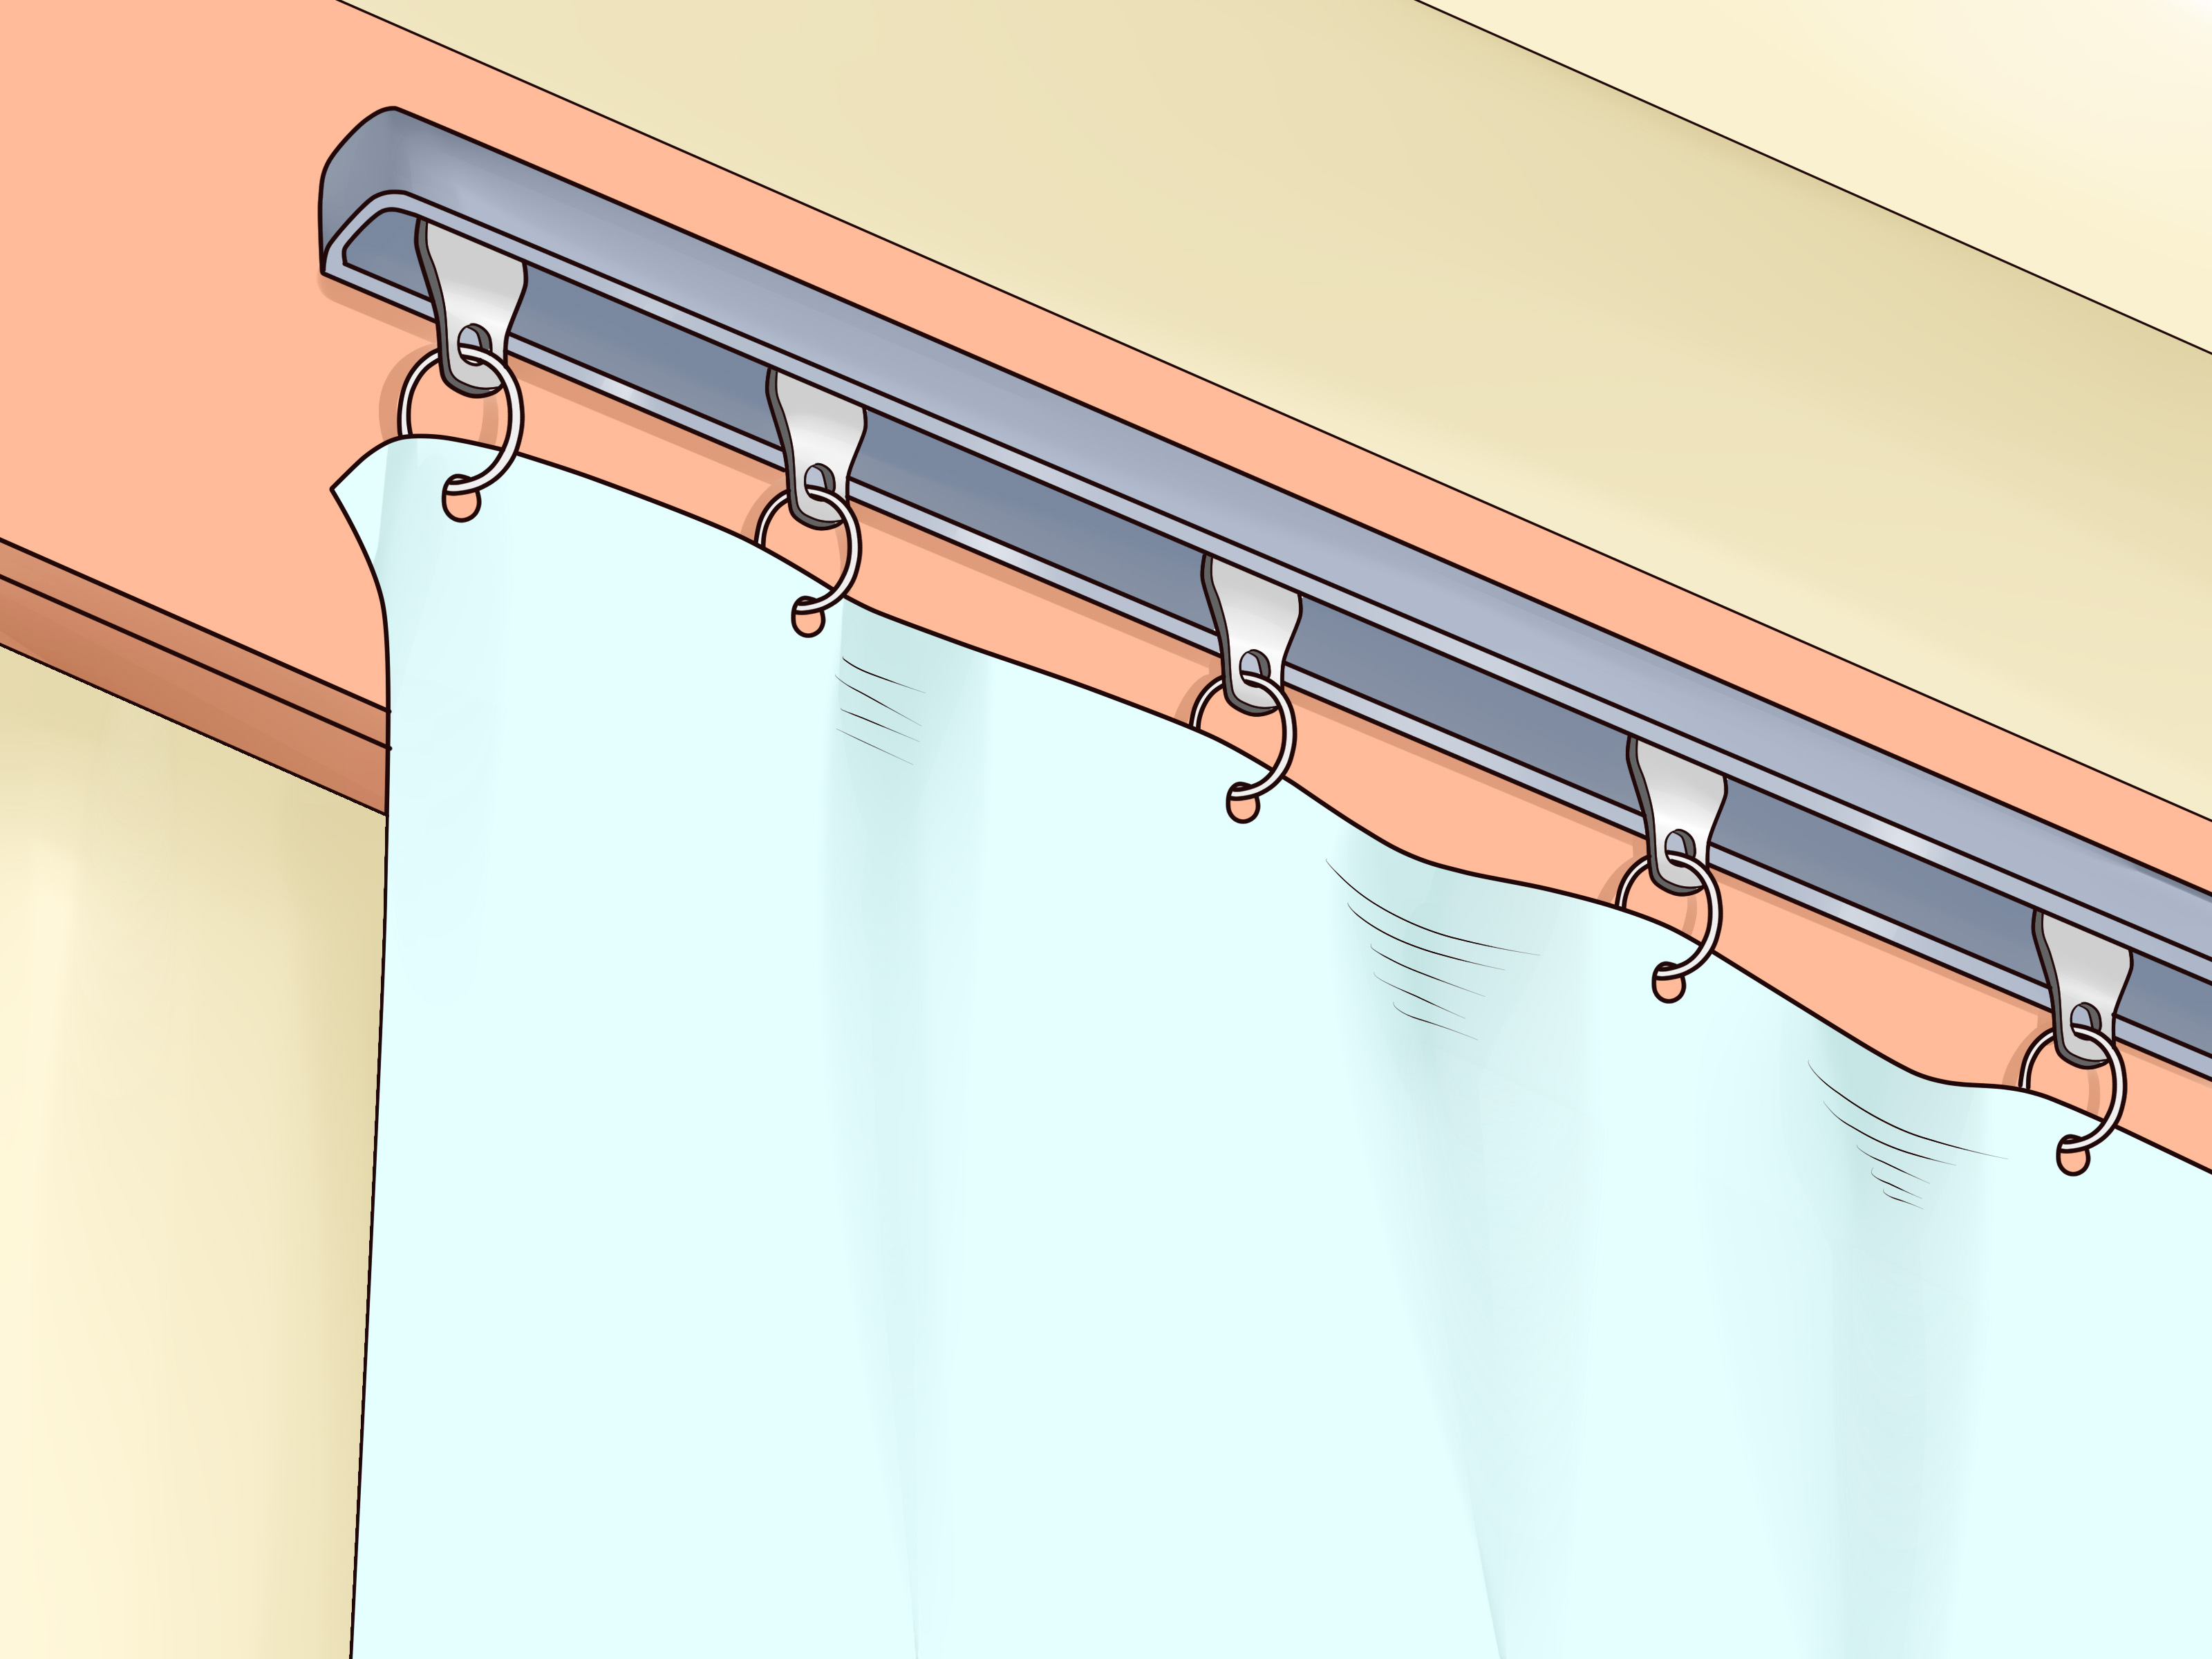
Best for room dividers, studio corners, and floor-to-ceiling coverage. If you want the blanket to slide open and closed like a curtain, a ceiling track is one of the cleanest options.
Hooks and grommets
Simple and effective for walls, garages, workshops, and utility spaces. If your blanket already has grommets, this method is almost suspiciously easy. If it does not, you can add grommets or use heavy-duty curtain clips.
Cable wire
Useful for wide spans where a rod would sag. This method can work well across open spaces, especially when you want a more flexible divider.
Freestanding frame
If you do not want to drill into walls or ceilings, build or buy a simple frame using PVC, garment racks, mic stands, or portable backdrop stands. This is especially handy for home studios and rental spaces.
Step 4: Choose Hardware That Can Actually Handle the Weight
This is the step many people try to skip, right before their blanket lands dramatically on the floor at 2 a.m.
Moving blankets are heavier than regular curtains, especially padded models. One blanket may be manageable on a sturdy rod, but two layered blankets or oversized blankets can get heavy fast. Check the weight of the blanket, then compare it with the rod, track, anchor, or hook rating.
If you can mount into studs, do that. Studs are the VIP section of the wall. If you cannot, use anchors rated for the load and wall type. Drywall anchors are not all created equal, and ceiling applications often have lower safe capacities than wall applications.
Also, keep the setup away from anything hot. Do not hang moving blankets near space heaters, exposed bulbs, fireplaces, or stoves. Thick fabric and heat are not best friends; they are the kind of duo that creates terrible news.
Step 5: Prep the Blankets Before Hanging Them
Take the blankets out, unfold them fully, and inspect them. Check for tears, weak seams, or loose stitching. If they smell like a warehouse romance gone wrong, air them out first. If the blanket is dusty, vacuum it or clean it according to the manufacturer’s care instructions.
Next, figure out how the blanket will attach to the hardware.
If the blanket has grommets
Lucky you. Use hooks, S-hooks, curtain rings, or carabiners and move on with your life.
If the blanket has no grommets
You have options:
- Add a grommet strip or install grommets along one edge
- Use curtain clips or heavy-duty clip rings
- Fold the top edge over a rod and clamp it evenly
- Sew a simple rod pocket if you want a cleaner finish
Try not to put stress on just one or two points. Spread the attachment points evenly so the blanket hangs flat and does not rip over time.
Step 6: Mark Your Mounting Points Carefully
Use a tape measure, pencil, and level to mark where your brackets, hooks, or track will go. If you are using a rod over a doorway or window, mount it high enough for the blanket to hang cleanly and wide enough to cover the full opening.
If you are covering a wall for sound control, decide whether you want the blanket flat, pleated, or suspended slightly away from the wall. A small air gap can improve performance. If you want a fuller look or better sound absorption, place your hanging points closer together so the blanket bunches gently instead of stretching tight.
For corners, do not be afraid to wrap the setup slightly around the angle. Straight, tight corners can look harsh and leave awkward reflective gaps. A soft curve often works better.
Step 7: Install the Hardware Securely
Now it is time to commit.
For rods and wall brackets
Drill pilot holes, install anchors if needed, and screw the brackets in firmly. Test each bracket by hand before hanging the blanket.
For ceiling tracks
Follow the manufacturer instructions closely and distribute fasteners along the full length of the track. Ceiling-mounted systems can look sleek, but only if they are installed securely.
For hooks
Space them evenly. If the blanket is heavy, use more hooks than you think you need. This is not overkill. This is wisdom in work boots.
For tension rods
Make sure the rod is seated tightly between two solid surfaces. Then test it before you trust it with a thick blanket and your dignity.
Once the hardware is up, give it a firm pull. If anything wiggles like it has commitment issues, fix that now.
Step 8: Hang the Moving Blanket and Fine-Tune the Fit
Attach the blanket using your chosen rings, clips, hooks, or grommets. Start from one side and work across evenly. Do not just hang one end and hope the rest sorts itself out like a sitcom plot.
Once it is up, step back and look at it from a distance.
- Is it level?
- Does it cover the area fully?
- Are there gaps at the sides or top?
- Is the weight distributed evenly?
- Does it drag on the floor too much?
If the blanket is for acoustic use, leave some folds or pleats rather than pulling it tight. If it is for a divider, make sure it can still move without catching. If it is for draft blocking, overlap the sides generously.
Step 9: Test It, Adjust It, and Make It Look Intentional
The final step is less glamorous but incredibly important. Use the setup for a day or two, then check it again. Heavy blankets can shift, clips can slide, and rods can sag if the load is uneven.
For sound-dampening use, clap your hands in the room and listen. If the echo is still bouncing around like it pays rent, add more coverage near the most reflective surfaces or create a larger air gap.
For room-divider use, open and close the blanket a few times. If it drags, bunches awkwardly, or keeps trying to become modern art, adjust the spacing and bottom length.
And yes, appearance matters. If this setup is going to stay up for a while, make it look deliberate. Matching clips, even spacing, a clean hemline, and a rod or track that suits the room can make moving blankets look surprisingly polished.
Common Mistakes to Avoid
- Using weak hardware: A cheap rod and a heavy blanket are a bad couple.
- Ignoring wall type: Drywall, plaster, brick, and concrete all need different anchors and fasteners.
- Hanging blankets near heat sources: Keep them well away from heaters, stoves, fireplaces, and hot lights.
- Pulling the blanket too tight: For sound control, some folds and a little space help.
- Using too few attachment points: Spread out the weight so the fabric does not tear.
- Assuming all moving blankets are the same: Size, weight, thickness, and edge construction vary a lot.
Best Places to Hang Moving Blankets
- Behind a desk in a home office or podcast setup
- In a garage workshop to reduce echo and protect walls
- Across a doorway to block drafts or light
- As a temporary room divider in a studio apartment
- Around a vocal recording corner or practice area
- Along hallways or stair rail zones during a move or renovation
Real-World Experiences and Lessons From Hanging Moving Blankets
The first time most people hang moving blankets, they imagine a quick twenty-minute project. Then reality arrives carrying a drill, an uneven wall, and one blanket that feels like it secretly trained for weightlifting. The experience is usually a mix of “This is easier than I thought” and “Why is this clip attacking me?” In other words, a normal DIY afternoon.
One of the most common experiences comes from people trying to tame echo in a spare bedroom or home office. They hang one blanket flat against the wall, clap once, and wonder why the room still sounds lively. Then they add a second blanket, give the first one some folds, pull it slightly away from the wall, and suddenly the room sounds calmer. Not silent, not magically transformed into a professional studio, but noticeably better. That small moment is where many DIYers learn the golden rule: moving blankets work best when they are treated more like curtains than wallpaper.
Another frequent lesson comes from renters. They want a no-drill solution, so they try a tension rod over a doorway or across an alcove. When the blanket is modest in size and the rod is installed well, it works beautifully. But when someone tries to hang a very heavy blanket plus a second backup blanket “just in case,” the rod often surrenders in dramatic fashion. The practical takeaway is simple: temporary methods are great, but they still have limits. The more weight you add, the more important proper support becomes.
People also discover that moving blankets are surprisingly useful as room dividers. In a studio apartment, one blanket on a ceiling track can carve out a sleeping nook. In a shared office, a pair of blankets can create quick privacy for calls. In a garage, they can help separate a dusty work zone from the rest of the space. The setup may not win interior-design awards, but when done neatly, it can look intentional and solve a real problem fast.
Then there is the “I only need this for a weekend” crowd. These are the folks painting a room, moving a sectional, redoing floors, or protecting walls during a renovation. They hang moving blankets with hooks or clamps, promise themselves they will take them down on Sunday, and then keep them up for three months because they turn out to be incredibly handy. That is one of the sneaky truths about moving blankets: once you realize how useful they are, they start multiplying in your life like extension cords and coffee mugs.
Perhaps the biggest shared experience is this: the neatest setup usually comes from slowing down at the start. Measuring carefully, choosing the right hardware, and giving the blanket even support saves a lot of frustration later. A rushed setup may work for a day. A thoughtful setup can last through a season, a project, or a whole chapter of apartment living.
So if your first attempt is a little crooked, a little lumpy, or a little “industrial chic by accident,” do not worry. Adjust it. Tighten the hardware. Add another clip. Raise the rod. Shift the folds. The best moving-blanket setups are usually not perfect on the first try. They get better because someone actually uses them, notices what is annoying, and fixes it. That is not failure. That is DIY in its natural habitat.
Final Thoughts
If you want a flexible, affordable way to reduce echo, protect surfaces, block drafts, or divide a room, hanging moving blankets is a smart solution. The secret is not just getting the blankets up on the wall. It is choosing the right method, matching the hardware to the load, and installing everything with enough care that the setup feels solid, safe, and useful.
In short: measure first, support the weight properly, keep the blankets away from heat, and do not be afraid to use pleats, tracks, or freestanding frames when they make more sense than forcing a bad wall setup. A moving blanket may not be glamorous, but when it is hung well, it gets the job done. And honestly, that is more than can be said for a lot of trendy home gadgets.
SEO Tags