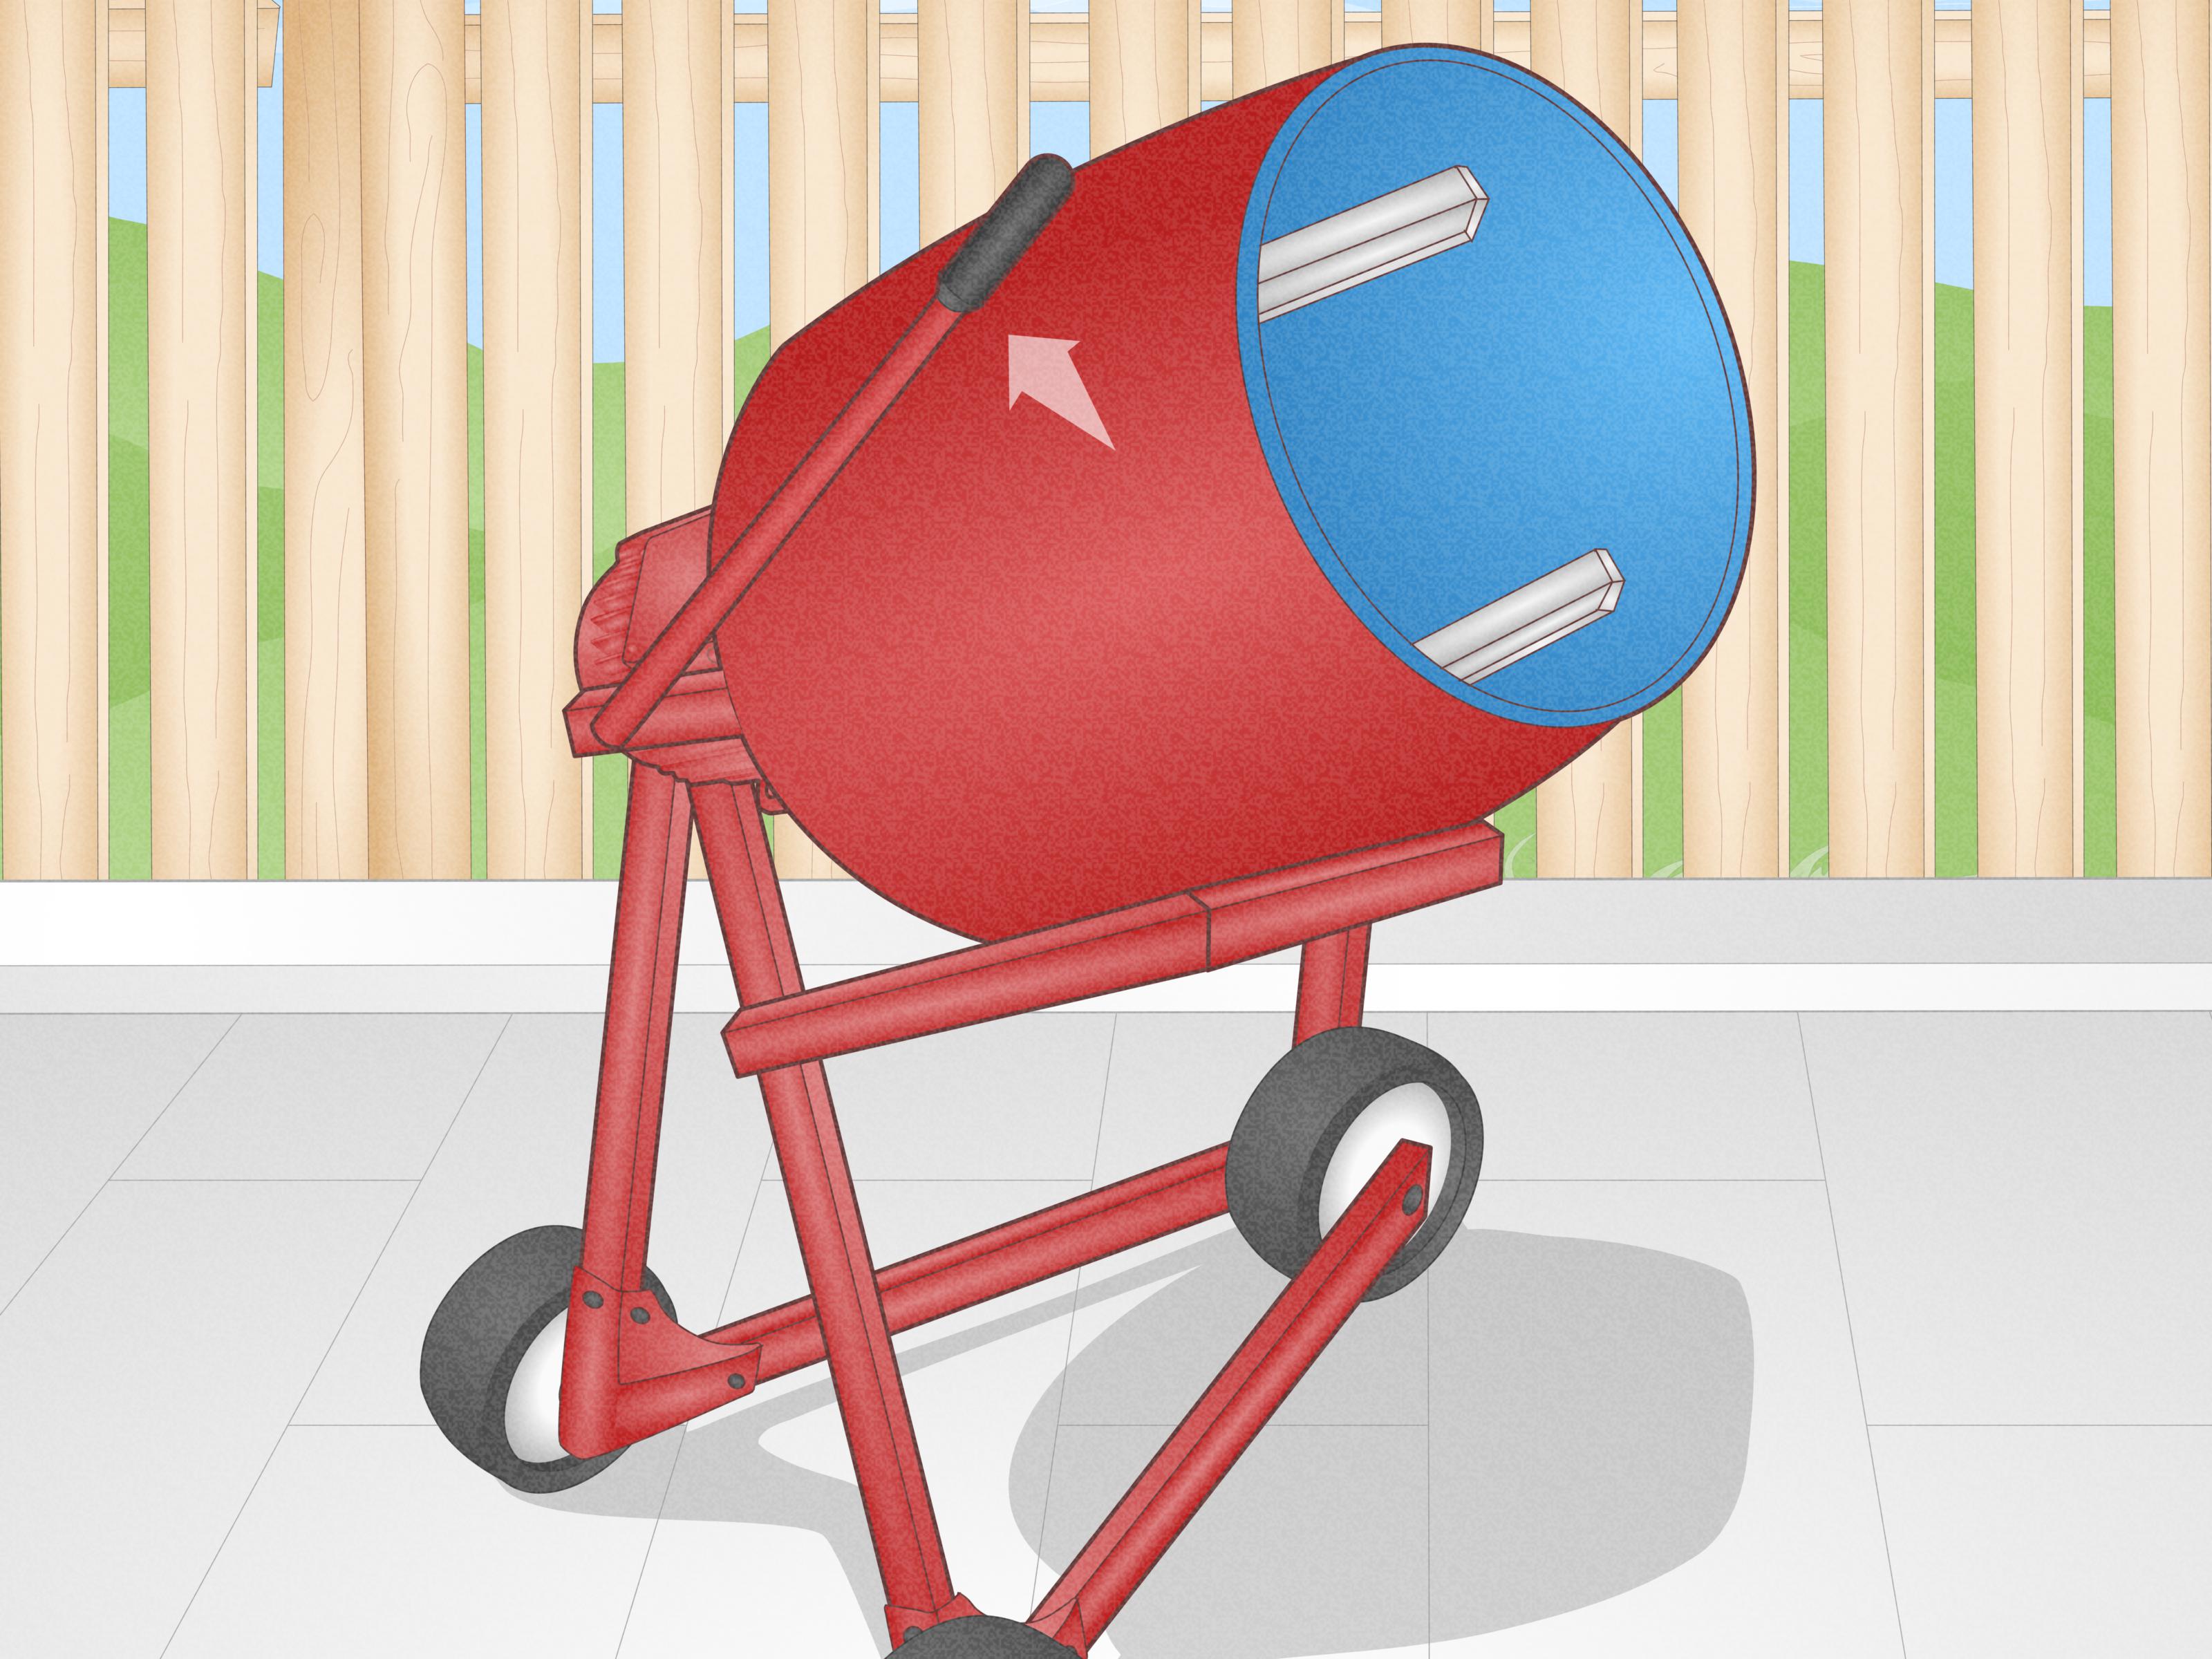

Making a cement mixer at home sounds like the kind of weekend project that begins with confidence, a pile of lumber, and someone saying, “How hard could it be?” The good news: a simple DIY cement mixer can be built safely for small batches of concrete, mortar, or garden projects. The better news: you do not need to create a noisy, sketchy, motor-powered monster that looks like it escaped from a farm auction.
This guide focuses on the best practical method: a manually operated rolling drum mixer. It is affordable, portable, easier to build than a powered mixer, and much safer for most homeowners. It will not replace a commercial concrete mixer for slabs, foundations, driveways, or structural work. But for fence posts, small pads, stepping stones, landscape edging, repair patches, and hobby projects, it can save your back from the punishment of mixing every batch by shovel.
First, Understand What You Are Building
People often say “cement mixer,” but most of the time they mean “concrete mixer.” Cement is only one ingredient. Concrete is the full mixture of cement, sand, gravel or stone, water, and sometimes additives. A mixer’s job is to tumble these materials until the dry pockets disappear and the batch becomes consistent.
The best DIY cement mixer does three things well:
- It rotates a drum or barrel smoothly.
- It includes internal paddles or baffles to lift and fold the mix.
- It allows safe loading, mixing, pouring, and cleaning without putting your hands near moving parts.
The design below uses a sturdy barrel mounted on a simple wooden or metal cradle. Instead of a motor, you rotate the drum by hand using a handle or a rope-wrap method. That may sound old-fashioned, but it is exactly why it works. Fewer powered parts mean fewer expensive mistakes, fewer pinch points, and fewer chances of creating a backyard machine that demands tribute in the form of gloves, knuckles, and dignity.
Safety Before Sawdust: Important Warnings
A cement mixer is not just a bucket with ambition. Concrete is heavy, wet cement is alkaline and can irritate or burn skin, dry mix creates irritating dust, and rotating equipment can catch clothing or fingers. Before building or using your homemade cement mixer, wear safety glasses, gloves, long sleeves, closed-toe boots, and a dust mask or respirator when handling dry concrete mix.
Build this mixer for small, noncritical projects. Do not use a homemade mixer for structural concrete unless a qualified professional approves your process, proportions, and quality control. For footings, foundations, columns, large slabs, retaining walls, or anything that must carry serious loads, rent a commercial mixer or order ready-mix concrete.
Keep the mixer manual, stable, and simple. Avoid exposed belts, chains, gears, salvaged motors, and improvised electrical wiring. If your design begins to look like a washing machine and a lawn mower had a disagreement, stop and simplify.
Best DIY Method: A Rolling Barrel Cement Mixer
The rolling barrel method is the best balance of usefulness, cost, and safety. The idea is straightforward: a clean barrel rests on rollers or an axle inside a frame. You load the concrete ingredients through a hatch, close the lid, rotate the barrel, then tip or open the drum to pour the batch into a wheelbarrow or directly into a form.
Why This Method Works
Concrete mixes best when it tumbles. A smooth barrel alone will roll the material around like a lazy burrito. Internal baffles solve that problem by lifting the wet mix and folding it back into itself. This repeated lifting, dropping, and folding action helps distribute water evenly and breaks up dry clumps.
A hand-powered mixer also gives you control. If the mix is too dry, you can add a splash of water. If it looks too wet, you can add a small amount of dry mix. And because the drum is small, cleanup is faster. That matters because concrete waits for no one. It hardens with the cheerful stubbornness of a toddler who has discovered the word “no.”
Materials and Tools You Will Need
Use clean, strong materials. Do not use a barrel that previously held chemicals, fuel, pesticides, or unknown liquids. A food-grade plastic barrel or a clean steel drum is best.
Materials
- One 20- to 30-gallon food-grade plastic barrel or clean steel drum with a secure lid
- Two sturdy 2×6 boards for the long frame rails
- Four 2×4 boards for cross braces and legs
- Four heavy-duty caster wheels, small trailer rollers, or rubber wheels for the drum cradle
- Bolts, washers, lock nuts, and exterior-grade screws
- Two or three internal baffles made from 1×3 lumber, plastic strips, or light angle metal
- Hinges and a latch if you are adding a side loading hatch
- Weatherstripping or rubber gasket material for the hatch seal
- A handle, short length of pipe, or rope for rotating the drum
- Exterior paint or wood sealer for the frame
Tools
- Drill and bits
- Wrench or socket set
- Circular saw or handsaw
- Jigsaw or reciprocating saw for cutting a hatch
- Tape measure and marker
- Clamps
- Sandpaper or file for smoothing sharp edges
- Safety glasses, gloves, and dust protection
Step-by-Step: How to Make a Cement Mixer
Step 1: Choose the Right Barrel
Start with a barrel that is strong enough to hold wet concrete. A 20- to 30-gallon drum is easier to rotate by hand than a large 55-gallon drum. Remember, wet concrete is heavy. Bigger is not always better; sometimes bigger is just a more theatrical way to hurt your lower back.
Inspect the barrel for cracks, rust, weak seams, and residue. Wash it thoroughly. If the barrel has a removable screw-top lid, you may not need to cut a hatch. If it has a sealed top, cut a rectangular loading door on the side large enough to pour in dry mix and water comfortably.
Step 2: Cut and Reinforce the Loading Hatch
If you cut a side hatch, keep it simple. A hatch around 10 by 14 inches is usually enough for small batches. Cut slowly, smooth all edges, and attach the door with two sturdy hinges. Add a latch that closes securely. Use rubber gasket material around the opening to reduce leaking.
Place the hatch slightly above the barrel’s centerline when the drum sits in mixing position. That way, the opening does not sit directly under the wet mix while rotating. A leaky hatch is not a disaster, but it is annoying. Concrete drips have a gift for landing exactly where your boot will step next.
Step 3: Add Internal Baffles
Install two or three baffles inside the barrel. These can be short strips of plastic, treated wood, or light metal bolted through the drum wall. Space them evenly around the inside. Each baffle should run lengthwise along the barrel and stand out from the wall enough to catch and lift the mix as the barrel turns.
Do not use sharp, thin pieces that could cut the barrel, break loose, or make cleaning miserable. Rounded or sanded edges are better. Use bolts with large washers so the baffles stay secure. The baffles are the difference between a real mixer and a barrel that politely rolls your concrete around without actually mixing it.
Step 4: Build a Stable Cradle Frame
Build a rectangular frame slightly longer than the barrel. Use two 2×6 boards as the side rails and 2×4 boards as cross braces. The barrel should sit horizontally or at a very slight angle. Add diagonal bracing if the frame wobbles. A homemade mixer must be stable before it is useful.
Set the frame height so you can load the drum without lifting bags too high and pour the finished mix into a wheelbarrow without wrestling the barrel like an angry alligator. For most users, a low cradle is safer than a tall stand. You can always shovel or scoop concrete from a low mixer, but you cannot easily undo a top-heavy tip-over.
Step 5: Install the Rollers
Mount four heavy-duty rollers or rubber wheels to the frame: two near the front and two near the back. The barrel should rest securely on them and rotate smoothly. Position the rollers so the drum cannot slide sideways. If needed, add small wooden stops or guide blocks near the ends of the barrel.
Spin the empty barrel by hand. It should turn without grinding, hopping, or walking off the frame. If the drum drifts, adjust the rollers. This is the time to fix alignment, not after you have added 80 pounds of wet concrete and regret.
Step 6: Add a Turning Handle or Rope Grip
For a simple handle, bolt a short pipe or wooden grip to one end of the barrel. Keep it rounded and comfortable. Another easy method is wrapping a rope around the barrel and pulling it to rotate the drum. The rope method gives good leverage and keeps your hands away from the drum surface.
Do not create a handle that sticks out far enough to strike your legs or snag clothing. Also avoid crank designs with exposed pinch points. The goal is controlled rotation, not a carnival ride for your kneecaps.
Step 7: Test With Dry Materials First
Before mixing concrete, test the mixer with dry sand or gravel. Load a small amount, close the hatch, and rotate the drum. Listen for loose baffles, slipping rollers, or frame movement. If anything shifts, stop and reinforce it.
After the dry test, try a small water test. Add a few gallons of water and rotate the drum. Look for leaks around the hatch, bolt holes, and seams. Seal minor leaks with gasket material or appropriate waterproof sealant. Let everything dry before using the mixer for concrete.
How to Use Your Homemade Cement Mixer
Use Small Batches
Start with one half-bag or one 60-pound bag of premixed concrete, depending on the size and strength of your barrel. Do not fill the drum more than about one-third to one-half full. Concrete needs room to tumble. Overfilling a mixer turns it into a heavy storage container with trust issues.
Add Water First
Pour in about two-thirds to three-quarters of the water recommended on the concrete bag. This first water is often called head water. Adding some water before the dry mix helps reduce dust and keeps material from sticking aggressively to the bottom.
Add Dry Mix Gradually
Add the dry concrete mix slowly, not all at once. Close the hatch and rotate the barrel 20 to 30 turns. Open the hatch carefully and check consistency. Add the remaining water a little at a time. It is much easier to add water than to rescue a soupy batch. A good mix should look workable, uniform, and thick enough to hold shape without crumbling.
Mix Until Uniform
Rotate the drum until there are no dry pockets, streaks, or powdery clumps. For small batches, this may take a few minutes of steady turning. If the batch looks like dry gravel in one corner and pancake batter in another, keep mixing. Concrete rewards patience and punishes guessing.
Pour and Place Quickly
Once mixed, pour the concrete into a wheelbarrow, bucket, form, or hole. Place and finish it promptly. Do not keep remixing concrete that has begun to stiffen. Adding extra water late in the process can weaken the finished concrete and increase cracking.
Best Projects for a Homemade Cement Mixer
A homemade cement mixer is best for small projects where precision is helpful but commercial equipment is unnecessary. Good uses include:
- Fence post footings
- Mailbox posts
- Small garden pads
- Stepping stones
- Planters and molds
- Landscape edging
- Small repair patches
- Mortar for minor masonry projects
For a patio, driveway, garage slab, structural footing, retaining wall, or anything inspected by a building department, rent a proper mixer or order ready-mix. The homemade mixer is a useful helper, not a substitute for professional concrete quality control.
Common Mistakes to Avoid
Using a Dirty or Unsafe Barrel
Never use a mystery barrel. If you do not know what was stored in it, skip it. Chemical residue can be dangerous and may also affect the concrete. Food-grade barrels are easier to trust and easier to clean.
Skipping the Baffles
A barrel without internal baffles may rotate, but it will not mix efficiently. The contents can slide around in a lump. Add baffles so the mix lifts, drops, and folds.
Making the Batch Too Wet
Too much water makes concrete easier to pour but weaker after it cures. Add water gradually and aim for a consistent, workable texture. If the mix runs like soup, you have gone too far.
Overloading the Drum
Wet concrete is surprisingly heavy. Overloading strains the barrel, frame, rollers, and your arms. Small batches are safer and more consistent.
Waiting Too Long to Clean
Clean the mixer immediately after each batch. Add water and a little gravel, rotate the drum, dump it out, and rinse again. Once concrete hardens inside the barrel, removal becomes a noisy, dusty, unpleasant workout that no one brags about honestly.
Cleaning and Maintenance
After each use, rinse the drum before the concrete sets. Rotate the barrel with clean water inside, dump it safely, and repeat until the water runs mostly clear. Do not wash cement slurry into storm drains, streams, or garden beds. Let leftover slurry settle in a container, pour off clear water when appropriate, and dispose of hardened material according to local rules.
Inspect the baffles, bolts, rollers, and frame before the next use. Tighten loose hardware. Replace cracked wood, worn rollers, or damaged gaskets. Store the mixer under cover so sunlight and rain do not shorten the life of the barrel or frame.
When Renting a Cement Mixer Is the Better Choice
Building a cement mixer is satisfying, but renting one can be smarter for bigger jobs. A commercial mixer is designed for repeated heavy loads, stable drum speed, better pouring control, and safer operation when used correctly. If your project requires dozens of bags of concrete, the rental fee may be cheaper than the time, materials, and effort required to build and babysit a homemade mixer.
Rent when the job is large, time-sensitive, structural, or physically demanding. Build when the job is small, occasional, and flexible. That is the honest dividing line.
Practical Experience: What Actually Matters When Making a Cement Mixer
The biggest lesson from making a homemade cement mixer is that the frame matters more than people expect. Beginners often obsess over the barrel and forget that the frame is what keeps the whole project from becoming a rolling disaster. A good barrel on a flimsy frame is like putting work boots on a folding chair. It might stand for a moment, but no one should trust it.
Build the frame heavier than you think you need. Wet concrete has a way of exposing every weak screw, every lazy brace, and every “that should be fine” decision. Use bolts where the load is serious. Add cross braces. Put the mixer on level ground before loading it. If the empty mixer wobbles, the loaded mixer will wobble with dramatic enthusiasm.
The second lesson is to keep the batch size modest. A homemade mixer is not about proving strength. It is about making concrete easier and more consistent. One small, well-mixed batch is better than one giant batch that strains the frame, leaks at the hatch, and leaves you sweating like you owe the drum money. Start small, learn how the mixer behaves, and increase only if everything feels stable.
The third lesson is that internal baffles are not optional. Without them, the ingredients slide around and pretend to mix. With them, the drum actually folds the concrete. Even simple wooden or plastic baffles can make a big difference. Just make sure they are rounded, firmly bolted, and easy to rinse. Sharp corners trap concrete and turn cleanup into punishment.
Another useful trick is to mark a water bucket. If your concrete bag calls for a specific amount of water, mark that level on a dedicated bucket. After one good test batch, you will know whether your mixer likes slightly less or slightly more water within the manufacturer’s range. This makes repeat batches faster and more consistent. Guessing with a garden hose is how good concrete becomes gray pudding.
Dust control also matters. Pouring dry concrete mix into a barrel can create a dusty cloud, especially in warm, dry weather. Add some water first, pour slowly, keep your face away from the opening, and wear proper respiratory protection. Your lungs are not part of the mixing system.
Cleanup is where many DIY mixers either earn your love or become permanent yard sculptures. Rinse immediately. Do not eat lunch first. Do not answer five messages first. Do not tell yourself you will “get it in a minute.” Concrete hears that and starts hardening out of spite. A few minutes of rinsing right away can save an hour of scraping later.
Finally, remember that the best homemade cement mixer is the one you will actually use safely. It should be simple to load, simple to rotate, simple to empty, and simple to clean. Fancy features are less important than stability, comfort, and reliability. If you build it with that mindset, your mixer can become one of those humble DIY tools that quietly saves time on small projects for years.
Conclusion
The best way to make a cement mixer is to build a small manual rolling barrel mixer with a strong frame, secure hatch, smooth rollers, and internal baffles. This design is practical for small concrete jobs, safer than improvised motorized builds, and easier to maintain than many overcomplicated DIY machines.
Use it for the right projects, respect the weight of wet concrete, measure your water carefully, and clean the drum immediately after each batch. Most importantly, do not confuse “homemade” with “careless.” A smart DIY cement mixer should make the job easier, not turn your backyard into a construction-themed obstacle course.
SEO Tags