
Tying rebar is one of those construction skills that looks simple until you try it with cold fingers, a stubborn roll of wire, and a grid that seems determined to wiggle away like a shopping cart with one bad wheel. But once you understand the purpose, tools, tie types, and safety habits, the process becomes surprisingly logical.
Rebar tying is not about making decorative knots for concrete’s Instagram page. Its real job is to hold reinforcing steel in the correct position before and during the concrete pour. Concrete is strong under compression, but reinforcement helps it handle tension, cracking forces, and structural loads. If the bars shift during placement, vibration, or finishing, the slab, footing, wall, or column may not perform as designed.
This guide explains how to tie rebar in 15 practical steps, from reading the plan to checking the finished grid. Whether you are preparing a small patio slab, a footing, a driveway section, or learning basic ironworker technique, the goal is the same: keep the steel where the design says it belongs, tie it securely enough to survive the pour, and avoid turning the jobsite into a medieval spike trap.
What Does Tying Rebar Actually Do?
Rebar ties keep reinforcing bars aligned, spaced, elevated, and stable. The tie wire itself is not usually the main structural reinforcement. Think of it more like the backstage crew: it does not get the applause, but without it, the whole performance gets weird fast.
Properly tied rebar helps maintain concrete cover, which is the layer of concrete between the steel and the surface. Cover protects steel from corrosion and fire exposure while helping the concrete and steel work together. In foundations and slabs, rebar chairs, dobies, or other supports are often just as important as the wire because they hold the steel at the right height.
Tools and Materials You Need
- Rebar cut and bent according to the plan
- Annealed tie wire, commonly 16-gauge or 16.5-gauge
- Pre-cut loop ties or a roll of tie wire
- Rebar tie twister, lineman’s pliers, or side-cutting pliers
- Rebar chairs, dobies, plastic spacers, or approved supports
- Tape measure, chalk line, marker, or lumber crayon
- Work gloves, safety glasses, boots, and long sleeves
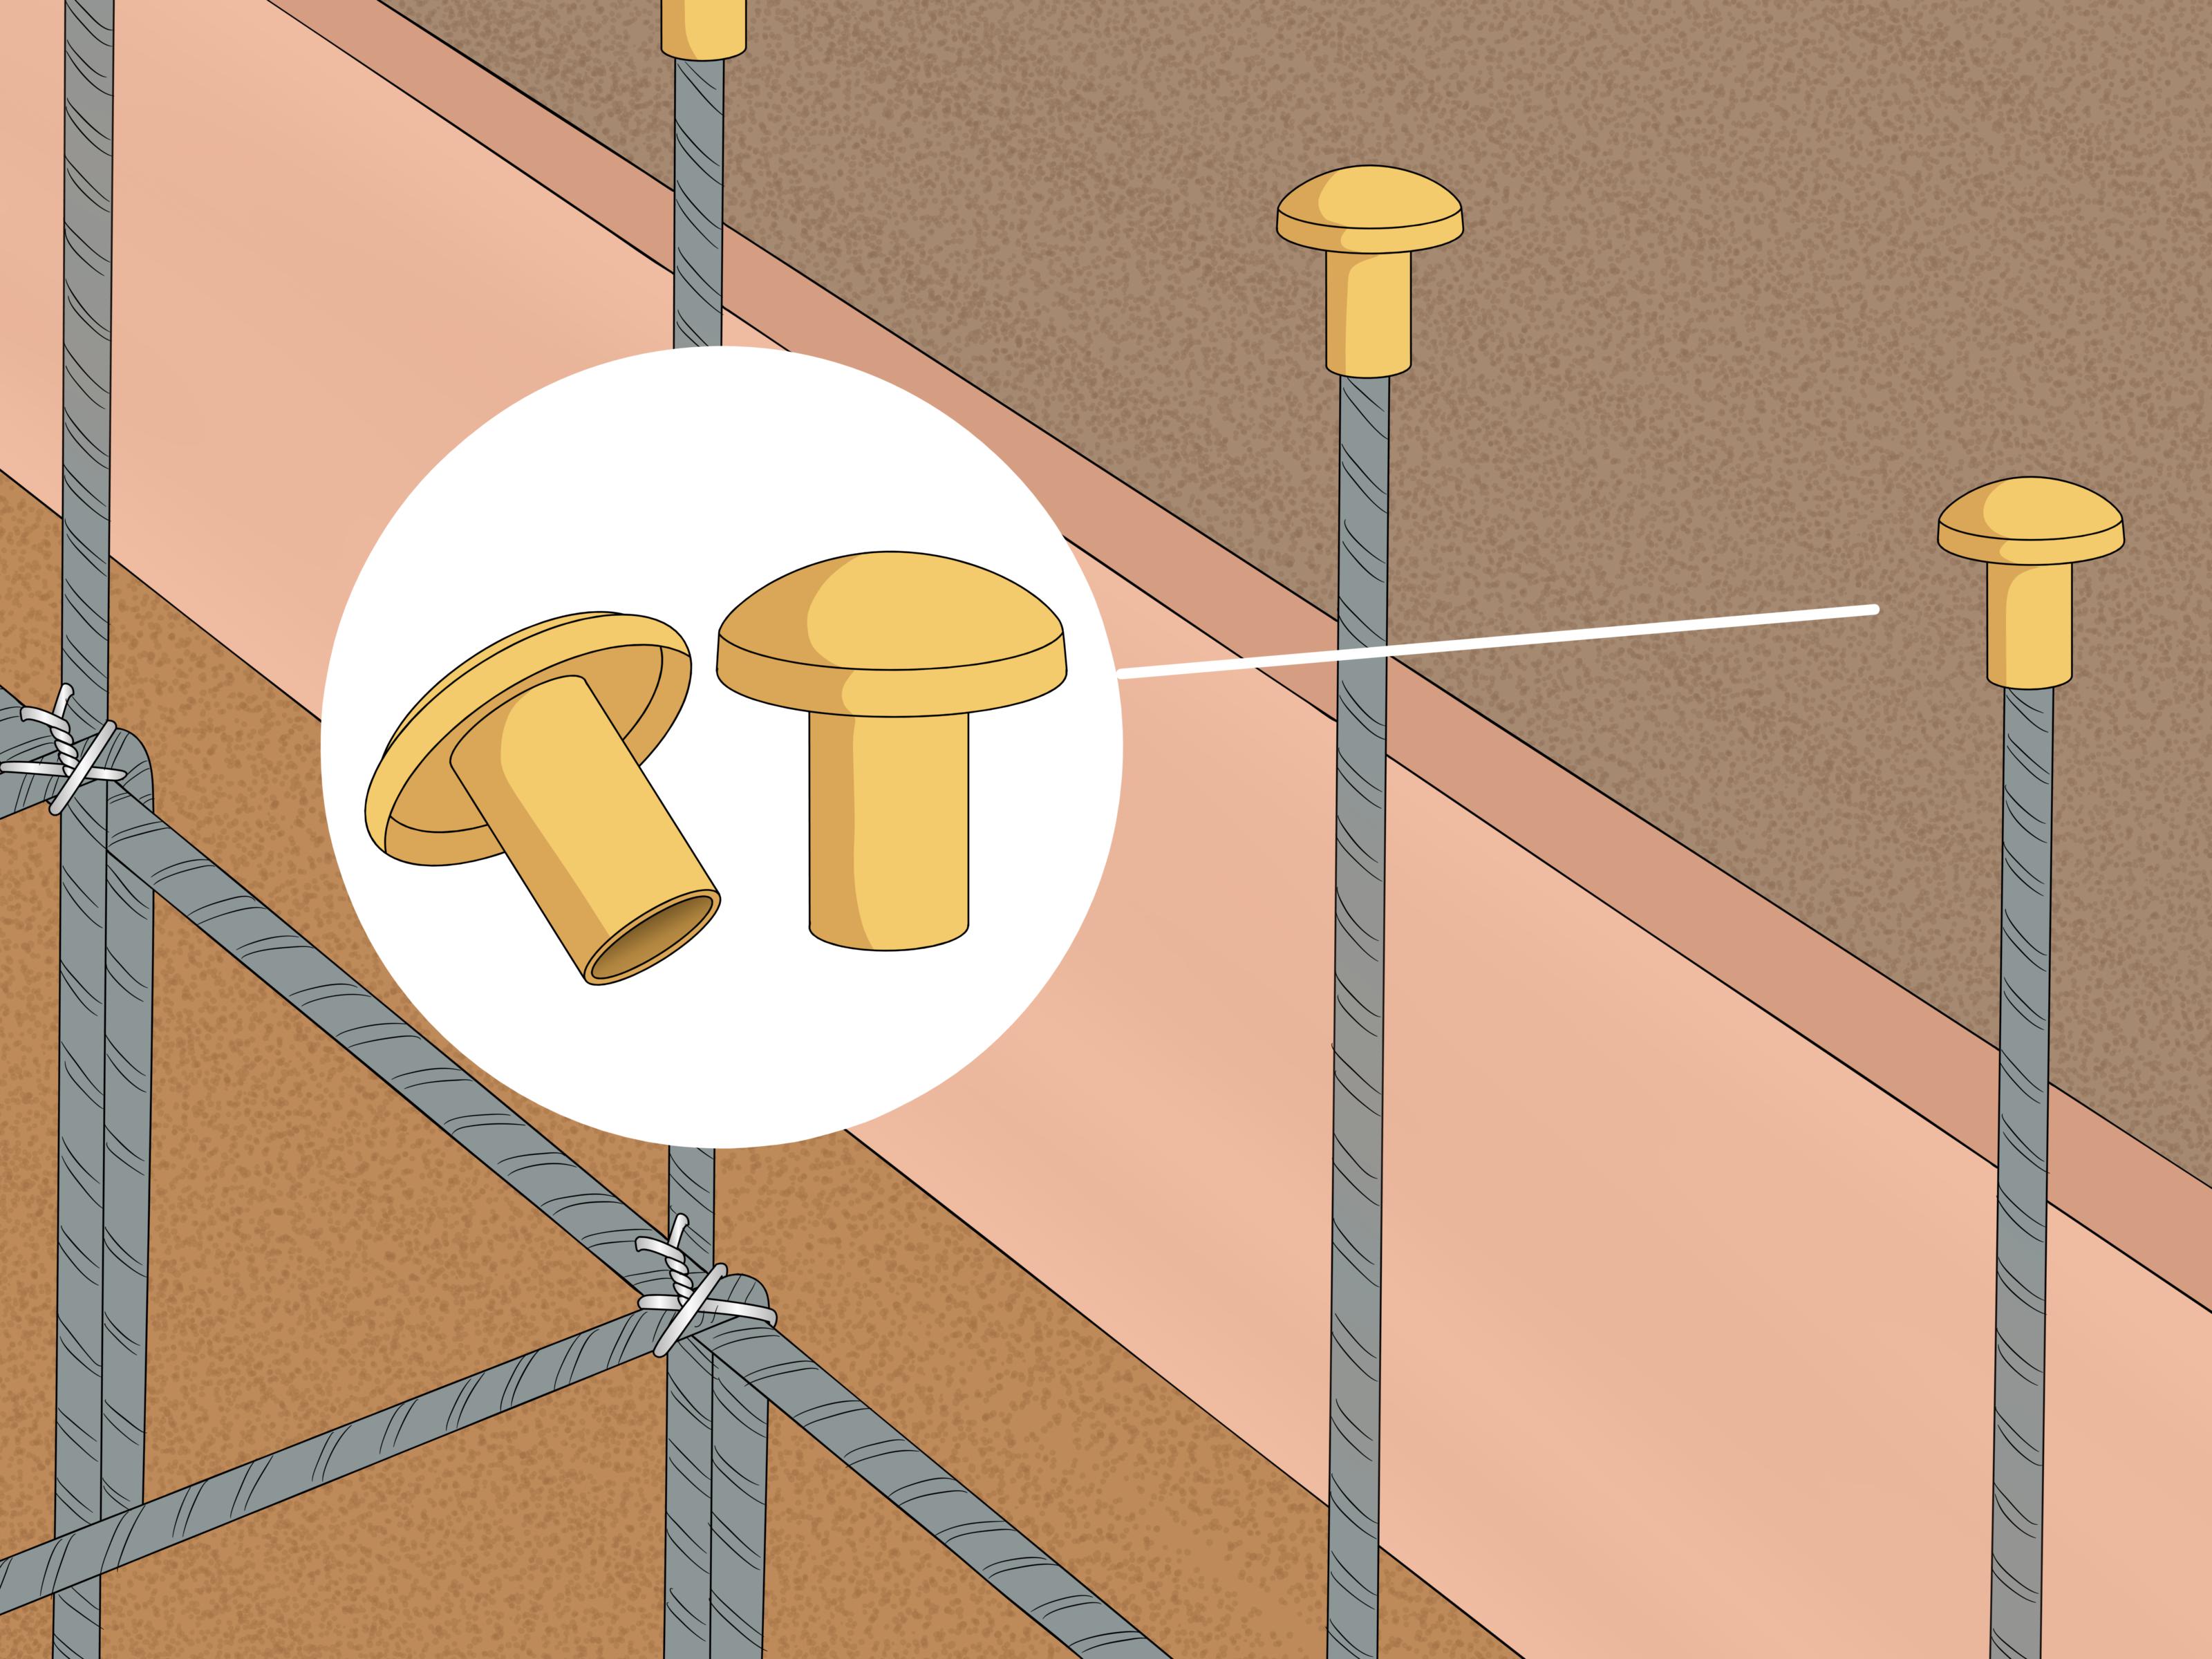
- Rebar safety caps or covers for exposed vertical bars
For small DIY jobs, pre-cut loop ties and a twister tool are usually the friendliest option. For larger work, experienced crews often use a roll of wire and pliers because it is fast, flexible, and easy to adapt to odd intersections. Automatic rebar tying tools can save time on large mats, but they are usually overkill for a small weekend slab unless your weekend hobby is pretending to be a bridge contractor.
How to Tie Rebar: 15 Steps
1. Read the Plan Before Touching the Steel
Start with the drawings, notes, or project specifications. Identify bar size, spacing, lap locations, cover requirements, and whether bars run one way or both ways. Do not guess spacing based on what “looks strong.” Concrete does not reward vibes. If the project is structural, follow the engineer’s drawings and local building requirements exactly.
2. Prepare a Safe Work Area
Clear loose debris, tools, scraps, and tripping hazards. Rebar ends can be sharp, and vertical bars can create serious impalement hazards. Cap exposed bars where workers could fall onto them. Keep walk paths open and avoid stepping directly on unsupported grids whenever possible.
3. Sort Rebar by Size and Length
Group bars by diameter, length, bend shape, and location. This saves time and prevents installing the wrong bar in the wrong place. On larger jobs, tags and bar marks matter. On smaller jobs, a simple layout pile can keep you from discovering halfway through that the “extra” bar was not extra at all.
4. Mark the Layout
Use a tape measure, chalk line, marker, or lumber crayon to mark the spacing on forms, subbase, or existing concrete. Rebar grids commonly use consistent spacing, but the correct measurement depends on the design. Marking first reduces crooked lines and helps keep the grid neat.
5. Place the First Layer of Bars
Lay the first direction of bars according to the plan. For a slab, this often means placing parallel bars across the prepared base. Keep the bars straight and properly spaced. Check that the bars do not touch the forms unless the design allows it. Steel needs concrete around it, not a front-row seat at the surface.
6. Add the Crossing Bars
Place the second direction of bars across the first to create a grid. Make sure intersections line up with the marked spacing. If the bars are different sizes or have a required top/bottom orientation, follow the plan. The heavier or primary reinforcement may need to sit in a specific direction.
7. Support the Rebar at the Correct Height
Install rebar chairs, dobies, or approved supports before tying too much of the grid. Reinforcement should be held at the specified elevation and should not be pulled up by hand during the pour. That “lift it with a rake while concrete is flowing” method is how many slabs end up with mystery steel placement and future regret.
8. Choose the Right Tie Type
The most common tie for flat horizontal mats is the snap tie, also called a simple tie. For vertical mats, walls, or areas where bars may slide, a wrap-and-snap, saddle tie, or figure-eight tie may be better. Heavy mats, cages, and lifted assemblies may need stronger tying patterns specified by the project.
9. Make a Basic Snap Tie
Cut a short length of wire or grab a pre-cut tie. Pass it diagonally under the intersection where two bars cross. Bring both ends up on the opposite side, grip them with pliers or a twister, and twist until snug. Stop when the tie is tight enough to hold the bars without over-twisting and breaking the wire.
10. Use a Wrap-and-Snap Tie Where Bars May Slide
For a wrap-and-snap tie, wrap the wire around the bar intersection more fully before twisting. This gives extra grip and is useful where a horizontal bar meets a vertical bar. The goal is to prevent the bar from sliding down or shifting before the concrete locks everything in place.
11. Try a Saddle Tie for Stronger Holding Power
A saddle tie, sometimes called a U-tie, loops around one bar and crosses over the other before twisting. It is often used in walls, columns, and vertical mats because it holds the bars more evenly than a simple diagonal tie. It takes slightly longer, but it gives a cleaner, firmer connection.
12. Use Figure-Eight Ties for Heavier Intersections
A figure-eight tie wraps around both bars in a pattern that resists movement from multiple directions. It is useful when bars are larger, the mat is vertical, or the assembly may be bumped during formwork and concrete placement. Do not use it everywhere just to feel fancy; use it where the extra holding power is needed.
13. Tie Enough Intersections
Not every project requires every single intersection to be tied, but the grid must be stable. Many small slabs are tied at alternating intersections, plus edges, laps, corners, and high-movement areas. Structural work may require more frequent ties. When in doubt, follow the drawings, specifications, or inspector’s direction.
14. Bend Wire Ends Down and Away
After twisting, bend sharp wire tails inward or downward so they do not poke workers, puncture vapor barriers, interfere with cover, or stick too close to the concrete surface. A neat tie is not just pretty; it is safer and less likely to cause placement problems.
15. Inspect the Grid Before Concrete Arrives
Before the pour, check spacing, laps, cover, chairs, tie tightness, bar cleanliness, and safety caps. Look for bars resting on the ground, supports knocked over, loose intersections, or rebar too close to form edges. This is the last easy moment to fix mistakes. Once concrete arrives, the clock starts running and everyone suddenly walks faster.
Common Rebar Tie Types Explained
Snap Tie
The snap tie is the easiest and fastest method. It is ideal for horizontal slabs, patios, sidewalks, and light reinforcing mats. It uses one diagonal loop and a short twist. Fast, simple, and effective enough for many flatwork applications.
Wrap-and-Snap Tie
The wrap-and-snap tie adds more wire contact around the bars. It works well when one bar might slide along another, especially in vertical or sloped settings.
Saddle Tie
The saddle tie provides better holding strength and is popular for walls, columns, cages, and heavier mats. It is a good skill to learn after the snap tie because it builds better control.
Figure-Eight Tie
The figure-eight tie is stronger and more secure than a basic snap tie. It is useful for heavier reinforcement and intersections likely to be disturbed before the concrete sets.
Safety Tips for Tying Rebar
Wear gloves because tie wire and cut rebar have a talent for finding skin. Safety glasses are smart because clipped wire tails can spring unexpectedly. Use boots with solid soles, especially when walking near chairs, bar ends, and loose wire.
Guard exposed vertical rebar. This is not optional jobsite politeness; protruding steel can be extremely dangerous. Use proper protective caps or covers designed for impalement protection, not flimsy caps that only make the bar look less scary. Also keep your back in mind. Rebar tying is repetitive, so switch positions, use long-handled tools when practical, and avoid spending hours folded like a lawn chair.
Mistakes to Avoid
- Over-twisting the wire: If the wire snaps, the tie is useless. Twist until snug, not until your wrist files a complaint.
- Using too few supports: Wire keeps bars together, but chairs and dobies keep them at the correct height.
- Letting bars touch soil: Rebar needs proper concrete cover to reduce corrosion risk.
- Ignoring lap requirements: Bar overlaps must match the plan or code requirements.
- Walking the grid down: Too much foot traffic can push reinforcement out of position.
- Tying dirty or oily bars: Heavy mud, oil, or loose debris can interfere with bond and placement quality.
Practical Field Experience: What Tying Rebar Teaches You
The first thing you learn when tying rebar is that neatness matters more than beginners expect. A clean grid is easier to inspect, easier to pour around, and easier to troubleshoot. When bars are straight, spacing is consistent, and ties are tucked down, the whole job feels calmer. When the grid is crooked, loose, and full of sharp wire whiskers, every next step becomes harder.
Another lesson is that tight does not mean tortured. Many beginners twist the wire until it breaks because they think more force equals more strength. In reality, a good tie is snug enough to hold the bars in position without damaging the wire. If the tie breaks, you have not made a stronger connection; you have made modern art. The best workers develop a feel for the moment when the wire grips and the bars stop moving.
Experience also teaches you to respect supports. On small jobs, people sometimes place rebar directly on the ground and promise to “pull it up” during the pour. This rarely works well. Wet concrete is heavy, the grid is awkward, and everyone is busy spreading, vibrating, screeding, and finishing. Chairs, dobies, or spacers may look like minor accessories, but they are what keep the steel where it belongs while the concrete is still fluid.
Good rebar tying also changes how you plan your movement. Before tying yourself into a corner, think about where you will stand, where the concrete crew will walk, and where tools need to go. Tie key intersections first to stabilize the grid, then fill in the remaining ties. On a larger mat, create lanes or work from one side toward the other. A little planning prevents the classic mistake of standing in the middle of a finished grid wondering how to exit without stepping on everything.
One practical trick is to keep your wire tails consistent. Long tails waste wire and create sharp hazards. Tiny tails are hard to twist. After a while, you learn the right length for your pliers and tie style. You also learn to keep tools close. Rebar work has a strange ability to move your pliers exactly two feet out of reach every time you kneel down.
Finally, tying rebar teaches patience. It is repetitive work, but repetition is not the enemy. Each tie is a small insurance policy against movement during the pour. The concrete will hide your work, but it will not erase the consequences of sloppy placement. A well-tied rebar mat is quiet craftsmanship: nobody sees it later, but the structure benefits from it for years.
Conclusion
Learning how to tie rebar is partly about technique and partly about discipline. The technique is simple: place the bars, wrap the wire, twist it snug, and tuck the ends. The discipline is making sure the steel follows the plan, stays supported at the right height, has proper cover, and remains secure during concrete placement.
For small concrete projects, the basic snap tie may handle most intersections. For walls, columns, cages, and heavier mats, stronger ties such as saddle ties and figure-eight ties provide better control. No matter which tie you use, remember that rebar tying is not a contest to create the tightest knot on Earth. It is a practical method for holding reinforcement in place so the finished concrete can do its job.
Take your time, work safely, inspect before the pour, and never treat exposed rebar casually. Concrete work is permanent enough to deserve a careful start. Tie the steel right now, and your future slab, footing, or wall will be much less likely to send you a bill later.