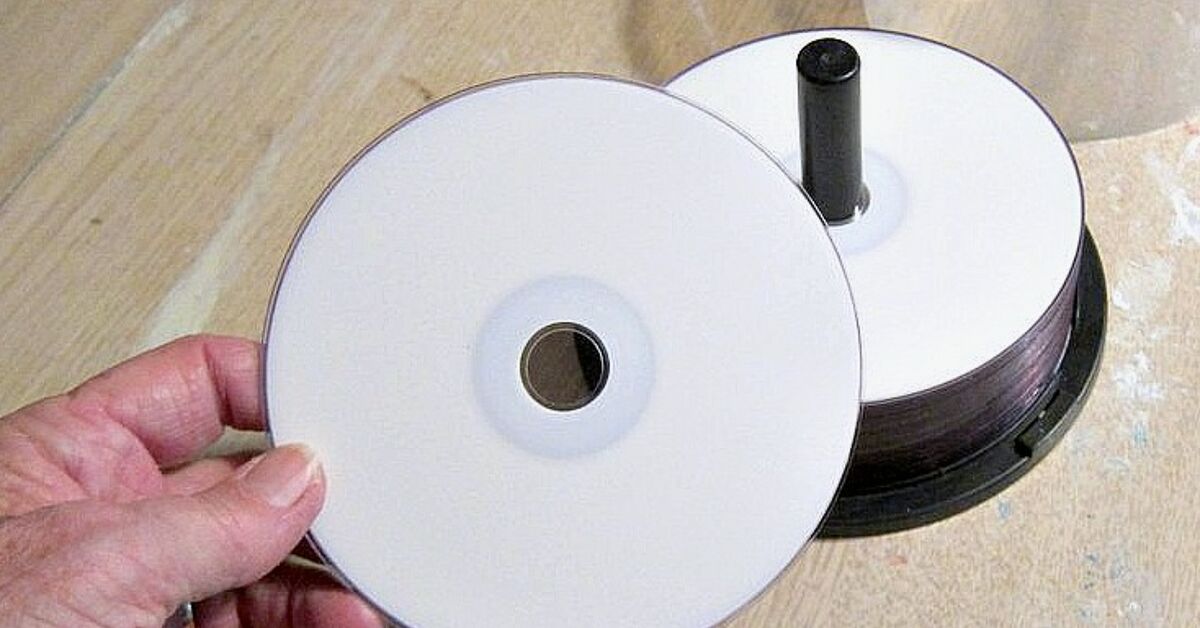

Somewhere in a drawer, under a phone charger from 2009 and a mystery key that opens absolutely nothing, there is probably a stack of old CDs waiting for their comeback tour. Good news: they do not need a record deal. They need a wreath form, a hot glue gun, and a little Christmas confidence.
This recycled CD Christmas wreath DIY turns scratched compact discs, outdated software discs, and forgotten music albums into sparkling holiday decor. The shiny surface of CDs reflects tree lights beautifully, creating an icy, iridescent look that feels part disco ball, part snowflake, and part “I made this instead of buying another plastic wreath.” It is budget-friendly, beginner-friendly, and wonderfully dramatic without requiring expert-level crafting skills.
Because CDs and DVDs are not usually accepted in standard curbside recycling programs, reusing them in crafts is a practical way to keep them out of the trash a little longer. This project is especially useful for discs that are too scratched to donate or play. Instead of tossing them, you can build a handmade Christmas decoration with personality, shine, and just enough sparkle to make your front door look like it knows how to party.
Why Make a Christmas Wreath From Old CDs?
A recycled CD wreath is more than a cute holiday project. It is a clever upcycling idea that combines sustainability, creativity, and seasonal decorating. CDs are typically made with durable plastic and reflective layers, which makes them difficult for regular household recycling systems to process. Creative reuse is not a perfect substitute for proper recycling, but it is a smart way to extend the life of materials already in your home.
Visually, old CDs are surprisingly elegant. When arranged in overlapping circles, they create a scale-like shimmer that looks frosty and modern. When cut into mosaic pieces, they resemble tiny pieces of mirror glass. Add ribbon, ornaments, greenery, bells, berries, or snowflake accents, and you have a festive wreath that can match farmhouse, glam, retro, minimalist, or full “Santa owns a glitter cannon” style.
Materials You Will Need
Before you begin, gather everything in one place. This prevents the classic holiday crafting workout: standing up every two minutes to find scissors, glue sticks, or the ribbon you swear was right there.
Basic Supplies
- 18 to 35 old CDs or DVDs, depending on wreath size and design
- One sturdy wreath form, such as foam, cardboard, wire, or wood
- Hot glue gun and plenty of glue sticks
- Ribbon for wrapping the base and hanging the wreath
- Scissors
- Craft knife or strong utility scissors, optional for cutting discs
- Work gloves and safety glasses, especially if cutting CDs
- Newspaper, cardboard, or a cutting mat to protect your table
Decorative Extras
- Mini ornaments
- Faux evergreen sprigs
- Artificial berries
- Small pine cones
- Jingle bells
- Snowflake cutouts
- Glitter ribbon or velvet ribbon
- Battery-operated fairy lights
- Silver, red, green, white, or gold embellishments
For a polished result, choose two or three main colors. Silver CDs already bring plenty of shine, so red velvet ribbon, white snowflakes, and evergreen sprigs work beautifully. If you prefer a modern look, try silver, icy blue, and white. For a retro Christmas wreath, mix CDs with colorful ball ornaments and bright ribbon.
Safety Tips Before You Start
Old CDs can be easy to work with, but they deserve respect. They may look like harmless little music pancakes, but cut edges can be sharp. If your design uses whole discs, the project is safer and simpler. If you plan to cut CDs into mosaic pieces, wear gloves and safety glasses, work slowly, and cut over newspaper or cardboard so tiny shards do not scatter across the table.
Hot glue can also burn skin quickly, so keep your fingers away from fresh glue and use a craft stick to press pieces into place. If children are helping, let them choose colors, arrange decorations, or tie ribbons while an adult handles cutting and gluing. Crafting should create memories, not a dramatic holiday episode called “The Glue Gun Incident.”
Step-by-Step: How to Make a Recycled CD Christmas Wreath DIY
Step 1: Clean and Sort the CDs
Wipe each CD with a soft cloth to remove dust, fingerprints, and old drawer fuzz. If labels are peeling, remove loose paper or glue down the edges. Decide whether you want the shiny side facing forward, the printed side showing, or a mix of both. For the most Christmas sparkle, use the reflective side as your main surface.
Sort the discs into three groups: perfect whole discs, scratched-but-usable discs, and discs you are willing to cut. Whole discs are best for the main wreath structure. Scratched discs can be used underneath or covered with greenery. Cut pieces can fill gaps like a mosaic.
Step 2: Choose and Prepare the Wreath Base
A foam wreath form is lightweight and easy to glue, while a cardboard base is the most budget-friendly. You can cut a large ring from a sturdy shipping box if you want the project to be extra recycled. A wood or wire form is stronger, but it may require floral wire in addition to hot glue.
Wrap the base with ribbon, fabric strips, burlap, or leftover wrapping paper. This hides the base if small gaps appear between CDs. White ribbon gives a snowy look, red ribbon adds classic Christmas warmth, and black or navy fabric creates a dramatic background that makes the reflective discs pop.
Step 3: Dry-Fit the Design
Before gluing anything, arrange the CDs on the wreath form. This is the part where you pretend to be a professional designer while quietly moving the same disc half an inch to the left for five minutes.
For a full wreath, overlap the CDs like fish scales, starting with an outer ring and then adding an inner ring. For a cleaner modern design, space the discs evenly around the base and leave small gaps for ribbon or greenery. If you want a mosaic wreath, cut some CDs into pieces and test how they fit between whole discs.
Take a photo of your arrangement before lifting the pieces. This gives you a reference when gluing, because once the hot glue starts flowing, memory can become suspiciously unreliable.
Step 4: Glue the First Layer
Start with the outer edge. Add hot glue to the back of the first CD and press it firmly onto the wreath form. Hold it for a few seconds until secure. Continue around the circle, overlapping each disc slightly over the previous one. Keep the spacing consistent so the wreath stays balanced.
If you are using a cardboard base, apply glue generously but avoid soaking the cardboard. If you are using a foam base, test your glue temperature first. Very hot glue can melt some foam forms. Low-temperature hot glue is often easier to control for lightweight craft projects.
Step 5: Add the Inner Layer
Once the outer ring is secure, add a second ring of CDs closer to the center. Position these discs so they cover the gaps between the outer discs. This layering technique creates fullness and makes the wreath look intentional rather than like a pile of office supplies had a holiday emergency.
For a smaller wreath, you may only need one ring of CDs with decorative pieces in the center. For a large statement wreath, add a third layer or use cut CD pieces to create a sparkling mosaic effect.
Step 6: Fill Gaps With CD Pieces or Decorations
If you see empty spaces, fill them with small ornaments, faux berries, pine cones, bells, snowflakes, or cut CD pieces. To cut CDs, score the surface gently with a craft knife or use strong scissors while wearing gloves. Cut slowly to reduce cracking. Some discs may split or chip, so work over a protected surface and discard sharp scraps safely.
Small CD shards can look like ice when glued around ornaments or along the inner edge of the wreath. Use them sparingly for a tasteful shimmer, or cover the entire base if your holiday motto is “more sparkle, fewer regrets.”
Step 7: Add Christmas Accents
Now it is time to turn your shiny circle into a Christmas wreath. Add faux evergreen sprigs in small clusters, tucking them between CDs. Glue mini ornaments in groups of three for a balanced look. Add berries near greenery for color. A large bow at the bottom or top can soften the hard reflective surfaces and make the wreath feel warmer.
For a modern winter wreath, use white ribbon, silver bells, snowflakes, and icy blue ornaments. For a classic Christmas style, use red ribbon, green sprigs, and gold accents. For a playful recycled Christmas craft, add colorful buttons, broken costume jewelry, bottle caps, or old gift-wrap scraps.
Step 8: Create a Strong Hanger
A CD wreath can be heavier than it looks, especially if you use a lot of discs and ornaments. Glue alone may not be enough for hanging. Attach a strong ribbon loop, floral wire, or twine to the back of the wreath form. If your base is cardboard, reinforce the hanger area with an extra piece of cardboard and hot glue.
Let the wreath rest flat for at least 30 minutes before hanging. This gives the glue time to set and helps prevent pieces from sliding. Before placing it on a door, gently lift the wreath and check for loose discs. If anything wiggles, add more glue or wire support.
Step 9: Hang and Style the Wreath
Hang your recycled CD Christmas wreath on an interior door, mantel, wall, covered porch, or window. It looks especially beautiful near Christmas lights because the CD surfaces catch and scatter light. Avoid direct harsh weather unless your materials are weather-resistant, because moisture and temperature changes can weaken glue and damage paper-backed decorations.
For doors, use an over-the-door wreath hook, a ribbon loop secured at the top, or a sturdy removable hook rated for the wreath’s weight. For windows, clean the glass first if using suction or adhesive hooks. A ribbon hanger can add height and color while also making the wreath feel more finished.
Design Ideas for Different Styles
Classic Red and Green CD Wreath
Use whole CDs as the base, then add red velvet ribbon, faux evergreen, and small gold ornaments. This version feels traditional but still has a fun reflective twist.
Snowflake Silver Wreath
Use the shiny side of the CDs, white ribbon, silver bells, and paper or plastic snowflakes. Add a dusting of artificial snow spray only if your wreath will stay indoors or in a protected area.
Retro Rainbow Wreath
Let the iridescent CD surface do the work. Add bright ornaments, colorful pom-poms, and a bold bow. This is perfect for anyone who believes Christmas should look like it borrowed a jacket from the 1980s.
Mosaic CD Christmas Wreath
Cut scratched CDs into small pieces and glue them onto a cardboard or foam wreath form like tiles. Leave tiny gaps between the pieces for a stained-glass effect. This version takes more time, but the finished wreath looks like sparkling ice.
Common Mistakes and Easy Fixes
Mistake one: using too little glue. CDs are smooth, so they need enough adhesive to stay attached. Add glue in several spots or use a stronger craft adhesive for extra hold.
Mistake two: skipping the dry-fit step. Without planning, the wreath may look uneven. Always arrange the CDs before gluing.
Mistake three: making the wreath too heavy. If you use several layers of discs, choose a sturdy base and strong hanger. A lightweight cardboard ring may bend under too much weight.
Mistake four: cutting CDs without protection. Sharp pieces can fly or create rough edges. Gloves and safety glasses are worth the extra minute.
Mistake five: hanging it outdoors without protection. Hot glue and paper decorations may not survive rain, snow, or strong sun. Display the wreath indoors or on a covered porch for best results.
How to Store Your Recycled CD Wreath
At the end of the season, store the wreath in a shallow box or wreath container. Place tissue paper, old fabric, or reused bubble wrap between delicate decorations. Avoid stacking heavy items on top, because CDs can crack and ornaments can pop loose. Store it in a cool, dry place away from direct sunlight.
If a piece falls off next year, do not panic. A recycled wreath is forgiving. Add more glue, tuck in a new ornament, and call it a design refresh. Handmade decorations are allowed to evolve. That is part of their charm.
Eco-Friendly Tips for This DIY Christmas Craft
To make the project even greener, use supplies you already own. Old ribbon from gift packages, leftover ornaments, cardboard shipping boxes, fabric scraps, and broken jewelry can all become part of the wreath. If you need extra CDs, ask friends, schools, offices, or neighbors before buying any. Many people have outdated discs they would love to clear out.
If you have usable music CDs, DVDs, or games, consider donating or selling them instead of crafting with them. Save this project for damaged, duplicate, promotional, or obsolete discs. For discs you do not reuse, check local e-waste programs, specialty recyclers, or mail-in recycling services, because rules vary by location.
Experiences and Practical Lessons From Making a Recycled CD Christmas Wreath DIY
The first lesson from making a recycled CD Christmas wreath DIY is that CDs are shinier than you think. They look quiet in a drawer, but once they are layered near Christmas lights, they become tiny holiday spotlights. That is wonderful, but it also means the wreath can quickly go from elegant sparkle to “spaceship landing pad.” The trick is balance. Pair the reflective discs with soft textures such as velvet ribbon, faux greenery, felt snowflakes, or matte ornaments. The contrast makes the shine look intentional.
The second lesson is that the base matters more than beginners expect. A flimsy cardboard circle works for a small wreath, but a larger CD wreath needs reinforcement. If the base bends, the CDs may loosen. A double layer of cardboard, a foam ring, or a wood wreath form gives the project better structure. When using cardboard, cut two identical rings and glue them together with the corrugation lines crossing in different directions. It feels like overthinking until your wreath hangs straight and you silently congratulate yourself like a craft engineer.
Another experience worth mentioning is that not all CDs behave the same. Some cut cleanly, while others crack, peel, or split into layers. If you want a mosaic design, test one disc first. Warm water can sometimes make cutting slightly easier, but the safest approach is to cut slowly, wear gloves, and accept that a few pieces may become “abstract.” The good news is that irregular pieces often look more natural in a mosaic. Perfect shapes are not required. In fact, tiny mismatched pieces can create the best icy texture.
Glue strings are another reality. Hot glue loves to leave little spiderweb trails across shiny surfaces. Keep a wooden skewer or craft stick nearby to lift strings before they cool. After the wreath is finished, use a hair dryer on a low warm setting for a few seconds to soften stray glue threads, then wipe gently. Do not overheat the wreath, especially if you used foam, plastic ornaments, or delicate ribbon.
Color planning also saves time. If you begin without a palette, it is easy to add red berries, gold bells, blue snowflakes, plaid ribbon, green ornaments, and suddenly the wreath looks like the holiday aisle sneezed. Choose one main color, one accent color, and one neutral. For example, silver CDs, red ribbon, and green sprigs create a classic style. Silver CDs, white ribbon, and blue ornaments create a frosty winter look. Silver CDs, gold ribbon, and black velvet create a glam wreath suitable for a New Year’s party too.
Finally, the best part of this project is the story. Guests notice a CD wreath because it is unexpected. It invites comments, memories, and at least one joke about burning a holiday playlist. Handmade recycled Christmas crafts carry a warmth that store-bought decorations cannot always match. They show resourcefulness. They make use of forgotten materials. And they prove that old CDs still have one more performance left, even if nobody has owned a working CD player since approximately the era of low-rise jeans.
Conclusion
Making a recycled CD Christmas wreath is a creative way to transform outdated discs into festive holiday decor with real personality. The project is affordable, flexible, and surprisingly stylish, whether you prefer classic red and green, frosty silver, retro rainbow, or sparkling mosaic. With a strong base, careful gluing, safe cutting practices, and a few well-chosen decorations, old CDs can become a handmade wreath that catches light beautifully and gives your home a cheerful, eco-conscious touch.
The next time you find a stack of scratched discs hiding in a drawer, do not sigh at the ghost of technology past. Turn them into something merry. Your front door gets a new decoration, your craft table gets a little excitement, and those old CDs finally get the standing ovation they have been waiting for.
Note: For best results, display this wreath indoors or in a covered area, check local recycling rules for unused discs, and use gloves and eye protection if cutting CDs into pieces.