
A photo frame without a stand is like a chair with no legs: technically still a chair, but not exactly ready for company. Whether your favorite family photo keeps face-planting on the shelf, your tabletop frame lost its flimsy cardboard leg, or you are making a custom picture frame from scratch, learning how to make a stand for a photo frame is a surprisingly useful DIY skill.
The good news? You do not need a full woodworking shop, a dramatic apron, or the patience of a museum conservator. A sturdy photo frame stand can be made from cardboard, matboard, thin plywood, craft sticks, wire, scrap wood, or a small hinge. The best design depends on the frame size, weight, surface, and whether you want a temporary fix or a long-term display worthy of the mantel.
This guide walks you through practical ways to make a DIY photo frame stand, including a simple cardboard easel back, a stronger wood support, a hinged frame leg, and quick repair options for broken stands. You will also learn how to measure the stand angle, choose materials, avoid common mistakes, and give the back of your frame a clean, finished look.
What Is a Photo Frame Stand?
A photo frame stand is the support attached to the back of a frame that allows it to sit upright on a table, shelf, desk, nightstand, or fireplace mantel. The most common type is an easel back, a hinged or fold-out leg that leans away from the frame and creates a stable triangle with the tabletop.
Many small store-bought frames come with easel backs already attached. Larger picture frames are more often designed for wall hanging because the bigger the frame, the harder it is for a small rear leg to support the weight safely. For tabletop display, frames in the 4×6, 5×7, 8×10, and small 11×14 range are usually the easiest candidates.
The principle is simple: the stand must be strong enough to hold the frame, wide enough to resist wobbling, and angled correctly so the photo does not lean too far back or tip forward like it has received shocking news.
Best Materials for Making a Photo Frame Stand
You can make a picture frame stand from several materials. Each one has a different level of strength, finish, and difficulty.
Cardboard or Matboard
Cardboard and matboard are great for lightweight frames, temporary displays, craft photos, event table numbers, school projects, and small prints. Matboard looks cleaner and holds its shape better than thin shipping cardboard. If you want a polished finish, use black or white matboard and cut it neatly with a craft knife.
Foam Board
Foam board is light, easy to cut, and useful for larger paper displays or lightweight poster-style frames. It is not ideal for heavy wood or glass frames because it can dent, bend, or separate at the hinge area over time.
Thin Plywood or Hardboard
Thin plywood, MDF, or hardboard makes a much stronger stand. This is the better choice for wood photo frames, thicker tabletop frames, or frames that will be handled often. A wood stand also looks more intentional, especially if painted, stained, or covered with felt.
Craft Sticks or Scrap Wood
For small frames, craft sticks can work as a quick support. For a more durable version, use a narrow strip of scrap wood, such as a paint stirrer, square dowel, or leftover trim. Sand the edges so it does not scratch furniture or your fingers.
Metal Wire or Coat Hanger
Wire can be bent into a simple rear prop for a light frame. This method is inexpensive and surprisingly effective, but it requires careful shaping. Use pliers and make sure the wire ends are tucked, capped, or taped so they do not scratch surfaces.
Tools and Supplies You May Need
You do not need every tool listed here. Pick the tools that match your chosen stand design.
- Ruler or measuring tape
- Pencil
- Cardboard, matboard, foam board, plywood, or scrap wood
- Craft knife or utility knife
- Self-healing cutting mat or scrap board
- Scissors for thinner cardboard
- Wood glue, craft glue, hot glue, or strong double-sided tape
- Small hinge for a stronger folding stand
- Tiny screws or brads
- Sandpaper
- Felt pads or rubber bumpers
- Binder clips or clamps
- Paint, stain, marker, or decorative paper for finishing
Safety note: when cutting cardboard, matboard, or foam board, use a stable cutting surface and keep your non-cutting hand away from the blade path. A sharp blade is usually safer than a dull one because it requires less force and is less likely to slip. Yes, this is one of those rare life moments where “sharp” is the responsible choice.
Method 1: Make a Simple Cardboard Easel Back
This is the easiest way to make a stand for a lightweight photo frame. It is perfect for a small 4×6 or 5×7 frame, a paper photo display, or a frame that needs a quick repair.
Step 1: Measure the Frame
Turn the frame face down on a clean surface. Measure the height of the frame. Your stand should usually be about two-thirds to three-quarters of the frame height. For a 7-inch-tall frame, a stand around 4.5 to 5.25 inches long is usually a good starting point.
Step 2: Draw the Stand Shape
On cardboard or matboard, draw a long triangle or tapered rectangle. The top should be narrow where it attaches to the frame, and the bottom should be wider for stability. A common shape looks like a necktie that went to engineering school.
Step 3: Cut the Stand
Cut along the lines with a craft knife and ruler. Use several light passes instead of trying to slice through everything in one heroic motion. Clean cuts look better and reduce the chance of tearing the board.
Step 4: Create a Hinge Tab
At the top of the stand, leave or attach a small hinge tab. You can make this by scoring a horizontal fold line about half an inch from the top. Do not cut all the way through. Fold the tab backward and forward a few times so it bends easily.
Step 5: Attach the Stand to the Frame Back
Position the stand vertically on the back of the frame, centered from left to right. The hinge should sit above the middle of the frame, not too close to the bottom. Use strong double-sided tape, hot glue, craft glue, or a strip of gaffer tape to attach the hinge tab.
Step 6: Test the Angle
Stand the frame up. A comfortable display angle is usually slightly reclined, around 10 to 15 degrees back from vertical. If the photo leans too far, shorten the stand. If it tips forward, lengthen the stand or move the hinge point higher.
Method 2: Make a Strong Wooden Stand for a Photo Frame
A wooden stand is best for a heavier frame or a DIY photo frame made from wood trim. It takes a little more effort, but the result is sturdier and more attractive.
Step 1: Choose the Wood
Use a thin strip of plywood, hardboard, craft board, or scrap wood. For most tabletop frames, a stand between 1 and 1.5 inches wide works well. The thickness should be enough to resist bending but not so bulky that it makes the frame sit awkwardly.
Step 2: Cut the Stand to Length
Measure the frame height and cut the wood support to about two-thirds of that height. For an 8×10 frame displayed vertically, a 6- to 7-inch support is often practical. For horizontal display, you may need a shorter but wider support.
Step 3: Sand the Edges
Sand all edges and corners until smooth. This step is small, but it makes the stand look finished and helps prevent scratches. DIY projects often fail the “does this feel like it came from a drawer of splinters?” test. Sanding solves that.
Step 4: Attach a Small Hinge
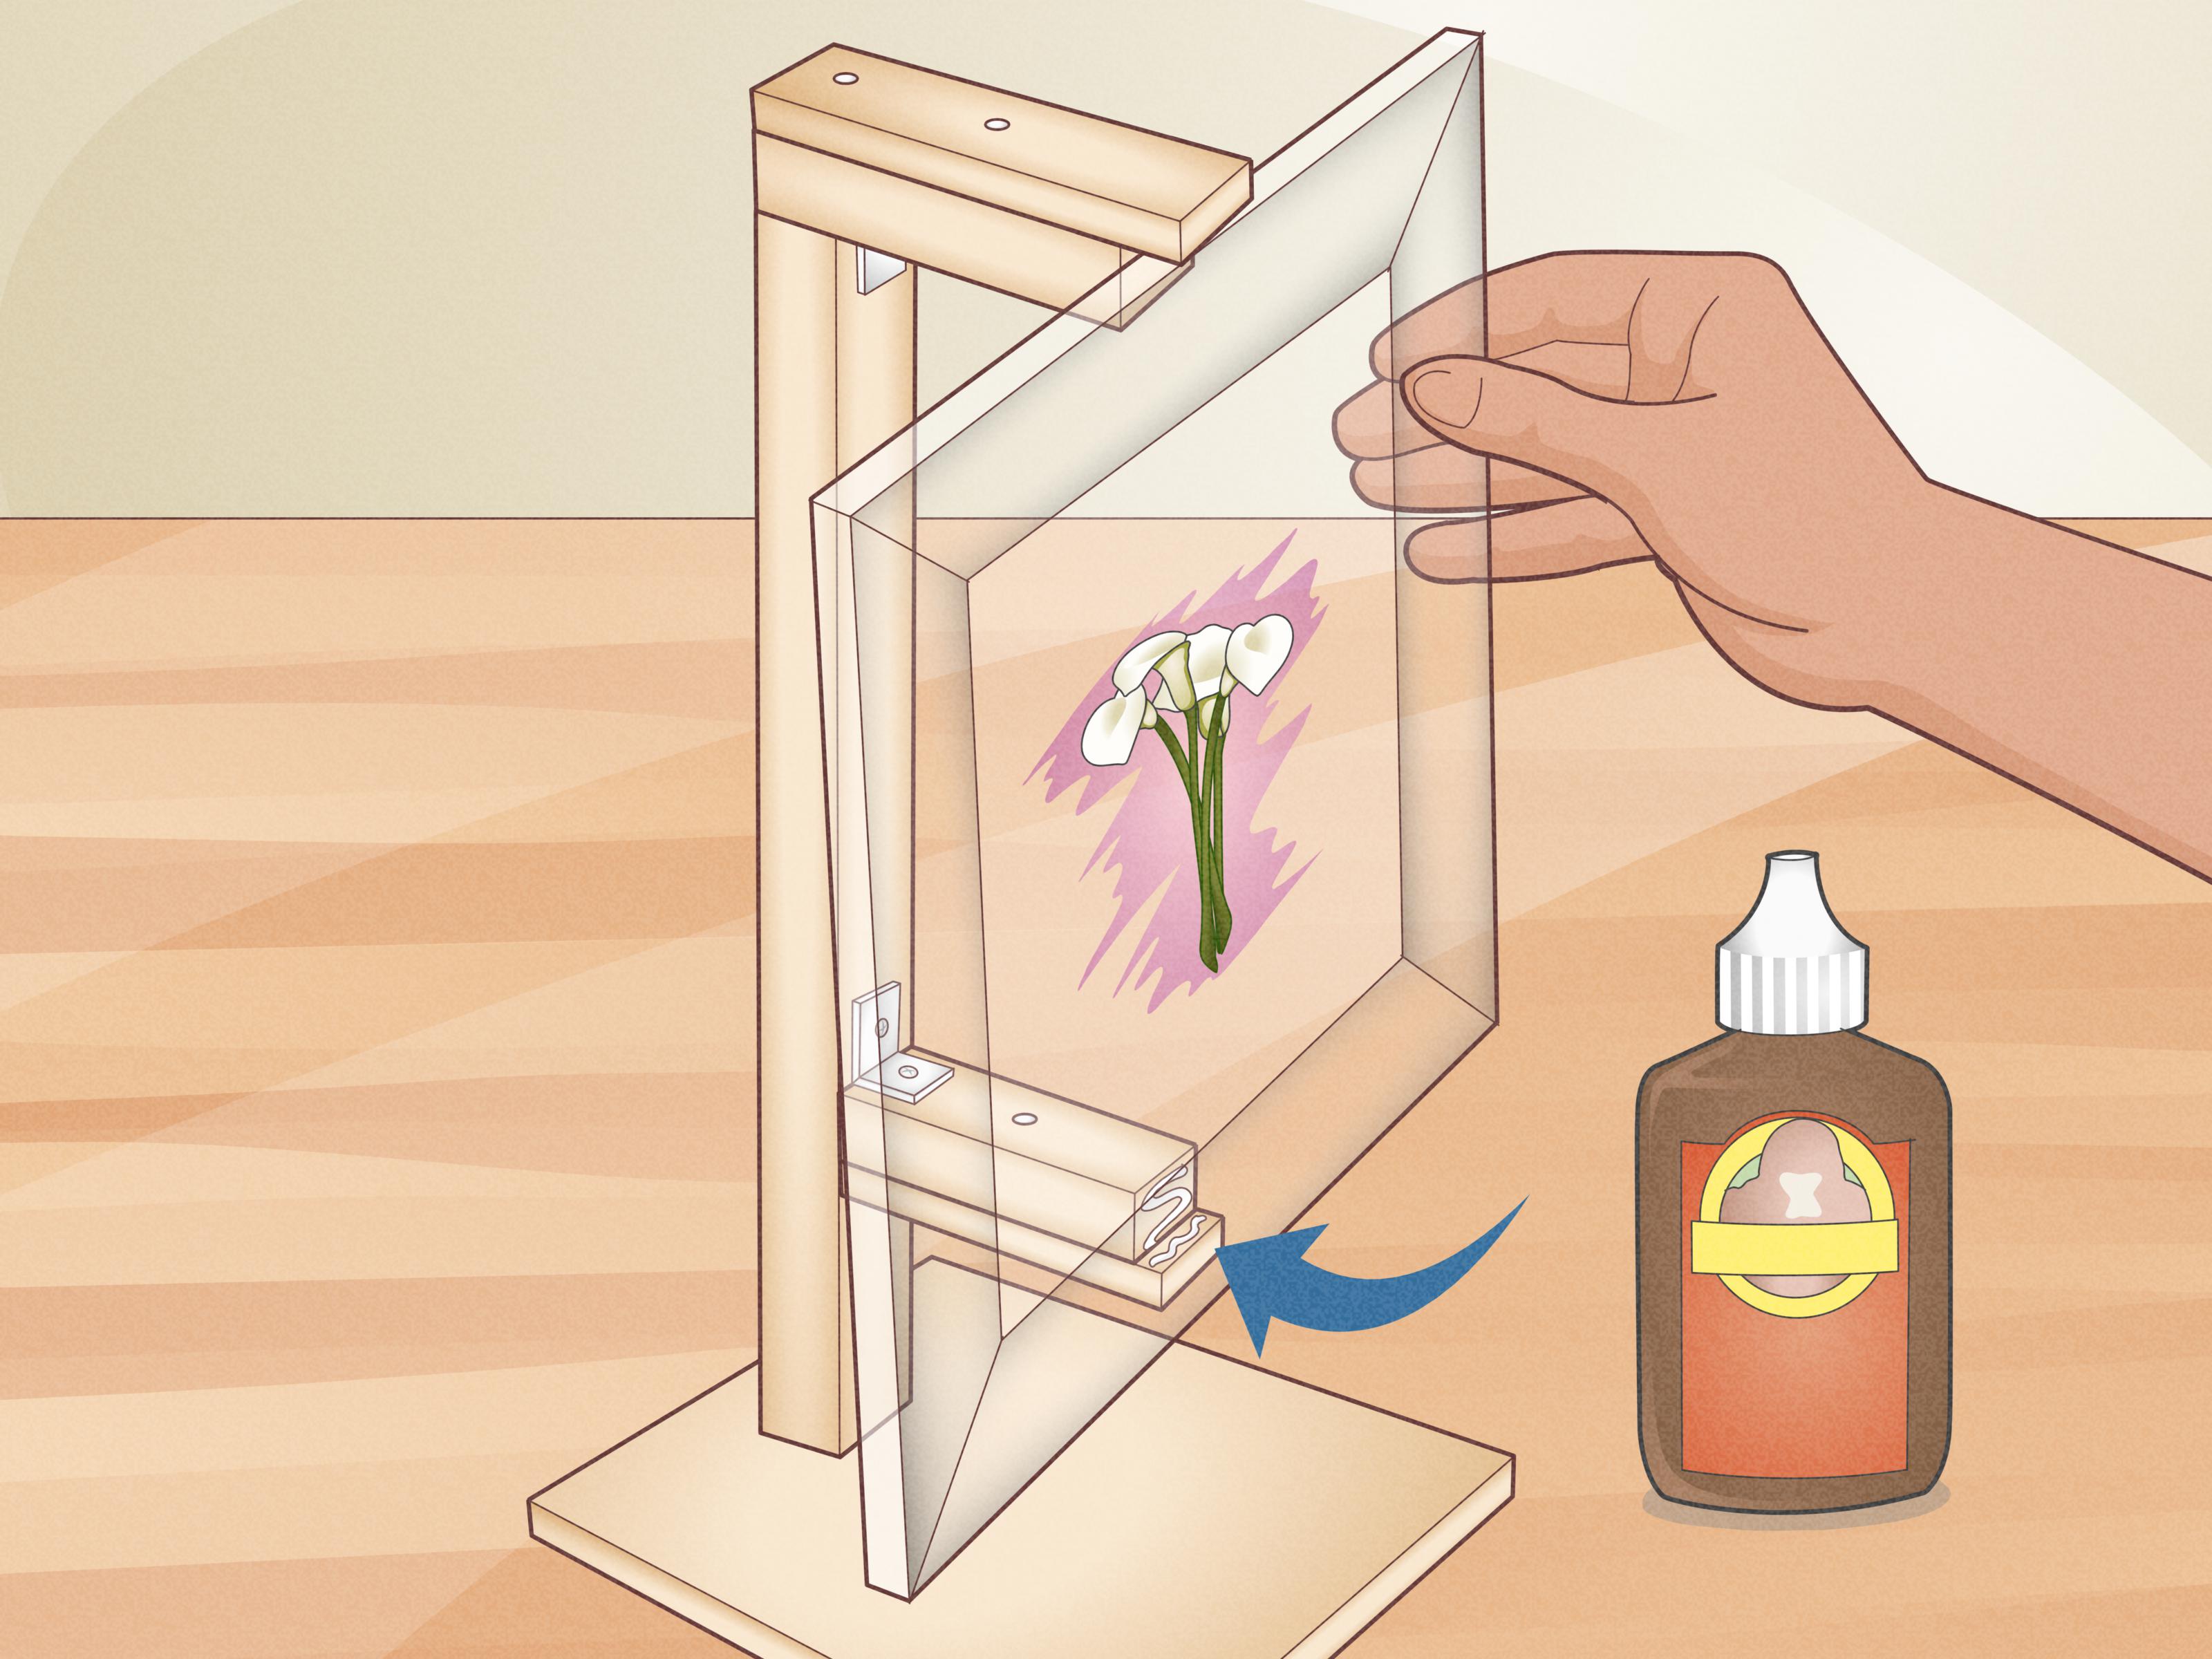
Use a small brass or steel hinge at the top of the wooden leg. Mark the screw holes, pre-drill tiny pilot holes if needed, and attach one side of the hinge to the leg. Attach the other side to the frame backing or a small wooden block glued to the back of the frame.
Step 5: Add a Stop Cord or Ribbon
A hinged leg can open too far unless you add a stop. Attach a short ribbon, cord, or strip of leather between the stand leg and frame back. This keeps the leg at the right angle. Without a stop, the frame may slowly slide into a dramatic yoga pose.
Step 6: Finish the Stand
Paint or stain the stand to match the frame. Add a felt pad to the bottom edge so it does not scratch the tabletop. You can also glue thin felt to the back of the leg for a professional look.
Method 3: Make a Wire Stand
A wire stand is a useful option when you need a quick, minimalist support and do not want to attach a large backing piece.
Step 1: Choose a Sturdy Wire
Use a wire coat hanger, heavy floral wire, or craft wire. Avoid very thin wire because it may bend under the frame weight.
Step 2: Bend the Wire Into a U Shape
Using pliers, bend the wire into a wide U shape. The bottom of the U will rest on the table, while the two upper ends attach or tuck into the back of the frame.
Step 3: Add Support Feet
Bend the bottom corners slightly outward to create small feet. This gives the stand more surface contact and reduces wobbling.
Step 4: Secure It to the Frame
If the frame has a thick backing, you can tape or clip the wire in place. For a wooden frame, small screw eyes or staples can hold the wire ends. Cover sharp ends with tape, heat-shrink tubing, or small rubber caps.
How to Repair a Broken Photo Frame Stand
If the original stand is still present but loose, cracked, or detached, you may not need to rebuild everything. First, check the failure point. Many frame stands break at the hinge, at the fold line, or where the cardboard leg attaches to the backing.
For a Loose Cardboard Stand
Remove old adhesive if it is peeling. Wipe away dust. Reattach the stand with strong double-sided tape, hot glue, or a new strip of hinge tape. Press firmly and let the adhesive set before standing the frame upright.
For a Torn Fold
Reinforce the fold with cloth tape, bookbinding tape, or a strip of thin fabric glued over the hinge area. The flexible reinforcement lets the leg fold while preventing the tear from spreading.
For a Missing Stand
Make a replacement from matboard or thin wood using the methods above. If the frame is valuable, antique, or professionally framed, avoid aggressive glue or nails. Use a reversible support or consult a frame shop.
How to Choose the Right Stand Angle
The stand angle affects both stability and viewing comfort. A frame that stands too straight may tip forward. A frame that leans too far back can catch glare and look oddly relaxed, as if it is taking a vacation.
For most tabletop photo frames, aim for a slight backward lean. Place the frame on the intended surface and view it from normal eye level. On a low shelf, the frame may need to lean back a bit more. On a high shelf, it may need a more upright angle so the image is still visible.
A quick test is to gently tap the table near the frame. If the frame wobbles or collapses, widen the stand base, lower the bottom contact point, or add rubber bumpers. Stability matters more than elegance. A beautiful frame that falls over every time someone closes a drawer is not decor; it is a tiny household alarm system.
Vertical vs. Horizontal Photo Frame Stands
Some frames switch between portrait and landscape orientation. If you want your DIY stand to work both ways, you need either a rotating support or two attachment points.
For a cardboard stand, the easiest solution is to attach two separate easel backs: one for vertical display and one for horizontal display. Keep them low-profile so they do not interfere with each other.
For a wooden stand, use a removable support that fits into a small bracket or slot. You can place the bracket in different positions depending on orientation. Another option is a small adjustable tabletop easel, which supports the entire frame without attaching anything to the back.
Finishing Ideas for a Professional Look
The back of a frame is not usually the star of the show, but a clean finish makes your project feel complete. Cover cardboard with black paper, kraft paper, scrapbook paper, or adhesive felt. Color the raw edges with a marker if they look rough. For wood, use stain, paint, or clear sealer.
Add felt pads to the bottom corners of the frame and the foot of the stand. These pads help protect furniture and reduce sliding. If the frame will sit on a slick surface like glass, marble, or polished wood, small rubber bumpers may provide better grip.
If the frame is part of event decor, such as a wedding table number, memorial display, craft fair sign, or menu card, match the stand color to the theme. White easel backs disappear behind light prints, while black stands look cleaner behind dark frames.
Common Mistakes to Avoid
Using Material That Is Too Thin
Thin cardboard may work for a small print, but it will bend under a heavy frame. If your frame has glass, wood, or metal, use thicker matboard, hardboard, or wood.
Attaching the Stand Too Low
If the hinge point is too close to the bottom, the frame may lean awkwardly or collapse. Attach the stand closer to the middle or upper-middle area of the back.
Skipping the Test Fit
Always test the angle before permanently gluing or screwing the stand. A temporary piece of painter’s tape can save you from a permanent geometry regret.
Forgetting About Frame Weight
A small adhesive easel back may not hold a heavy frame forever. When in doubt, use a mechanical attachment such as a hinge and screws, or display the frame on a tabletop easel.
Leaving Sharp Edges
Cut cardboard, wire, and wood neatly. Sand wood edges and cover wire ends. The back of a frame should not feel like a trap designed by a tiny villain.
Best Stand Type by Frame Size
| Frame Size | Best Stand Type | Recommended Material |
|---|---|---|
| 4×6 | Simple easel back | Matboard or cardboard |
| 5×7 | Cardboard or hinged stand | Matboard, hardboard, or thin wood |
| 8×10 | Hinged stand | Hardboard or plywood |
| 11×14 | Wide hinged stand or tabletop easel | Plywood or adjustable easel |
| Larger than 11×14 | Wall hanging or separate easel | Proper hanging hardware or display easel |
Experience Notes: What I Learned Making Photo Frame Stands
The first time I made a stand for a photo frame, I was trying to rescue a small 5×7 frame that had lost its back leg. The photo was important, the frame was cute, and the original stand was apparently made from the emotional strength of a cracker. One small bump and the whole thing collapsed flat on the shelf. I started with a piece of thin cardboard from a shipping box, cut a triangle, taped it on, and proudly stood the frame up. It lasted about four minutes. The problem was not the idea; it was the material. The cardboard had a crease running through it, and that crease folded under the frame weight.
The second attempt worked much better because I used stiffer matboard and paid attention to the hinge point. I placed the stand higher on the frame back and made the bottom of the leg wider. That small change made the frame feel more balanced. The lesson was simple: a stand is not just a stick on the back. It is a support system, and the angle matters. Too short, and the frame leans back like it is avoiding a conversation. Too long, and the frame stands so upright that a sneeze could tip it forward.
For heavier frames, I have had the best results with thin wood and a small hinge. A scrap of plywood or a flat paint stirrer can become a strong support with just a little sanding. The hinge makes the stand foldable, while a small ribbon or cord keeps it from opening too far. This detail feels fancy, but it is actually very practical. Without a stop cord, the leg can slide backward, especially on a smooth tabletop. With the cord, the stand opens to the same angle every time.
One trick that makes a DIY stand look less homemade is finishing the back. Covering the support with black paper, felt, or matching paint hides glue marks and rough edges. It also makes the frame look intentional instead of repaired during a commercial break. Felt pads are another underrated upgrade. They protect the furniture, add grip, and make the frame sit quietly instead of scraping every time you dust the shelf.
I have also learned not to overtrust adhesive on dusty or glossy surfaces. If the frame backing is slick, lightly scuff the attachment area first, wipe away dust, and press the adhesive firmly. For heavy frames, glue alone can disappoint you at the worst possible moment, usually when guests are nearby and the frame chooses drama. Mechanical fasteners, hinges, brads, or a separate tabletop easel are better for weighty frames.
The most satisfying part of making a photo frame stand is that it turns a nearly useless frame into something display-ready again. It is a small project, but it feels like a win. You save money, avoid throwing away a good frame, and create a custom support that fits the exact size and style you need. Plus, it gives you permission to keep those little scraps of wood and matboard in a drawer. Not forever, of course. Just until they become “valuable project materials,” which is what DIY people call clutter when it finally gets promoted.
Conclusion
Making a stand for a photo frame is a simple DIY project with a big payoff. For lightweight frames, a cardboard or matboard easel back can be enough. For heavier or long-term displays, a hinged wooden stand is stronger, cleaner, and more reliable. The key is to measure the frame, choose the right material, attach the support at the proper height, and test the angle before making anything permanent.
Whether you are fixing a broken frame stand, building a custom picture frame, creating event table displays, or rescuing a sentimental photo from shelf-flopping embarrassment, the process is beginner-friendly and budget-friendly. With a few basic tools and a little patience, your frame can stand proudly againno leaning, sliding, or dramatic face-plants required.