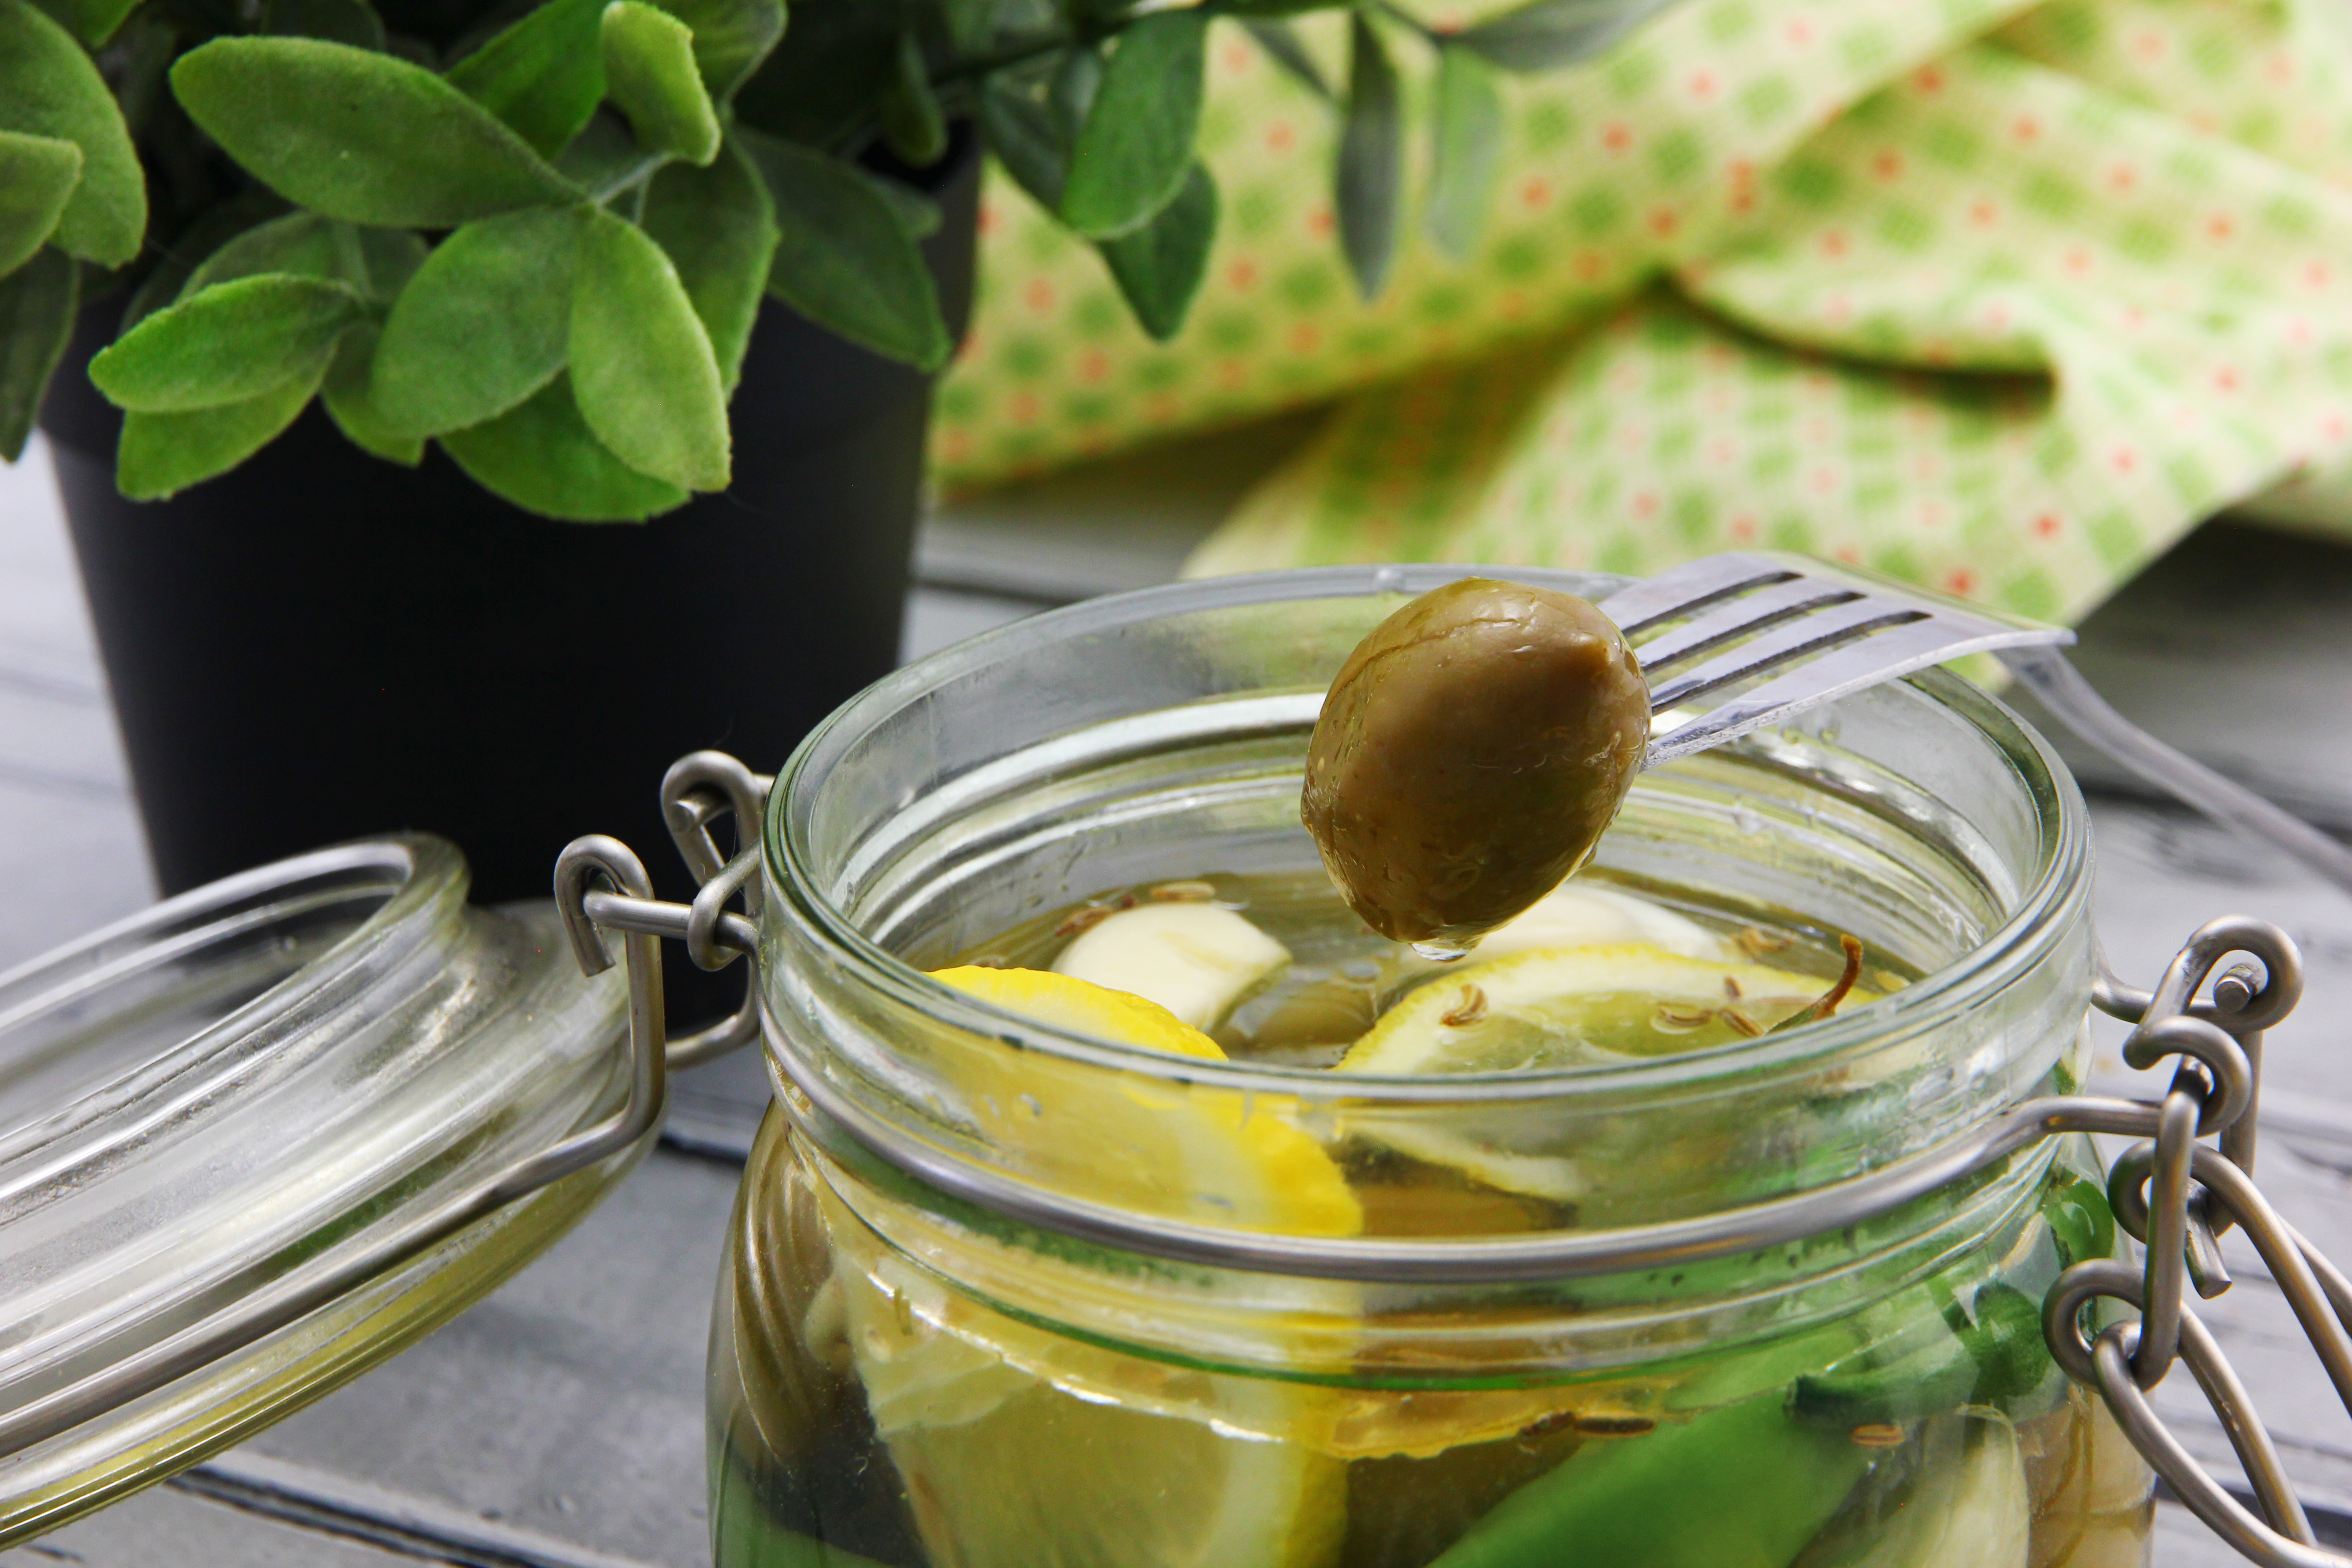

Pickled olives are one of those foods that make a kitchen feel instantly smarter. Set a bowl on the table with a little lemon peel, rosemary, garlic, and good olive oil, and suddenly your snack situation has gone from “I found crackers” to “Welcome to my Mediterranean courtyard.” The best part? You can make deeply flavorful pickled olives at home without fancy equipment, culinary school tuition, or a jar label written in three languages.
Before we begin, here is the important olive truth: fresh olives are not ready-to-eat fruit. They contain oleuropein, a naturally bitter compound that makes raw olives taste like regret wearing a green jacket. To become delicious, olives must be cured first, usually with water, brine, dry salt, or lye. This guide focuses on a practical home method: curing fresh olives with water, then finishing them in a vinegar-salt brine and storing them in the refrigerator. It is ideal for beginners who want pickled olives with bright flavor, firm texture, and a safe, realistic process.
This recipe is for refrigerator pickled olives, not shelf-stable canned olives. Olives are a low-acid food, so pantry storage requires tested preservation methods. When in doubt, keep them cold, clean, covered in brine, and do not freestyle safety like a jazz drummer with a jar lid.
What Are Pickled Olives?
Pickled olives are olives that have been cured to remove bitterness and then preserved or flavored in a salty, acidic brine. The brine usually includes water, salt, vinegar, and seasonings such as garlic, citrus peel, bay leaves, oregano, thyme, fennel seed, chile flakes, or peppercorns. The result can be mild and buttery, sharp and tangy, herbal and fragrant, or bold enough to wake up a sleepy cheese board.
Green olives are harvested earlier and tend to be firmer and more bitter. Black or fully ripe olives are softer, fruitier, and more delicate. Both can be pickled, but they behave differently. Green olives are easier for beginners because they hold their shape well during curing. Ripe olives can be wonderful, but they bruise easily and may soften faster in brine.
Ingredients and Equipment
Ingredients
- 2 pounds fresh, unbruised olives
- Cool water for curing
- 4 cups water for final brine
- 1 cup white wine vinegar or distilled white vinegar with 5% acidity
- 1/4 cup pickling or canning salt
- 4 garlic cloves, peeled and lightly crushed
- 2 strips lemon peel or orange peel
- 2 bay leaves
- 1 teaspoon black peppercorns
- 1 teaspoon dried oregano, thyme, or rosemary
- Optional: 1/2 teaspoon red pepper flakes
- Optional: extra-virgin olive oil for serving, not for long-term room-temperature storage
Equipment
- Large glass, ceramic, or food-grade plastic bowl
- Sharp paring knife or clean mallet
- Clean glass jars with lids
- Small saucepan
- Plate or fermentation weight to keep olives submerged
- Labels and marker for dating jars
How to Make Pickled Olives: 9 Steps
Step 1: Choose Fresh, Firm Olives
Start with fresh olives that are firm, clean, and free from mold, deep bruises, or broken skin. If you are harvesting them yourself, pick olives when they have reached full size. Green olives should look plump and even in color. Turning-color olives may show shades of yellow-green, rose, or reddish brown. Fully ripe olives may be dark purple or black, but they need gentler handling because they bruise easily.
Do not use olives that smell fermented before curing begins, feel mushy, or have suspicious spots. Pickling improves good produce; it does not perform miracles. If an olive looks like it has already had a rough week, let it retire peacefully to the compost bin.
Step 2: Wash and Sort the Olives
Rinse the olives under cool running water and remove leaves, stems, dirt, and any damaged fruit. Sort by ripeness if you have a mixed batch. Green olives and ripe olives cure at different speeds, so separating them gives you better control over texture and flavor.
Cleanliness matters. Wash your bowl, jars, tools, and hands before you start. You do not need to panic-clean the kitchen like a detective is coming over, but you do want everything that touches the olives to be clean and food-safe.
Step 3: Crack or Slit Each Olive
Fresh olives need help releasing bitterness. Use a paring knife to make one or two lengthwise slits in each olive, cutting through the skin but not slicing the fruit in half. Another method is to gently crack each olive with a clean mallet, rolling pin, or the flat side of a sturdy knife. The goal is to open the flesh enough so water and brine can move through it.
Slitting gives a neater appearance. Cracking works faster but can create rustic-looking olives. Both methods are fine. If you plan to serve the olives on a pretty appetizer board, slitting may look cleaner. If you are making a big family batch, cracking is quicker and oddly satisfying.
Step 4: Cure the Olives in Fresh Water
Place the prepared olives in a large nonreactive bowl or container. Cover them with cool water by at least 1 inch. Use a small plate or weight to keep the olives submerged because exposed olives can darken or develop off flavors.
Change the water daily for 7 to 14 days. Smaller cracked olives may mellow in about a week. Larger green olives may need closer to two weeks. Taste one olive after the first week. It should still taste like an olive, not like a dare. A little bitterness is pleasant; harsh bitterness means the olives need more soaking time.
This step is where patience does the heavy lifting. You are not “just waiting.” You are transforming a bitter fruit into something snackable. That sounds much better, especially when someone asks why there is a bowl of olives on the counter wearing a plate as a hat.
Step 5: Prepare the Pickling Brine
Once the olives taste pleasantly mild, prepare the brine. In a small saucepan, combine 4 cups water, 1 cup 5% vinegar, and 1/4 cup pickling salt. Heat gently and stir until the salt dissolves. Let the brine cool completely before pouring it over the olives.
Use pickling or canning salt if possible. It dissolves cleanly and helps keep the brine clear. Table salt may contain anti-caking agents that cloud the liquid, while specialty salts can vary in density and mineral content. Save the flaky sea salt for finishing your avocado toast; the olive jar prefers precision.
For flavor, add garlic, citrus peel, bay leaves, peppercorns, oregano, thyme, rosemary, or red pepper flakes. Use whole spices when possible because ground spices can muddy the brine. Fresh herbs can be delicious, but they should be clean and fully submerged.
Step 6: Pack the Olives Into Clean Jars
Drain the cured olives and pack them into clean glass jars. Do not smash them down. Leave enough room for brine to circulate. Add garlic, herbs, citrus peel, and spices as you layer the olives. A good combination for beginners is garlic, lemon peel, bay leaf, black peppercorn, and oregano. It tastes classic, bright, and friendly with almost everything.
If you want a spicier jar, add red pepper flakes or a small dried chile. For a warmer, aromatic style, try fennel seed, coriander seed, orange peel, and thyme. For a Greek-inspired flavor, use oregano, garlic, lemon, and a splash of red wine vinegar as part of the vinegar portion.
Step 7: Cover Completely With Brine
Pour the cooled brine over the olives until they are fully covered. Leave about 1/2 inch of headspace at the top of each jar. Tap the jar gently to release trapped air bubbles. If olives float, use a small food-safe weight or a folded piece of clean parchment under the lid to keep them below the brine.
This is not just for appearance. Olives exposed to air may discolor, soften, or develop surface spoilage. The brine is their protective blanket. Keep them tucked in.
Step 8: Refrigerate and Let the Flavor Develop
Seal the jars and place them in the refrigerator. Let the olives pickle for at least 1 week before eating. Two to three weeks is even better because the flavors have time to settle into the fruit. During this time, the garlic becomes gentler, the citrus becomes rounder, and the olive flavor moves from “nice” to “where is the crusty bread?”
Always keep refrigerator pickled olives cold. Use a clean spoon to remove olives from the jar, and return the jar to the refrigerator promptly. Do not leave homemade pickled olives sitting out for long periods at parties. Serve a portion in a bowl and keep the rest chilled.
Step 9: Taste, Adjust, and Serve
After a week, taste the olives. If they are too salty, drain a small portion and soak it in fresh water for 15 to 30 minutes before serving. If they taste too sharp, serve them with a drizzle of olive oil and a few fresh herbs to soften the acidity. If they need more flavor, add extra citrus peel, herbs, or spices to the jar and wait a few more days.
Serve pickled olives with cheese, roasted nuts, grilled bread, hummus, salads, roasted chicken, pasta, pizza, or a simple snack plate. You can also chop them into tapenade, fold them into tuna salad, scatter them over roasted vegetables, or add them to grain bowls for a salty pop.
Flavor Variations for Homemade Pickled Olives
Lemon-Rosemary Olives
Add lemon peel, rosemary sprigs, garlic, and black peppercorns. This version is bright, piney, and excellent with grilled fish or chicken.
Spicy Garlic Olives
Add crushed garlic, red pepper flakes, bay leaf, and a strip of orange peel. The citrus keeps the heat from tasting flat.
Mediterranean Herb Olives
Add oregano, thyme, fennel seed, coriander seed, and white wine vinegar. This is a great all-purpose jar for salads, appetizer boards, and late-night snacking.
Warm Citrus Olives
Before serving, spoon some olives into a small pan with olive oil, orange peel, rosemary, and a pinch of chile flakes. Warm gently until fragrant. Do not boil. Serve immediately with bread. This trick makes homemade olives taste restaurant-level with almost no effort.
Common Mistakes to Avoid
Using Raw Olives Without Curing
Raw olives are intensely bitter. Pickling brine alone will not instantly fix them. Cure first, pickle second. Your taste buds will send a thank-you card.
Using Weak or Unknown Vinegar
Use vinegar labeled 5% acidity. Homemade vinegar and some boutique vinegars may not have reliable acidity for pickling. Flavor is fun; mystery acidity is not.
Reducing Salt Too Much
Salt helps with flavor, texture, and preservation quality. If you need a lower-sodium serving, soak the finished olives briefly before eating rather than changing the brine dramatically.
Storing Refrigerator Olives in the Pantry
This recipe is designed for the refrigerator. It is not a shelf-stable canning recipe. Keep jars cold and use them within a reasonable time, ideally within 1 to 2 months for best quality.
Ignoring Spoilage Signs
Discard olives if they become slimy, smell rotten, grow mold, fizz aggressively, or develop an unpleasant flavor. Do not taste questionable preserved food to “check.” When food safety is uncertain, the safest serving suggestion is the trash can.
How Long Do Pickled Olives Last?
Refrigerator pickled olives are best eaten within 1 to 2 months. They may remain good longer if kept cold, clean, and fully submerged, but quality changes over time. Garlic can become stronger, herbs can fade, and olives can soften. Label each jar with the date you made it so you do not have to play “archaeologist of the fridge” later.
If you want long-term storage, use a tested olive preservation method from a reliable food preservation source. Do not simply process these jars in a boiling-water canner and assume they are shelf-stable. Olives need special care because they are low-acid before proper acidification or pressure processing.
Serving Ideas for Pickled Olives
Pickled olives are more versatile than they get credit for. Add them to a charcuterie board with cheddar, goat cheese, almonds, grapes, and crackers. Toss them into a chopped salad with cucumbers, tomatoes, red onion, and feta. Chop them with parsley, capers, garlic, lemon zest, and olive oil for a quick relish. Add sliced olives to focaccia before baking or scatter them over pizza after it comes out of the oven.
For a quick appetizer, drain a cup of olives and toss them with a tablespoon of olive oil, a little lemon zest, chopped parsley, and cracked black pepper. Serve with toothpicks and pretend you planned the whole thing days ago. Technically, you did.
Extra Experience Notes: Lessons From Making Pickled Olives at Home
The first lesson of making pickled olives is that olives operate on olive time. Cucumbers become pickles quickly. Onions turn tangy almost while you are still looking for the lid. Olives, however, prefer a slower entrance. They need curing, tasting, waiting, and adjusting. Once you accept that, the process becomes relaxing instead of frustrating.
One useful habit is to make small test jars with different seasonings. Put garlic and lemon in one jar, rosemary and orange peel in another, and chile flakes with oregano in a third. After two weeks, taste them side by side. You will quickly learn what your household actually likes. Some people want bright, vinegary olives. Others prefer a rounder, herbal flavor. A few want enough garlic to make the refrigerator smell like an Italian deli. There is no shame in any of these paths.
Texture is another experience teacher. Firm green olives are forgiving and stay pleasantly snappy. Riper olives can be luxurious, but they need gentle handling. If you crack very ripe olives too hard, they may break apart during soaking. For ripe olives, a shallow slit with a knife is often better than a dramatic smash. Save the dramatic smash for garlic cloves and emotional support.
Water changes are the part people most often forget. The easiest solution is to connect the olive routine to something you already do every day. Change the water after morning coffee, after dinner cleanup, or when you feed a pet. Put a note on the fridge if necessary. The olives do not need constant attention, but they do appreciate consistency.
Another practical tip is to taste carefully and often near the end of curing. Do not wait for every trace of bitterness to disappear. A tiny bitter edge gives olives character, the way espresso has bite or dark chocolate has depth. If you cure them until they taste completely neutral, the final pickled olives may seem flat. Aim for mellow, not boring.
When serving homemade pickled olives, temperature matters. Cold olives straight from the refrigerator can taste muted. Let a serving portion sit at room temperature for 10 to 15 minutes, or warm them gently with olive oil and herbs. The aroma opens up, the texture feels better, and the flavors become more generous. Just remember to keep the storage jar refrigerated and only warm what you plan to serve.
Finally, homemade pickled olives make excellent gifts, but only when handled honestly. Label them as “keep refrigerated” and include the date. A pretty ribbon is nice, but clear storage instructions are nicer. Food gifts should be delicious, charming, and not mysterious. That is the holy trinity of edible presents.
Conclusion
Making pickled olives at home is a slow but satisfying kitchen project. The process is simple: choose good olives, cure out the bitterness, pack them in a flavorful vinegar-salt brine, refrigerate, and let time do the polishing. With garlic, herbs, citrus, and a little patience, fresh olives become a bold, savory snack that can upgrade salads, boards, sandwiches, pasta, and quiet moments at the refrigerator door.
The key is respecting both flavor and safety. Use clean jars, 5% vinegar, pickling salt, fresh olives, and refrigerator storage. Do not treat this as a shelf-stable canning recipe. Once you understand that, homemade pickled olives are approachable, customizable, and honestly pretty fun. They are proof that good things come to those who brine.