
There are two kinds of winter surprises nobody asks for: a heating bill that looks like it was printed by a villain, and a living room window that blows cold air on your ankles like it has personal beef with you. The good news? You do not always need new windows, a contractor, or a heroic budget to make your home feel warmer. Sometimes, the most ingenious window insulation tip is also one of the simplest: seal the air leaks first, then add a temporary insulating layer over the glass.
That may sound almost too basic, but window insulation is not magic. It is building science wearing fuzzy slippers. Cold rooms often happen because warm indoor air escapes through tiny gaps around the sash, frame, trim, and glass. Once that warm air leaves, your furnace or heat pump has to work harder. The goal of smart window insulation is to slow air movement, reduce heat transfer, and make the room feel less like a walk-in refrigerator with curtains.
This guide explains a clever, low-cost way to insulate drafty windows using a layered approach: weatherstripping, caulk where appropriate, shrink film, and insulating window coverings. It also covers bubble wrap, thermal curtains, storm windows, renter-friendly options, common mistakes, and real-life experience from using these methods in a cold, drafty home. Grab a hair dryer, a roll of tape, and your most suspicious window. We are going draft hunting.
Why Windows Make Rooms Feel So Cold
Windows are one of the weakest points in a home’s thermal envelope. Walls usually contain insulation, but glass does not perform the same way. Older single-pane windows are especially vulnerable because they offer very little resistance to heat transfer. Even double-pane windows can feel chilly if the seals are aging, the sash does not close tightly, or the trim has gaps hidden behind layers of paint and old caulk.
There are two main problems: air leakage and heat loss through the glass. Air leakage happens when tiny cracks allow outdoor air to sneak inside and indoor air to escape. Heat loss through glass happens even when the window is technically closed. That is why a window can feel cold even if you do not feel an obvious draft. The most effective DIY window insulation strategy addresses both issues.
The Ingenious Window Insulation Tip: Layer the Protection
The smartest window insulation tip is not just “put plastic on the window.” It is this: create a layered air barrier. First, stop the leaks around the window. Second, trap a still layer of air between the glass and a clear plastic film. Third, add insulating curtains or shades to reduce radiant chill at night. Each layer helps, but together they make a much bigger difference.
Think of it like dressing for winter. A T-shirt is not enough. A sweater is better. A sweater under a windproof coat is the reason you can walk outside without questioning every life choice that brought you there. Window insulation works the same way. Caulk and weatherstripping act like the windproof layer. Plastic film creates an insulating air pocket. Curtains add cozy backup after sunset.
Step 1: Find the Draft Before You Fight It
Before buying anything, inspect the window carefully. On a windy day, run your hand slowly around the sash, frame, sill, and trim. You can also use a tissue, incense stick, or a very dramatic candle flame to locate air movement. If the tissue flutters near the corner of the window, congratulations: you have found the tiny villain.
Common draft locations include:
- The meeting rail where the upper and lower sash meet
- The sides of operable windows
- The gap between the window trim and wall
- Cracked or missing caulk on the interior or exterior frame
- Loose sash locks that prevent the window from closing tightly
- Old pulley openings in historic windows
Do not assume the glass is the only problem. Many drafty windows leak around the edges, not through the middle. That is why sealing gaps should happen before applying film. Otherwise, you are basically putting a nice clear blanket over a window that is still whispering cold air into your house.
Step 2: Use Weatherstripping on Movable Parts
Weatherstripping is designed for areas that move, such as operable windows and doors. It compresses when the window closes, helping block drafts without permanently sealing the window shut. Foam tape, V-seal, rubber strips, silicone weatherstripping, and felt are common options.
For most homeowners, adhesive-backed foam or rubber weatherstripping is the easiest starting point. Clean the surface first, let it dry fully, measure the sash or jamb, cut the strip to size, and press it into place. Then open and close the window to make sure it still operates properly. If the window refuses to close, the strip may be too thick. Your window should be insulated, not forced into a wrestling match.
Step 3: Use Caulk on Stationary Gaps
Caulk is best for cracks and gaps that do not move. Use it around stationary trim, between the window frame and wall, or anywhere you see a narrow crack that lets air in. For interior work, paintable acrylic latex caulk is often easy to apply and clean up. For exterior gaps, choose a durable exterior-grade caulk that can handle temperature changes and moisture.
Remove loose old caulk before applying new material. A clean surface creates a better seal. Cut the caulk tube tip at a small angle, apply a steady bead, smooth it with a caulk tool or gloved finger, and wipe away excess before it dries. A neat caulk line is one of those small home improvements that makes you feel strangely powerful.
Step 4: Apply Clear Window Insulation Film
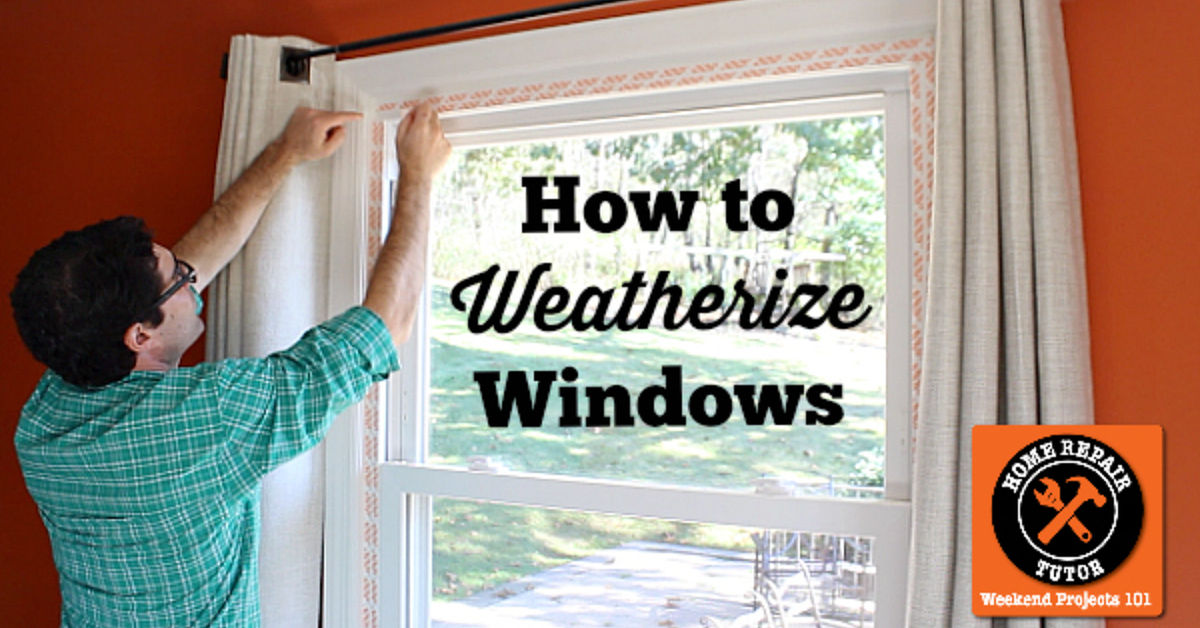
Clear shrink film is the classic winter window insulation trick because it is affordable, widely available, and surprisingly effective when installed correctly. The film does not simply cover the glass; it creates a sealed air pocket between the film and the window. That trapped air helps reduce drafts and makes the room feel warmer.
How to install window insulation film:
- Clean the window frame so the tape sticks properly.
- Dry the surface completely.
- Apply double-sided tape around the window frame, not directly on the glass.
- Cut the film slightly larger than the window opening.
- Press the film onto the tape, keeping it reasonably smooth.
- Use a hair dryer to shrink the film until wrinkles disappear.
- Trim the extra plastic with a utility knife or scissors.
The key is sealing the film tightly to the frame. If the tape has gaps, the film will not perform as well. A tight seal reduces air infiltration and keeps the plastic from flapping every time the furnace kicks on. Also, avoid using too much heat in one spot. The goal is to shrink the film, not audition for a home-improvement disaster show.
Step 5: Try Bubble Wrap for a Budget-Friendly Backup
Bubble wrap is one of the most famous “wait, that actually works?” window insulation hacks. It is not elegant, and it will not win a design award unless the judges are raccoons, but it can help add an insulating air layer to cold glass. The bubbles trap air, which slows heat transfer. It is especially useful for basement windows, garage windows, laundry rooms, workshops, and other places where privacy matters more than style.
To apply bubble wrap, cut it to fit the glass, mist the window lightly with water, and press the bubble side against the glass. The water helps it cling without tape. For a stronger hold, use removable tape around the edges. This method is cheap, easy to remove, and renter-friendly, but it blocks the view and reduces light clarity. In a bedroom or living room, clear shrink film usually looks better.
Step 6: Add Thermal Curtains or Cellular Shades
Once the window is sealed, insulating window coverings can improve comfort even more. Thermal curtains, quilted drapes, Roman shades, and cellular shades help reduce heat loss, especially at night. Cellular shades are particularly useful because their honeycomb design traps air inside the fabric structure.
For best results, hang curtains close to the window and let them extend beyond the frame on all sides. A curtain that barely covers the glass is better than nothing, but a wider, fuller curtain blocks more cold air movement. Close curtains after sunset and open them during sunny winter days to let natural heat in. Yes, your windows can work a day shift and a night shift.
When Storm Windows Make Sense
If your home has older single-pane windows, storm windows can be a strong middle-ground option between temporary film and full window replacement. Low-e storm windows add another layer of glazing and can reduce drafts while improving energy efficiency. They cost more than plastic film, but they are usually less expensive than replacing every window in the house.
Storm windows are especially useful for older homes where the original windows are still structurally sound. They can preserve the look of historic windows while improving comfort. Interior storm window inserts are another option for homeowners or renters who want seasonal insulation without exterior installation.
What About Replacing the Windows?
Replacement windows can improve comfort and efficiency, especially when existing windows are damaged, rotted, or beyond repair. However, new windows are expensive, and they are not always the first fix you should try. If the main issue is air leakage around the frame, sealing and weatherstripping may solve much of the discomfort for a fraction of the cost.
A practical approach is to start with low-cost improvements, measure the results, and then decide whether bigger upgrades are worth it. If a window has broken seals, condensation between panes, rotting wood, or major structural damage, replacement may make sense. If it is merely drafty, give insulation a chance before sending your budget into orbit.
Best Window Insulation Options by Situation
For renters
Use removable shrink film, rope caulk, bubble wrap, draft snakes, and tension-rod thermal curtains. Avoid permanent caulk or exterior changes unless your lease allows it.
For old single-pane windows
Combine weatherstripping, interior film, thermal curtains, and storm windows if possible. Single-pane glass benefits the most from added insulating layers.
For windows that still need to open
Use weatherstripping instead of shrink film on windows you need for ventilation or emergency access. Never permanently seal a required egress window.
For sunny rooms in summer
Solar-control window film, shades, awnings, and light-colored curtains can reduce heat gain. Winter insulation focuses on keeping heat in; summer strategies focus on keeping heat out.
For basement or garage windows
Bubble wrap, rigid foam inserts, or interior storm panels can work well because appearance is less important in utility areas.
Common Window Insulation Mistakes
The first mistake is applying plastic film to a dirty or dusty frame. Tape needs a clean surface. If the tape fails, the film sags, leaks, and looks like it gave up emotionally. The second mistake is stretching film too tightly before shrinking it. Leave enough material for the hair dryer to do its job.
Another mistake is using caulk where weatherstripping belongs. Caulk should not be used on parts that need to move. You may stop the draft, but you may also seal the window shut until spring, which is not ideal unless your hobby is regretting things. Finally, do not ignore moisture. If you see heavy condensation or mold around windows, improve ventilation and control indoor humidity. Insulation helps comfort, but moisture problems need attention too.
How Much Can Window Insulation Help?
The exact savings depend on your climate, window condition, heating system, utility rates, and how much of the home is leaking air. Still, the comfort improvement can be immediate. A room that once felt chilly may feel noticeably calmer after leaks are sealed and film is installed. The thermostat may not need to be raised as often, and cold spots near windows can become less annoying.
The biggest benefit is often not just lower energy use, but better comfort. When your couch is beside a drafty window, you feel cold even if the thermostat says the room is warm. By reducing drafts and radiant chill, window insulation helps the room feel more evenly heated. That means fewer blankets, fewer complaints, and fewer dramatic speeches about moving to Florida.
A Simple Weekend Window Insulation Plan
If you want a realistic plan, start with the coldest room in your home. Do not try to fix every window in one evening unless you enjoy chaos and misplaced scissors. Pick one window, clean it, seal visible gaps, add weatherstripping where needed, install shrink film, and hang a heavier curtain. Then compare the room before and after.
For a typical room with two or three drafty windows, the project may take a few hours. The materials are usually affordable: window film kits, weatherstripping, caulk, a caulking gun, a utility knife, measuring tape, and a hair dryer. Many homeowners already own most of the tools. The hardest part is convincing yourself that the window frame really does need to be cleaned first. It does. Future you will be grateful.
Extra Experience: What I Learned From Insulating Drafty Windows
The first time I tried a window insulation kit, I treated it like gift wrapping. This was a mistake. Windows are not presents, and plastic film is not wrapping paper. I rushed the cleaning step, slapped the tape onto a dusty frame, stretched the film too tightly, and then attacked it with a hair dryer like I was defrosting a windshield in a spy movie. The result was technically transparent, but it looked tired. One corner peeled up after two days, and the film made a tiny crinkling sound whenever the heat turned on. It was not exactly the cozy winter victory I had imagined.
The second attempt went much better because I slowed down. I washed the frame, dried it fully, and warmed the tape slightly with my hands before pressing it into place. I also learned to apply the film loosely at first. Once the hair dryer warmed the plastic, the wrinkles tightened beautifully. It was oddly satisfying, like watching a home-improvement version of a magic trick. The room did not become tropical, but the cold draft near the reading chair disappeared. That was the moment I understood why people swear by these kits.
Weatherstripping made an even bigger difference on an old double-hung window. The sash looked closed, but it was not sealing evenly. A thin strip of adhesive-backed foam along the side channels stopped the faint stream of cold air that had been sliding down the wall. The trick was choosing foam that was not too thick. My first strip made the window hard to lock, so I replaced it with a narrower one. Lesson learned: insulation should improve your window, not turn it into gym equipment.
Bubble wrap was my favorite ugly solution. I used it on a basement window where nobody cared about the view because the view was mostly a window well and one very judgmental leaf. A light mist of water held the bubble wrap against the glass, and the room felt less icy the next morning. It looked like the window was wearing packing material, because it was, but it worked well enough for a utility space. I would not use it in a formal dining room unless the theme was “shipping warehouse chic.”
Thermal curtains helped most at night. During the day, sunlight warmed the room, so I kept the curtains open. After sunset, closing them made the space feel more settled. The best setup was a combination of sealed gaps, shrink film, and curtains that extended several inches beyond the window frame. Each piece helped a little, but together they changed the room from “bring a sweater” to “this is actually comfortable.”
The biggest practical lesson is that window insulation is not about one miracle product. It is about patience and layers. Clean surfaces matter. Tape placement matters. Choosing the right material for moving versus stationary parts matters. And yes, a hair dryer can become a legitimate energy-saving tool, which is probably the most glamorous career change any bathroom appliance can hope for.
Conclusion
The most ingenious window insulation tip is simple: do not rely on one fix when a layered approach works better. Seal air leaks with weatherstripping and caulk, add clear shrink film to create an insulating air pocket, and use thermal curtains or cellular shades to improve comfort after dark. For utility spaces, bubble wrap can be a clever temporary solution. For older single-pane windows, storm windows or interior inserts may offer a stronger long-term upgrade.
Drafty windows can make a home feel colder than it really is, but you do not have to surrender to winter or immediately pay for replacements. Start small, test one window, and build from there. With a few affordable materials and a little patience, you can make your home warmer, quieter, and more energy efficient. Your heating system will work less, your room will feel better, and your ankles may finally forgive the window.
SEO Tags
Note: This article is based on practical window-weatherization guidance from reputable U.S. energy-efficiency and home-improvement sources, rewritten in original standard American English for web publication.