
An organized office is not about turning your workspace into a showroom where no human has ever had a snack, signed a form, or panic-searched for a charger. It is about creating a place where your brain can breathe, your tools are easy to reach, and your desk does not look like a paper tornado stopped by for coffee.
Whether you work from a company office, a home office, a shared coworking space, or the mysterious “desk corner” beside the laundry basket, the same truth applies: your environment affects how you think, focus, and get things done. A messy office can waste time, increase stress, hide important documents, and make even simple tasks feel like an expedition through office-supply archaeology.
The good news is that organizing your office does not require a full renovation, a professional-grade label maker, or a personality transplant. You need a practical system. This guide walks you through how to organize your office step by step, from decluttering your desk to managing paperwork, cables, supplies, files, digital clutter, and daily habits that keep the whole thing from collapsing by Wednesday.
Why Office Organization Matters More Than It Looks
Office organization is often treated like a cosmetic upgrade, but it is really a productivity system. When your workspace has clear zones, smart storage, and fewer visual distractions, you spend less energy deciding where things go and more energy doing meaningful work. That is the entire point: fewer tiny frustrations, fewer lost minutes, fewer “where did I put that?” moments.
A well-organized office also supports health and safety. Clear walkways reduce trip hazards. Proper desk height and monitor placement help prevent awkward postures. Secure document disposal protects personal and business information. Good airflow and reasonable equipment placement can make the space more comfortable. In other words, organizing your office is not just about making it pretty. Pretty is nice, but functional is the boss.
Step 1: Start With a Full Office Reset
Before buying storage bins or rearranging drawers, start with a reset. Take everything off the desk except the essentials you need to work today: computer, keyboard, mouse, phone, notebook, pen, lamp, and maybe your favorite mug. If an item is not used daily, it does not automatically deserve prime desk real estate.
Next, sort everything into four categories: keep, relocate, digitize, and remove. The “keep” pile includes tools you use often. The “relocate” pile includes things that belong elsewhere, such as old coffee cups, extra jackets, or the stapler you borrowed from accounting in 2022. The “digitize” pile includes papers you can scan and store securely. The “remove” pile includes trash, duplicates, broken items, expired supplies, and mystery cables from devices you no longer own.
Use the One-Touch Rule
The one-touch rule is simple: when you pick up an item, decide what happens to it before putting it down. File it, scan it, shred it, store it, or throw it away. Do not move a pile from the left side of the desk to the right side and call it progress. That is not organizing; that is paper tourism.
Step 2: Create Work Zones
An efficient office has zones. You do not need a huge room to do this. Even a small desk can have zones if you arrange items by task instead of by random survival instinct.
The Main Work Zone
This is where you do your primary work. Keep this area as clear as possible. Your computer, keyboard, mouse, planner, and one or two daily tools belong here. Avoid turning this zone into a storage shelf. If your elbow bumps three objects every time you type, the desk is asking for help.
The Reference Zone
This area holds items you consult regularly but do not need every minute. Examples include project folders, manuals, a calendar, client notes, or a small vertical file holder. Keep reference materials within arm’s reach, but not in the center of your workspace.
The Supply Zone
Office supplies should live together. Pens, sticky notes, paper clips, tape, envelopes, printer paper, batteries, and chargers should not be scattered across five drawers like a scavenger hunt designed by a tired intern. Use drawer dividers, small bins, or labeled containers so supplies are grouped by type.
The Processing Zone
This is where incoming items land before they are handled. A simple inbox tray works well. The key is to make the tray temporary. If your inbox tray becomes a permanent paper mountain, it has betrayed you and must be retrained.
Step 3: Declutter Your Desk Surface
Your desk surface should support work, not store your entire professional history. Keep only what you use every day or what genuinely improves your focus. A monitor, keyboard, mouse, notebook, pen cup, lamp, and one personal item are usually enough.
Personal items are welcome, but give them boundaries. A framed photo, small plant, or meaningful object can make the office feel human. Twelve souvenirs, three novelty mugs, and a stress ball shaped like a screaming avocado may be emotionally valid, but they can also crowd your attention.
Think Vertically
If your desk is small, vertical storage is your friend. Use wall shelves, pegboards, hanging organizers, or vertical file sorters. Going vertical frees up desk space without forcing you to part with useful items. It is like giving your office a second floor without hiring a contractor.
Step 4: Build a Smarter Paper System
Paper clutter is one of the biggest office organization problems because paper feels important even when it is not. The solution is not to keep every sheet “just in case.” The solution is a simple system for deciding what to keep, what to scan, what to shred, and what to recycle.
Create Three Paper Categories
Use three basic paper categories: action, reference, and archive. Action papers require a task, such as signing, paying, reviewing, or replying. Reference papers contain information you may need soon. Archive papers must be kept for legal, tax, financial, or business reasons.
Action papers should be visible and limited. A small tray or folder labeled “Action This Week” is enough. Reference papers can go into labeled folders. Archive papers belong in a secure filing cabinet, locked drawer, or protected digital storage system.
Know What to Shred
Any document containing sensitive personal, financial, medical, client, employee, or account information should be shredded when it is no longer needed. That includes old bank statements, expired credit offers, account numbers, identification copies, payroll information, and confidential business records. Recycling is great, but identity thieves also enjoy paper recycling bins, and we do not need to make their hobbies easier.
Use Clear File Names
For both paper and digital files, names matter. Use labels that your future self will understand. “Taxes 2025,” “Client Contracts,” “Insurance,” “Office Lease,” and “Invoices Paid” are useful. “Important Stuff,” “Miscellaneous,” and “Do Not Lose” are emotional cries for help, not filing systems.
Step 5: Organize Digital Clutter Too
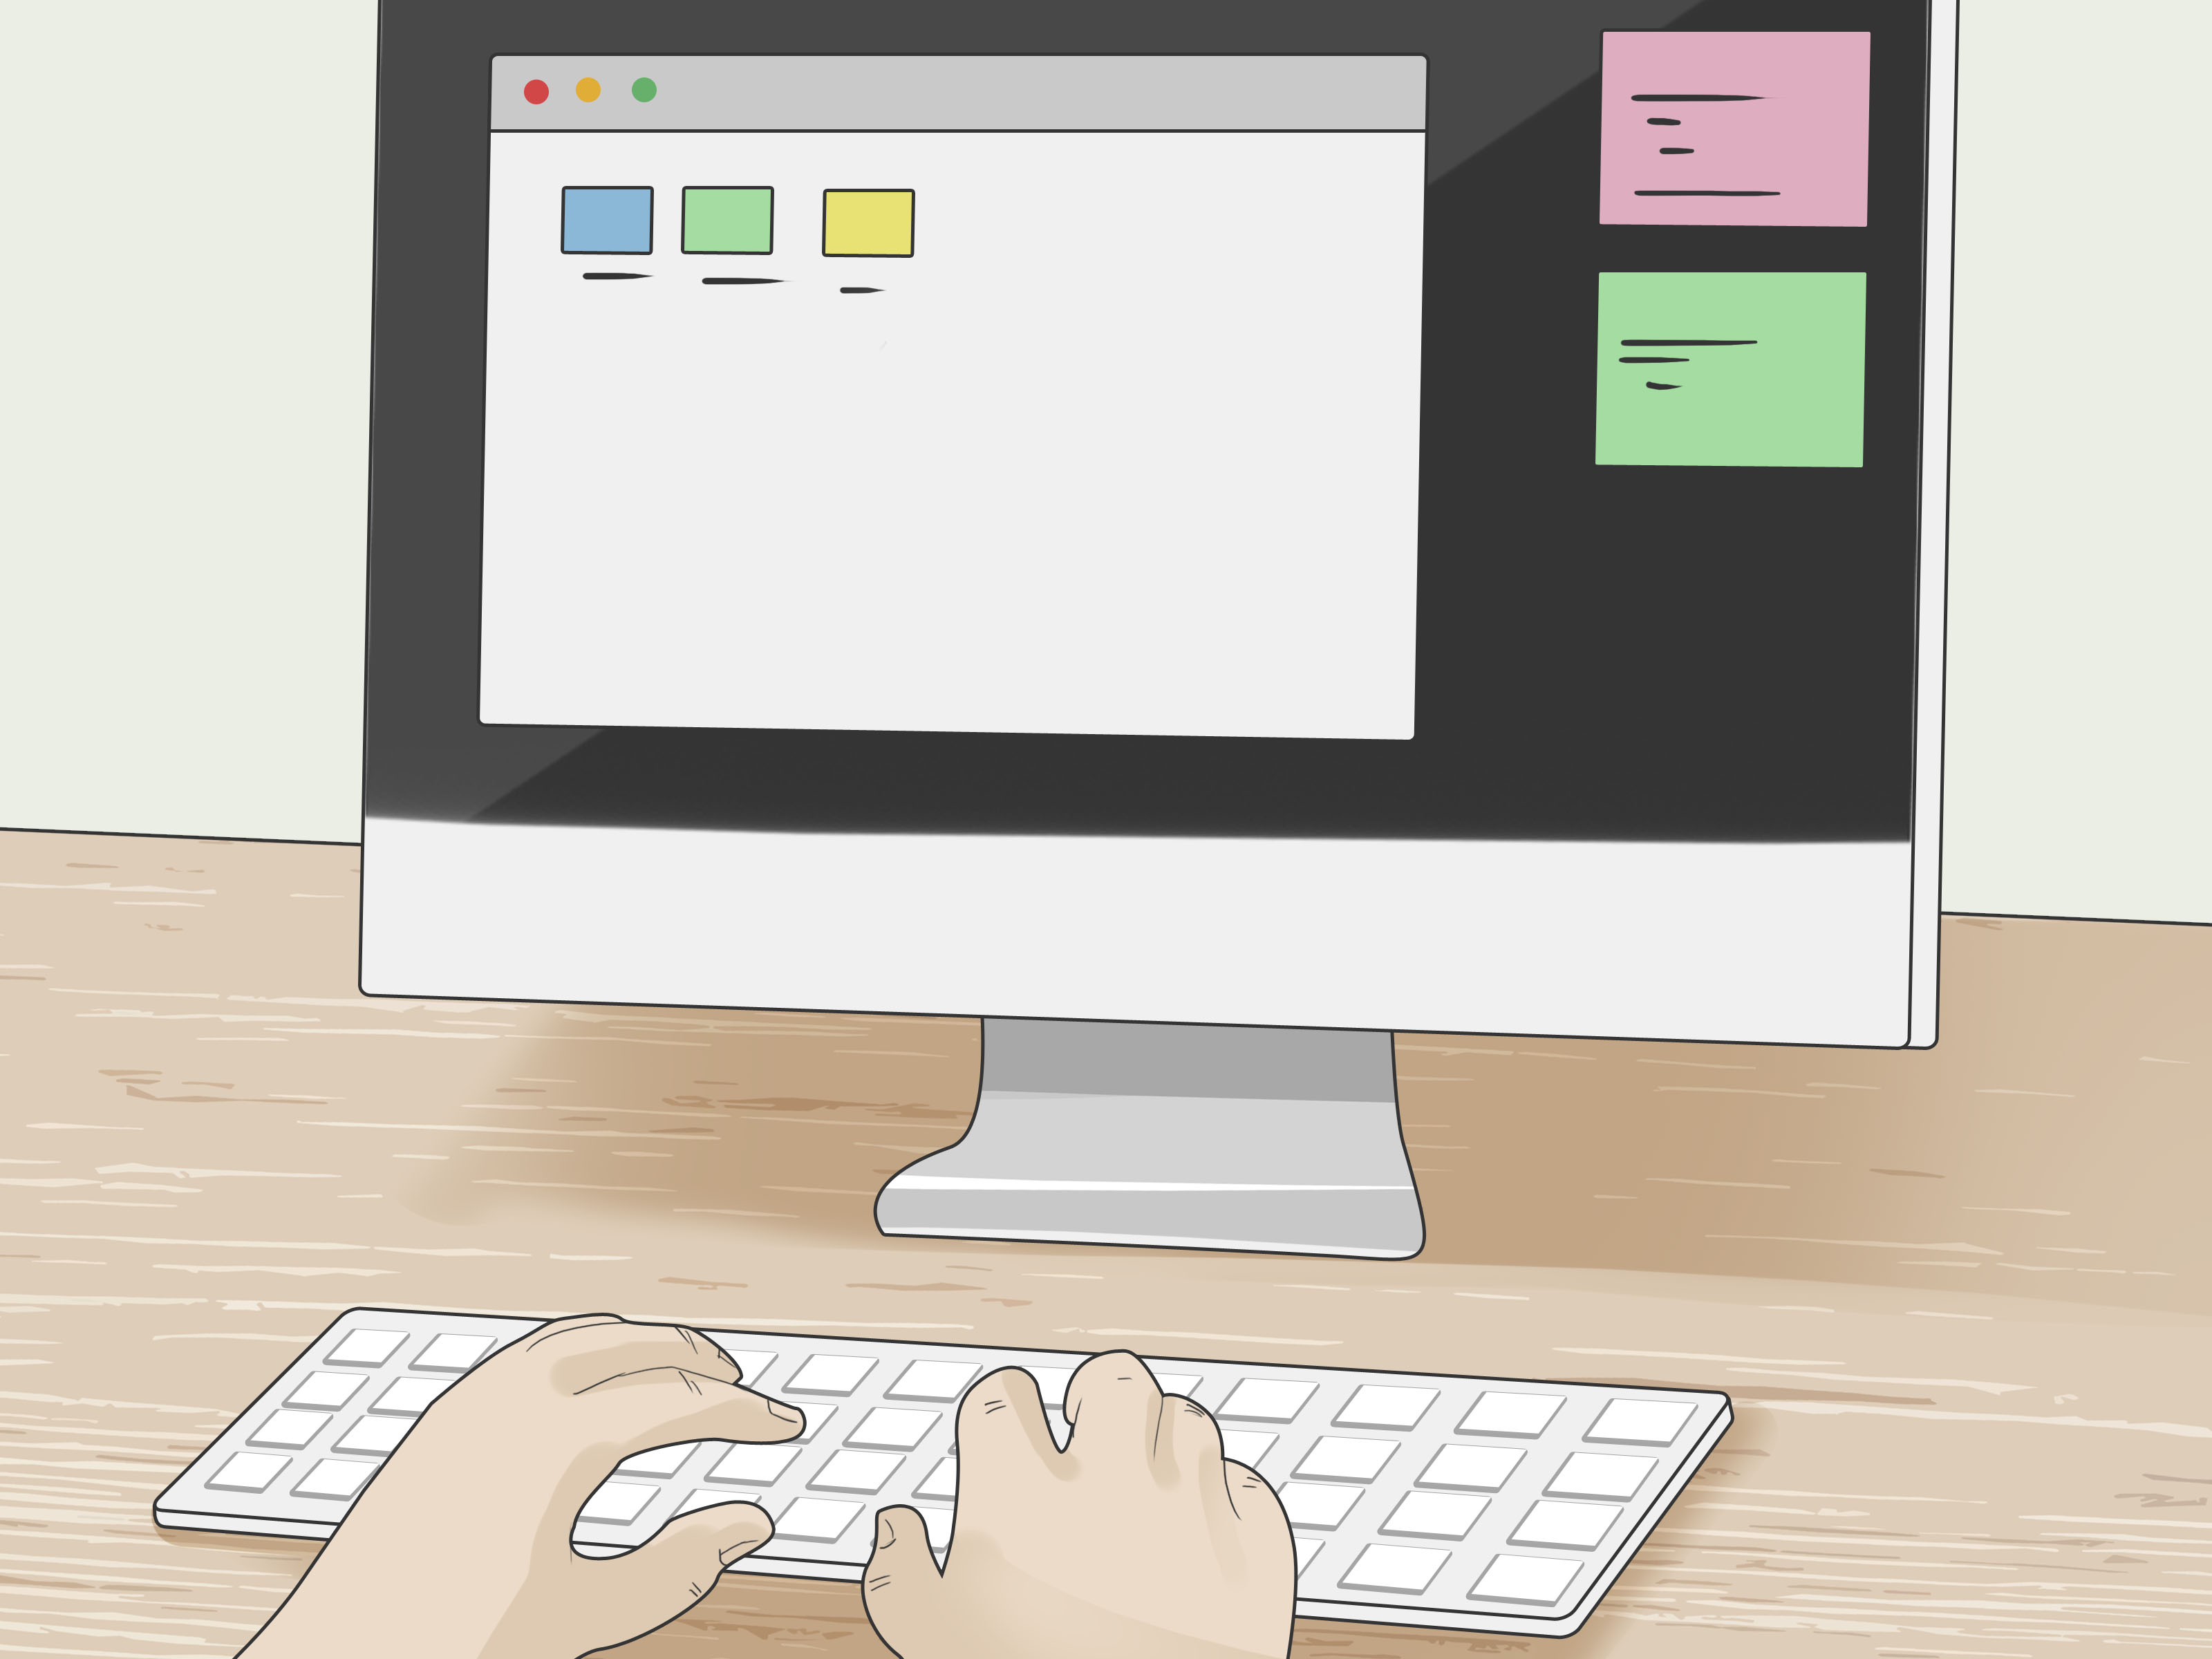
A tidy desk with a chaotic desktop screen is only half organized. Digital clutter slows you down in the same sneaky way paper clutter does. If your computer desktop has 187 icons and one file named “final_FINAL_reallyfinal_v8,” it is time for a digital reset.
Create a Simple Folder Structure
Use broad, logical folders such as Clients, Finance, Marketing, Operations, Personal Admin, Projects, and Templates. Inside each folder, use dates and clear names. For example: “2026-ClientName-Proposal” or “2026-Q2-Budget.” This makes files easier to search, share, archive, and back up.
Clean Your Downloads Folder Weekly
The Downloads folder is where good intentions go to develop dust. Set a weekly reminder to clear it. Delete duplicates, move important files into the right folder, and rename files with useful titles. This five-minute habit can prevent digital chaos from becoming your default operating system.
Use Cloud Storage Wisely
Cloud storage can help you access files across devices and collaborate with others, but only if it is organized. Create shared folders for team projects, avoid saving multiple copies in random places, and use shortcuts or links when a document needs to appear in more than one workflow. The goal is one reliable source of truth, not eight versions hiding in eight locations.
Step 6: Fix Cable Chaos
Cables are the vines of the modern office. Ignore them long enough and they will form a jungle behind your desk. Start by unplugging unused cords. Match each cable to a device. If you cannot identify what a cord belongs to, place it in a labeled “unknown cables” box for 30 days. If no device asks for it by then, let it go.
Use cable clips, Velcro ties, cord sleeves, or under-desk trays to keep cords off the floor and out of your feet’s drama zone. Label chargers if several people use the space. Keep one charging station for phones, tablets, headphones, and other small electronics. When every device has a charging home, you stop conducting daily search parties.
Step 7: Make Your Desk Ergonomic
Office organization should also make your body happier. Place your monitor so the top of the screen is around eye level. Keep your keyboard and mouse close enough that your elbows can rest comfortably near your sides. Your chair should support your lower back, and your feet should rest flat on the floor or on a footrest.
Desk height matters. If the surface is too high, you may raise your shoulders and strain your arms. If it is too low, you may hunch. A good office setup keeps your wrists, shoulders, neck, and back in neutral, relaxed positions. You do not need to sit like a statue, but your workstation should not require you to fold yourself like office origami.
Keep Frequently Used Items Close
Arrange tools based on frequency of use. Items used hourly should be within easy reach. Items used weekly can go in drawers or shelves. Items used rarely should be stored farther away. This reduces unnecessary reaching, twisting, and desk clutter.
Step 8: Store Supplies Without Overbuying
A supply cabinet is helpful. A supply cabinet that looks like a warehouse preparing for the pencil apocalypse is not. Keep a reasonable inventory of essentials: pens, notebooks, printer paper, folders, sticky notes, envelopes, toner, batteries, and cleaning wipes.
Group like items together and label shelves or bins. Before buying more supplies, check what you already have. Many offices do not have a supply shortage; they have a visibility shortage. The missing scissors are often not missing. They are simply living under a stack of outdated reports, having a quiet retirement.
Step 9: Improve Lighting, Air, and Comfort
An organized office should feel good to work in. Use natural light when possible, but avoid glare on your screen. Add a task lamp for focused work. Keep air vents clear, avoid blocking airflow with boxes, and place printers or copiers in well-ventilated areas when possible.
Comfort also includes sound and scent. If the office is noisy, consider noise-reducing headphones, soft furnishings, or a white-noise machine. Avoid overpowering fragrances, especially in shared spaces. Your candle may smell like “Mountain Sunrise Vanilla Forest,” but your coworker may experience it as “Instant Headache Volcano.”
Step 10: Create a Daily Closing Routine
The best office organization system is the one you can maintain. A daily closing routine keeps clutter from rebuilding overnight. Spend five to ten minutes at the end of the workday resetting your space.
Clear cups and dishes. Put supplies back. File or scan loose papers. Write tomorrow’s top three tasks. Close unused browser tabs. Place your notebook, planner, or priority folder where you will see it first thing in the morning.
This routine is powerful because it creates a clean start. You begin the next day with direction instead of archaeological labor. Future you will be grateful, and possibly suspicious that present you became so responsible.
Office Organization Ideas for Small Spaces
Small offices need ruthless simplicity. Choose furniture with built-in storage. Use wall-mounted shelves, rolling carts, drawer organizers, and folding or stackable items. Keep the floor as open as possible so the room feels larger and safer.
For a tiny home office, define the workspace clearly. A desk mat, small cabinet, screen divider, or wall shelf can separate “work mode” from “home mode.” This boundary is especially useful if your office shares space with a bedroom, dining room, or living room.
Office Organization Ideas for Shared Workspaces
Shared offices need systems that are obvious. Label common areas, supply shelves, file drawers, mail slots, and equipment zones. Create rules for shared surfaces: conference tables are not storage units, printers are not paper graveyards, and kitchen counters should not become document review stations.
Use team folders, shared calendars, and documented workflows so everyone knows where information belongs. The more people use a space, the more visible the system must be. Organization should not rely on one person who “just knows where everything is.” That person deserves a vacation.
Common Office Organization Mistakes to Avoid
Buying Organizers Before Decluttering
Storage products do not solve clutter if you are only organizing things you should not keep. Declutter first, then buy containers based on what remains.
Creating Too Many Categories
A system with 42 file categories may look impressive, but it can become hard to maintain. Keep categories broad enough that filing is easy and specific enough that finding things is simple.
Ignoring Maintenance
No office stays organized forever without habits. Schedule weekly resets and monthly reviews. Organization is not a one-time event. It is more like brushing your teeth, except with fewer minty bubbles and more paper clips.
A Practical Office Organization Checklist
- Clear the desktop and keep only daily-use items visible.
- Create zones for work, reference, supplies, and incoming papers.
- Sort papers into action, reference, archive, shred, and recycle.
- Use clear labels for drawers, folders, shelves, and bins.
- Organize digital files with simple folders and consistent names.
- Clean the Downloads folder and computer desktop weekly.
- Control cables with clips, ties, sleeves, or under-desk trays.
- Adjust monitor, chair, keyboard, and mouse for comfort.
- Keep walkways clear and store heavy items low.
- End each day with a five-minute reset.
Personal Experiences: What Actually Works When Organizing an Office
The most useful lesson about office organization is that the perfect system is usually not the best system. The best system is the one you will actually use when you are busy, slightly tired, and answering messages while wondering where your lunch went. A beautiful filing cabinet means nothing if opening it feels like applying for a small business loan.
One practical experience many people share is that the desk surface becomes the “truth teller” of the office. If the desk is always buried, the real problem is rarely the desk. It is usually unclear decisions. Papers sit there because no one has decided whether they need action, storage, scanning, or disposal. Once those decisions become easier, the desk clears faster.
Another experience is that small containers beat big drawers. A large drawer without dividers quickly turns into a junk drawer wearing business attire. Pens, cords, sticky notes, receipts, keys, batteries, and snacks all mingle together like they are attending a networking event. Small trays or dividers create limits, and limits make it easier to put things away.
Many people also discover that organizing the office is emotional. Old notebooks, business cards, project drafts, outdated planners, and unused supplies can feel connected to ambition, memory, or guilt. That is why decluttering can be surprisingly slow. A helpful question is, “Would I look for this if I needed it?” If the answer is no, the item may not deserve space in your office.
Digital clutter can be even trickier because it does not physically block your chair. But it still creates friction. A messy desktop, overflowing inbox, and vague file names can make simple tasks feel heavier. Renaming files immediately after downloading them is a tiny habit with a big payoff. It turns “document(17).pdf” into something searchable, useful, and far less annoying.
Another real-world lesson: the end-of-day reset is more powerful than the weekend marathon. Waiting until Friday to clean the office often means facing a week’s worth of decisions at once. Five minutes each day is easier. Put away supplies, toss trash, move action papers to one place, and write tomorrow’s first task. This creates momentum before the next day even begins.
Finally, office organization works best when it respects your natural behavior. If you always drop your bag by the door, put a hook or basket there. If receipts pile up near the monitor, place a small receipt tray nearby. If you forget to file papers in a cabinet across the room, use a desktop file sorter for active projects. Do not design a system for an imaginary version of yourself who floats gracefully through the office alphabetizing folders. Design for the real youthe one who wants work to feel easier.
In the end, organizing your office is not about being neat for the sake of being neat. It is about reducing friction. You want fewer distractions, faster decisions, safer storage, clearer priorities, and a workspace that helps you begin. When your office supports your work instead of arguing with it, productivity feels less like a battle and more like a rhythm.
Conclusion
Learning how to organize your office is really learning how to make your workday smoother. Start by decluttering, then create zones, simplify paperwork, clean up digital files, manage cables, improve ergonomics, and build daily reset habits. Do not aim for perfection. Aim for a workspace where the things you need are easy to find, the things you do not need are gone, and your desk no longer looks like it is hiding evidence.
A well-organized office saves time, lowers stress, protects important information, and helps you focus on work that matters. It also makes Monday morning slightly less dramatic, which is a public service to everyone involved.
SEO Tags