
Staining over paint sounds a little like putting maple syrup on a raincoat and hoping it soaks in. Technically, something will happen. It just may not be the thing you imagined. That is why this project confuses so many DIYers. When people say they want to “stain over paint,” they usually want one of two results: either they want a true stained-wood look with visible grain, or they want a darker, richer, wood-toned finish without fully stripping the old paint first.
Those are not the same project. A traditional penetrating wood stain is designed to soak into raw wood. Paint, polyurethane, and other finishes block that path like a bouncer at an exclusive nightclub. If your surface is still coated, a regular stain often wipes right back off or dries unevenly. That is why many refinishers use gel stain over paint or over a sealed surface. It sits more on top of the surface, adds color, and can create a surprisingly convincing wood-tone effect when the prep is done right.
So yes, you can stain over paint, but there is a plot twist: you need the right product, realistic expectations, and prep that is better than “I wiped it with an old T-shirt and called it a day.” Here is how to do it.
Before You Start: What “Stain over Paint” Really Means
If you want the real wood grain to absorb stain naturally, you will need to remove the paint and get back to bare wood. If you want a quicker makeover that gives painted cabinets, trim, or furniture a darker wood-like finish, a gel stain is usually the smarter choice. This method works especially well on old cabinets, painted dressers, doors, shelves, and wood trim that are structurally fine but visually tired.
The catch is simple: the more layers of paint between you and the wood, the less “natural stain” the final result will look. Think of it as a refinish, not a magic trick. Good prep makes it beautiful. Bad prep makes it look like your furniture lost an argument with a coffee filter.
Tools and Materials You May Need
- Gel stain or stain-and-finish product designed for refinishing
- Cleaner or degreaser
- Bucket of clean water and rags
- 150- to 220-grit sandpaper or sanding sponges
- Tack cloth or microfiber cloth
- Painter’s tape and drop cloths
- Screwdriver for removing hardware
- Wood filler for dents or holes
- Foam brush, staining pad, lint-free cloth, or natural-bristle brush
- Clear topcoat, such as polyurethane or a durable protective finish
- Gloves, eye protection, and good ventilation
How to Stain over Paint in 12 Steps
Step 1: Decide what finish you actually want
This is the honesty step. Do you want a true stained-wood finish with stain soaking into raw grain? Then strip the paint. Do you want a darker, richer, wood-toned makeover over an already painted surface? Then use a gel stain approach. This decision saves time, money, and a great deal of emotional drama in aisle seven of the hardware store.
Step 2: Check the surface, age, and material
Look closely at what you are refinishing. Solid wood behaves differently from veneer, MDF, laminate, or particleboard. Painted wood cabinets and furniture often respond well to a light-sand-and-gel-stain method. Super slick laminate is trickier and always deserves a hidden test area first. Also, if the painted surface may date to before 1978, do not casually start sanding. Older paint can contain lead, and lead dust is a serious safety issue.
Step 3: Remove hardware and protect the area
Take off knobs, pulls, hinges, and anything else that is easier to remove now than curse around later. Lay down drop cloths, tape off nearby walls, and set up in a well-ventilated area. If you are working on cabinet doors, label them. Future you will be deeply grateful when Door 7 stops pretending to belong to Cabinet 3.
Step 4: Clean the painted surface thoroughly
Do not stain over grease, wax, kitchen grime, furniture polish, or mystery residue from the last ten years. Clean the piece thoroughly with a degreaser or an appropriate prep cleaner, especially if you are refinishing kitchen cabinets, bathroom vanities, or frequently touched furniture. Let the surface dry completely. A dirty finish under fresh stain is like putting a tuxedo jacket over a muddy soccer jersey.
Step 5: Scuff-sand for adhesion
This is the step many people skip, and it shows. You usually do not need to sand all the way to raw wood for a gel-stain-style refinish, but you do need to dull the surface and give the new finish something to grip. Use 150- to 220-grit sandpaper or a sanding sponge. Focus on glossy spots, edges, and high-touch areas. The goal is not destruction. The goal is a clean, lightly abraded, even surface.
Step 6: Repair dents, chips, and obvious flaws
If the old paint is chipped, peeling, or flaking, fix that before you move forward. Fill dents or holes with stainable filler where appropriate, smooth out rough areas, and sand again as needed. If the coating is failing everywhere, that is your sign that the surface needs more than a cosmetic refresh. In other words, do not ask stain to solve a structural breakup.
Step 7: Remove every bit of sanding dust
Vacuum the surface, then wipe it with a tack cloth or a slightly damp microfiber cloth. Dust left behind can create gritty texture, muddy color, and topcoat issues later. This step is not glamorous, but neither is picking fuzz and grit out of a drying finish while questioning your life choices.
Step 8: Test your stain in a hidden spot
Always test before you commit. Try the stain on the back edge, underside, inside of a door, or another inconspicuous area. Let it dry. Then look at it in daylight and room lighting. Painted surfaces can shift stain color in unexpected ways, especially if the original paint is white, red, yellow, or very glossy. A quick test can save you from turning “warm walnut” into “mysterious brown pudding.”
Step 9: Apply the first thin coat
Stir the stain well and apply a thin, even coat with a lint-free cloth, staining pad, foam brush, or natural-bristle brush, depending on the product instructions. Work in manageable sections. Follow the direction of the grain whenever the grain is visible. On flat surfaces such as table tops or cabinet doors, keep your application consistent so the color develops evenly.
Step 10: Wipe, feather, and build the look you want
This is where the makeover becomes art instead of chaos. With gel stain, the wipe-back matters. Leave more stain on the surface for a darker, more dramatic wood-tone effect. Wipe more aggressively if you want a lighter, more transparent result. Feather edges and corners so they do not collect too much pigment. Raised panels, grooves, and carved details love to hoard extra stain, so pay special attention there.
For example, on painted oak cabinet doors, a medium wipe-back can leave enough contrast to hint at grain and dimension. On a painted pine dresser, the effect may look more like a rich glaze than a raw-wood stain. Both can look beautiful. They are simply different finishes.
Step 11: Let it dry fully, then add another coat if needed
Patience is your cheapest supply and your most ignored one. Let the first coat dry fully according to the product label. If the finish still looks too light, apply a second thin coat rather than one heavy, sticky, regret-filled coat. Thin, controlled layers usually produce a more professional finish and reduce drips, tackiness, and weird dark patches.
Step 12: Seal it with a protective topcoat
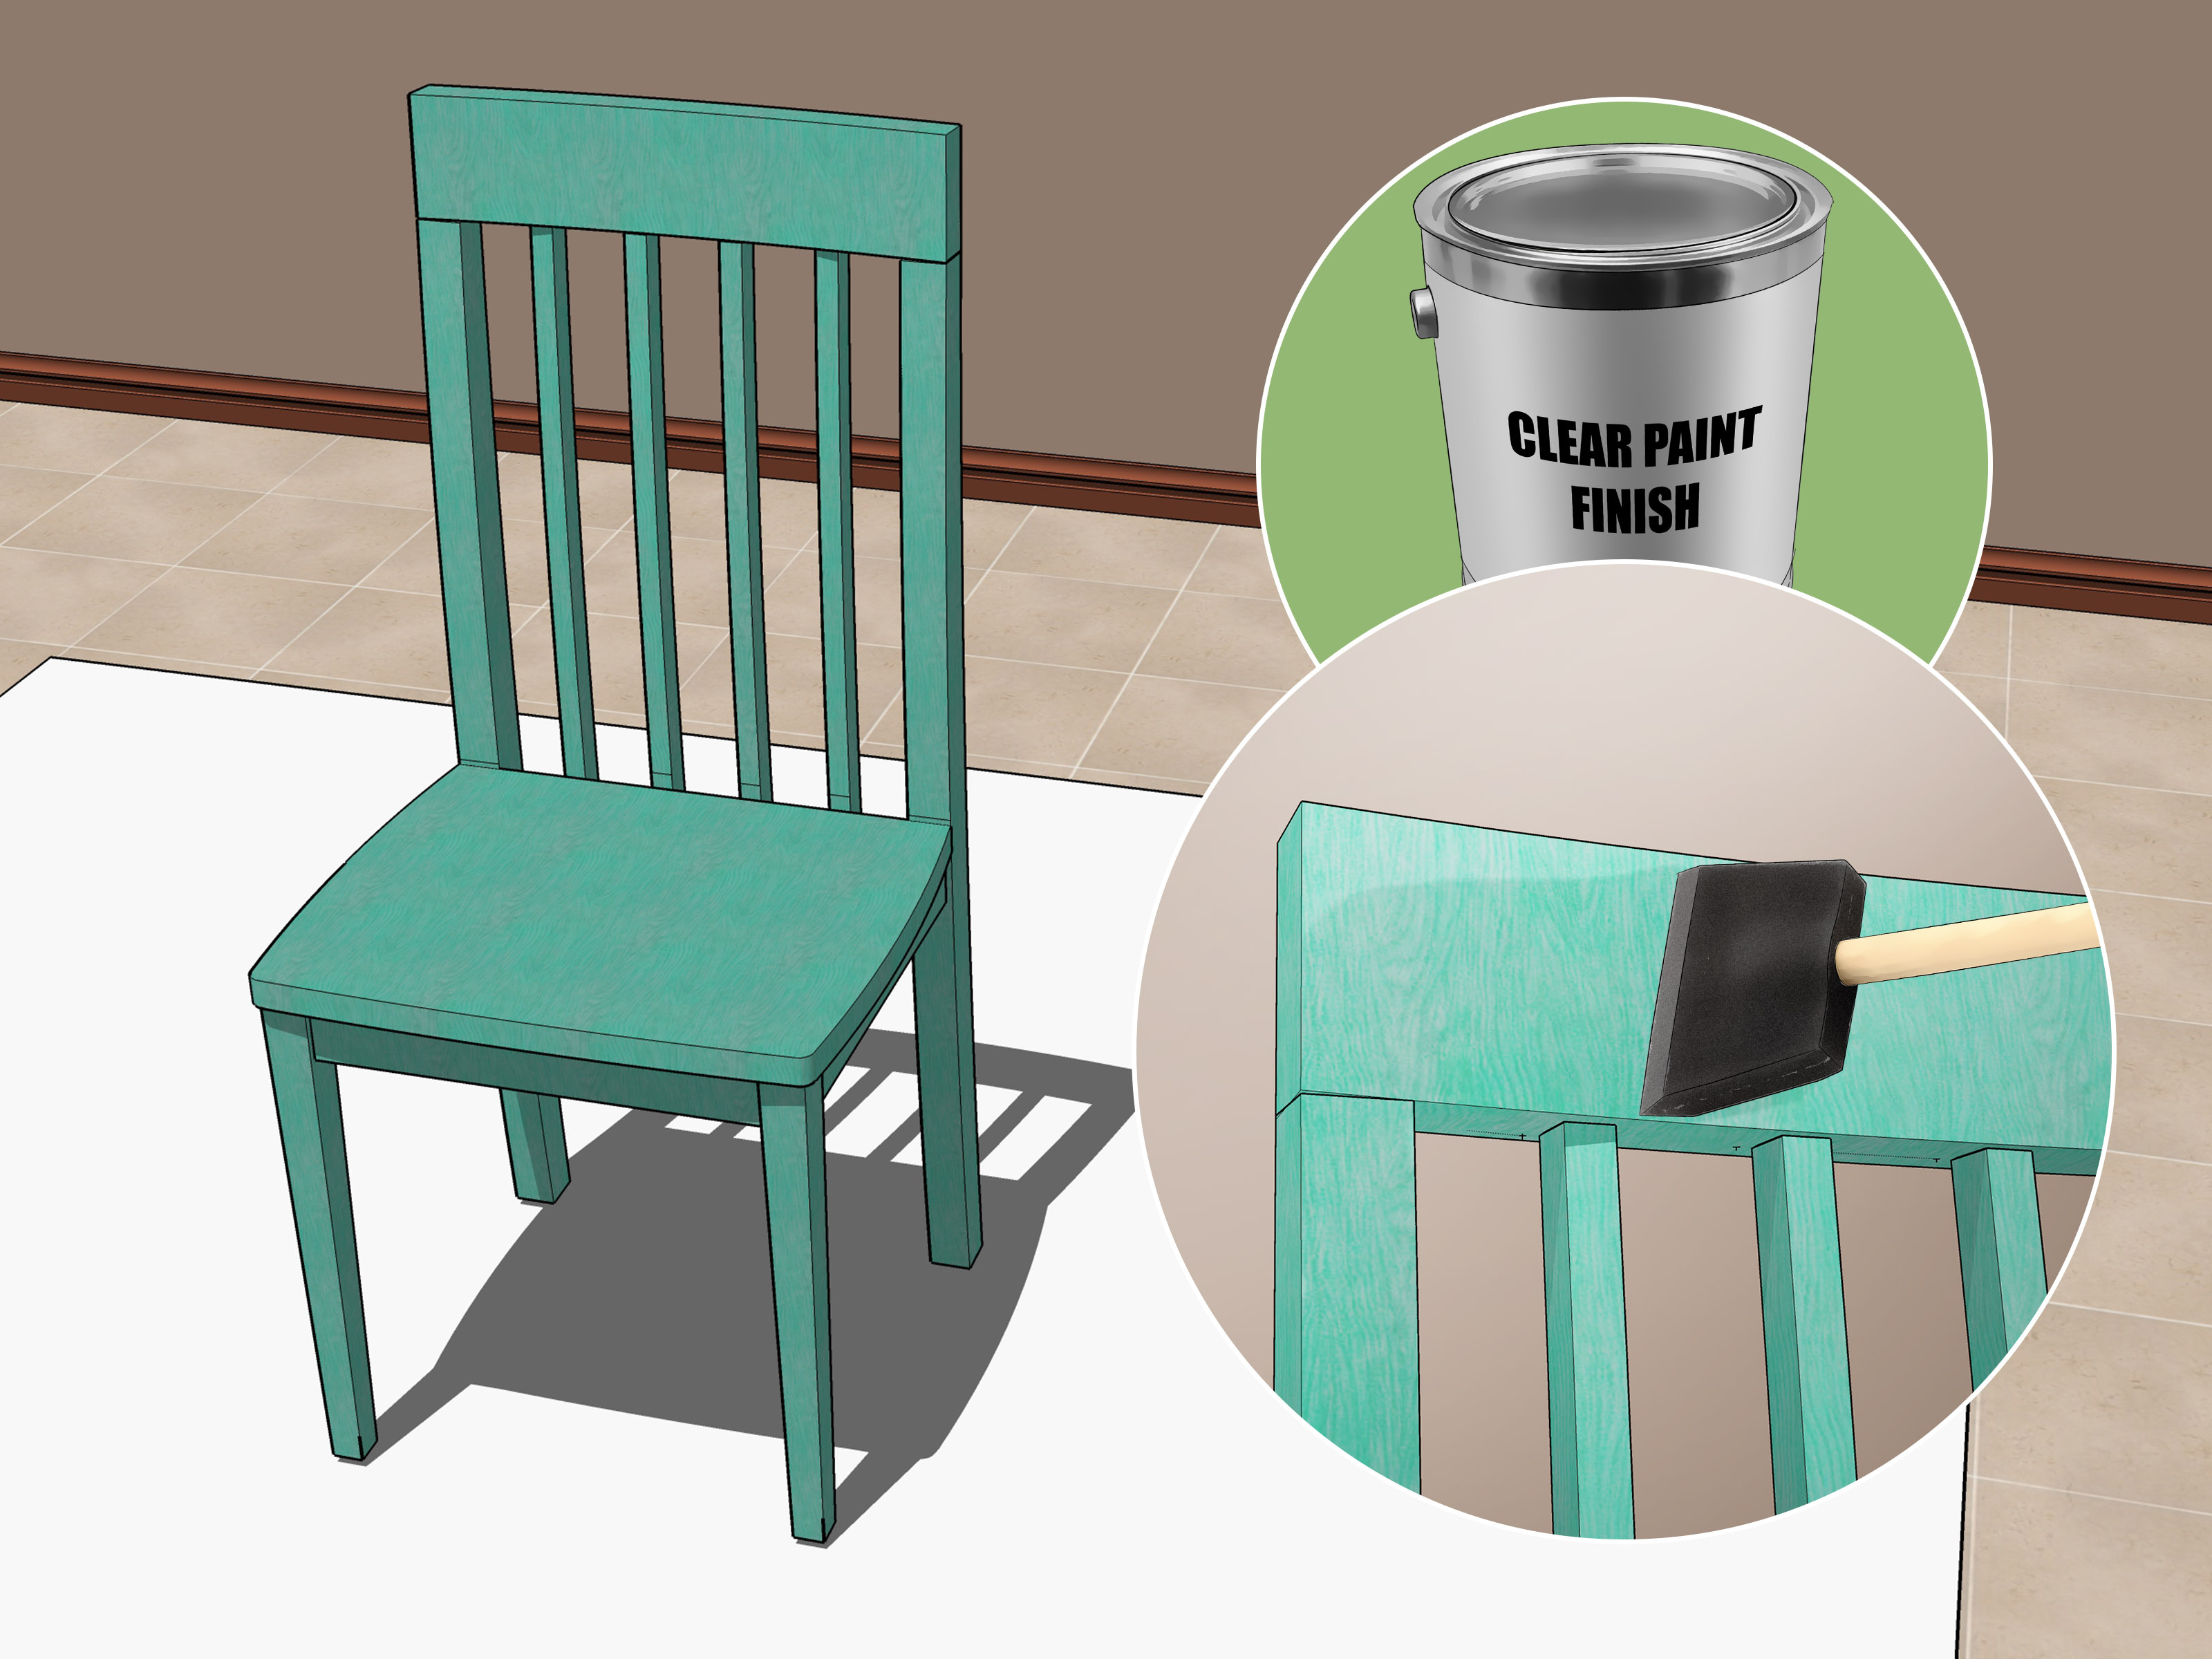
Stain gives color. It does not provide much protection by itself. Once the stained surface is fully dry, apply a clear protective topcoat that fits your project. Furniture, trim, and cabinets benefit from that extra durability, especially in busy rooms. Use thin, even coats, and let the finish cure properly before hard use. Otherwise, your “finished” project may still be soft enough to record fingerprints like a crime scene.
Common Mistakes When Staining over Paint
- Using traditional stain on intact paint: It usually will not penetrate well or color evenly.
- Skipping the cleaning step: Grease and wax can wreck adhesion.
- Not sanding glossy surfaces: Shiny paint and fresh stain are rarely best friends.
- Applying too much product: Heavy coats tend to look blotchy and dry slowly.
- Ignoring dry time: Touching too soon can smear, dull, or fingerprint the finish.
- Forgetting the topcoat: Beautiful color without protection ages fast.
- Skipping the test patch: That is how “rustic walnut” becomes “wet cardboard chic.”
When You Should Strip the Paint Instead
Sometimes the right move is not staining over paint at all. Strip the surface if:
- You want a true, natural stained-wood finish
- The existing paint is peeling or failing badly
- The surface has thick brush marks or too many old coats
- You want the natural grain pattern to show clearly
- The old finish is blocking color too much or causing uneven results
Stripping takes more work, but it also gives you the most authentic outcome. If you are refinishing a high-end dining table, a vintage dresser, or beautiful hardwood trim, it may be worth doing the longer route instead of asking a surface coating to perform method acting as walnut.
Real-Life Experiences: What DIYers Usually Notice on This Project
One of the most common experiences with how to stain over paint projects is surprise at how much the prep affects the final beauty. People often expect the stain color itself to do all the heavy lifting, but the real hero is the surface underneath. A cabinet door that was cleaned carefully and sanded evenly can look polished, rich, and intentional. The one next to it that still had a little cooking oil near the handle? That one tends to look like it went through a breakup and did not tell anyone.
Another common experience is learning that the first coat can be emotionally misleading. Right after application, many surfaces look too dark, too muddy, or too orange. Then the excess gets wiped back, the coat dries, and suddenly the finish settles into something much more attractive. This is especially true on painted furniture where the stain behaves more like a color glaze than a deep wood penetrant. Many DIYers panic in the first ten minutes and fall back in love with the project the next morning.
Cabinets are often where people notice the biggest payoff. A plain painted vanity or an older set of kitchen cabinet doors can gain warmth, depth, and a more upscale look without a full replacement. The color tends to collect in corners, profiles, and panel edges, which can create a faux-antique look that some homeowners love. Others want a cleaner, more modern result, so they learn quickly that wiping technique matters as much as product choice. In real projects, the rag becomes less of a rag and more of a personality test.
Furniture projects also teach patience. A painted side table may look dry on top but still feel slightly soft around edges or grooves. That is why experienced DIYers stop judging the finish after two hours and start judging it after full dry time and topcoat cure. The people who rush to reinstall hardware, stack books, or set a lamp on the piece too soon often end up with dents, smudges, or marks that were entirely avoidable.
White or very light paint under stain creates another memorable lesson. Some people assume any dark stain over white paint will automatically mimic deep walnut. Sometimes it does. Sometimes it creates a smoky, layered finish with lots of character. And sometimes it leans cool, gray, or unexpectedly dramatic. That is why the hidden test area is not optional in real life. It is the difference between “I meant to do that” and “well, this is certainly a choice.”
Perhaps the biggest shared experience is that this project rewards realistic expectations. DIYers who expect a fully painted surface to look identical to raw stained oak are usually disappointed. DIYers who understand they are creating a stained effect over an existing coating are often thrilled. They get a richer tone, added depth, and a custom look for far less effort than full stripping and refinishing. In other words, the best results usually happen when you stop asking the project to be magic and start letting it be smart.
Final Thoughts
Learning how to stain over paint is really about choosing the right refinishing strategy. If you want stain to soak into wood naturally, remove the old paint and start with bare wood. If you want a faster makeover with deeper color and a warm wood-toned appearance, use a gel-stain-style method over a properly cleaned and sanded painted surface. Done well, it can transform tired cabinets, old trim, and forgotten furniture into pieces that look richer, warmer, and far more custom.
The secret is not luck. It is prep, restraint, and testing before you commit. Clean well. Sand lightly. Apply thin coats. Wipe with intention. Protect with a topcoat. And if the project fights back a little, that just means you are officially doing home improvement.