
Feathered hair around the face is one of those beauty tricks that looks effortless, even though a tiny amount of strategy is doing all the heavy lifting. It softens the front of your haircut, adds movement, opens up your features, and gives your hair that breezy “I own a round brush and emotionally survived using it” energy.
The best part? Feathering does not require a full dramatic makeover. You can create it with a haircut, with styling tools, or with a few smart finishing techniques on your existing layers or bangs. Whether your hair is long, medium, short, straight, wavy, curly, thick, or fine, feathering can be adjusted so it feels natural rather than costume-y.
In simple terms, feathering means shaping the ends of the hair so they look light, airy, and slightly tapered. Around the face, this usually means shorter front pieces that sweep outward, bend away from the cheeks, or blend softly into the rest of the haircut. Think movement, not chunks. Think “soft frame,” not “accidental kitchen-scissor incident.”
Below are three practical ways to feather hair around your face, including what to ask for at the salon, how to style the look at home, and how to keep the front pieces from turning into mysterious little wings by lunchtime.
What Does It Mean to Feather Hair Around Your Face?
Feathered hair is created by tapering, texturizing, or styling the ends so the hair appears lighter and more separated. When the technique is focused around the face, it usually involves face-framing layers, curtain bangs, side pieces, or front sections that curve away from the face.
Unlike blunt layers, which create a stronger line, feathered layers have a softer edge. The ends may be point-cut, lightly razored, or blended with shears depending on your hair type. The goal is not to remove as much hair as possible; it is to create movement where the eye naturally looks first: around the cheekbones, jawline, and collarbone.
Feathering is especially useful when you want your haircut to feel updated without losing major length. It can make a long cut look more styled, give a bob more personality, make bangs easier to grow out, or help thick hair feel less heavy in the front. For fine hair, the trick is keeping the feathering delicate so the ends still look full.
Way 1: Get Face-Framing Feathered Layers at the Salon
The most reliable way to feather hair around your face is to start with the right cut. Styling can do a lot, but if the front pieces are all one heavy length, you will be fighting gravity, humidity, and possibly your own patience every morning.
Ask for Soft Face-Framing Layers
When visiting a stylist, ask for soft face-framing layers that taper around the front. Be specific about where you want the shortest pieces to begin. For a subtle look, the first layer can start near the chin or below the cheekbones. For a more dramatic feathered effect, the front pieces may start around the cheekbones or near the mouth and then blend downward.
A helpful salon phrase is: “I want feathered face-framing layers that open away from my face and blend into the rest of my hair.” This tells the stylist you want movement, not disconnected steps. If you wear a middle part, ask for the front layers to be balanced on both sides. If you usually wear a side part, let your stylist cut the layers based on where your hair naturally falls.
Bring Photos, But Bring Realistic Ones
Photos are useful because words like “soft,” “airy,” and “layered” can mean very different things to different people. One person’s “just a little texture” is another person’s “surprise shag.” Bring two or three examples of feathered hair around the face, then point out exactly what you like: the cheekbone pieces, the bend at the ends, the curtain bang effect, or the long layered shape.
Also consider your hair density. If your hair is thick, your stylist may remove some bulk from the front so the layers swing more easily. If your hair is fine, your stylist may keep the ends a bit stronger and use only light texturizing, so the hair does not look thin. Curly and coily hair should usually be cut with shrinkage in mind because a small snip can become a very enthusiastic spring once dry.
Choose the Right Starting Point
The most flattering feathered effect depends less on strict face-shape rules and more on what you want the haircut to do. Layers that start near the cheekbones create a lifted, open effect. Layers that begin near the chin feel softer and more grown-up. Layers that start around the collarbone give long hair movement without making the front pieces too short.
For example, someone with waist-length hair who wants a gentle refresh might choose long feathered pieces starting below the chin. Someone with a shoulder-length cut might prefer curtain-bang-style feathering that begins around the cheekbones and blends into the sides. A bob can use tiny feathered edges around the jaw to prevent the cut from looking too solid.
Way 2: Feather Hair With a Blow Dryer and Round Brush
If the haircut gives you the shape, the blowout gives you the drama. A round brush and blow dryer are classic tools for feathering hair around the face because they create lift at the roots and bend at the ends. This is the method for anyone who wants soft, bouncy pieces that sweep away from the face like they just heard good news.
Start With Damp, Prepped Hair
Begin with clean, damp hair that has been gently towel-blotted. Do not rough up the front pieces like you are drying a small dog after a bath. Apply a lightweight heat protectant, then use a volumizing mousse or spray if your hair tends to fall flat. If your hair is thick, coarse, or frizz-prone, a smoothing cream on the mid-lengths and ends can help the feathered shape look polished.
Let your hair air-dry partway before using heat when possible. This reduces the amount of direct heat needed and helps prevent unnecessary dryness. The front pieces are often the most visible and most frequently styled, so they deserve a little kindness.
Blow-Dry the Front Pieces Away From Your Face
Separate the front section on one side of your part. Place a medium or large round brush under the section near the roots. Aim the dryer downward along the hair shaft, then roll the brush away from your face as you dry. The direction matters: rolling away from the face creates that feathered, open shape. Rolling toward the face creates more of a tucked-under look.
Once the section is dry, hold it around the brush for a few seconds while it cools. Hair tends to remember the shape it cools in, so this tiny pause makes the style last longer. Release the brush gently, then repeat on the other side.
Use the Cool Shot Like a Secret Weapon
The cool-shot button on a blow dryer is not just decorative. After you shape each face-framing piece, blast it briefly with cool air. This helps set the bend and reduce the chance of the hair immediately collapsing. If your layers are stubborn, clip each front section away from the face while it cools. When you remove the clips, you should see a soft feathered curve.
Finish Without Making It Crunchy
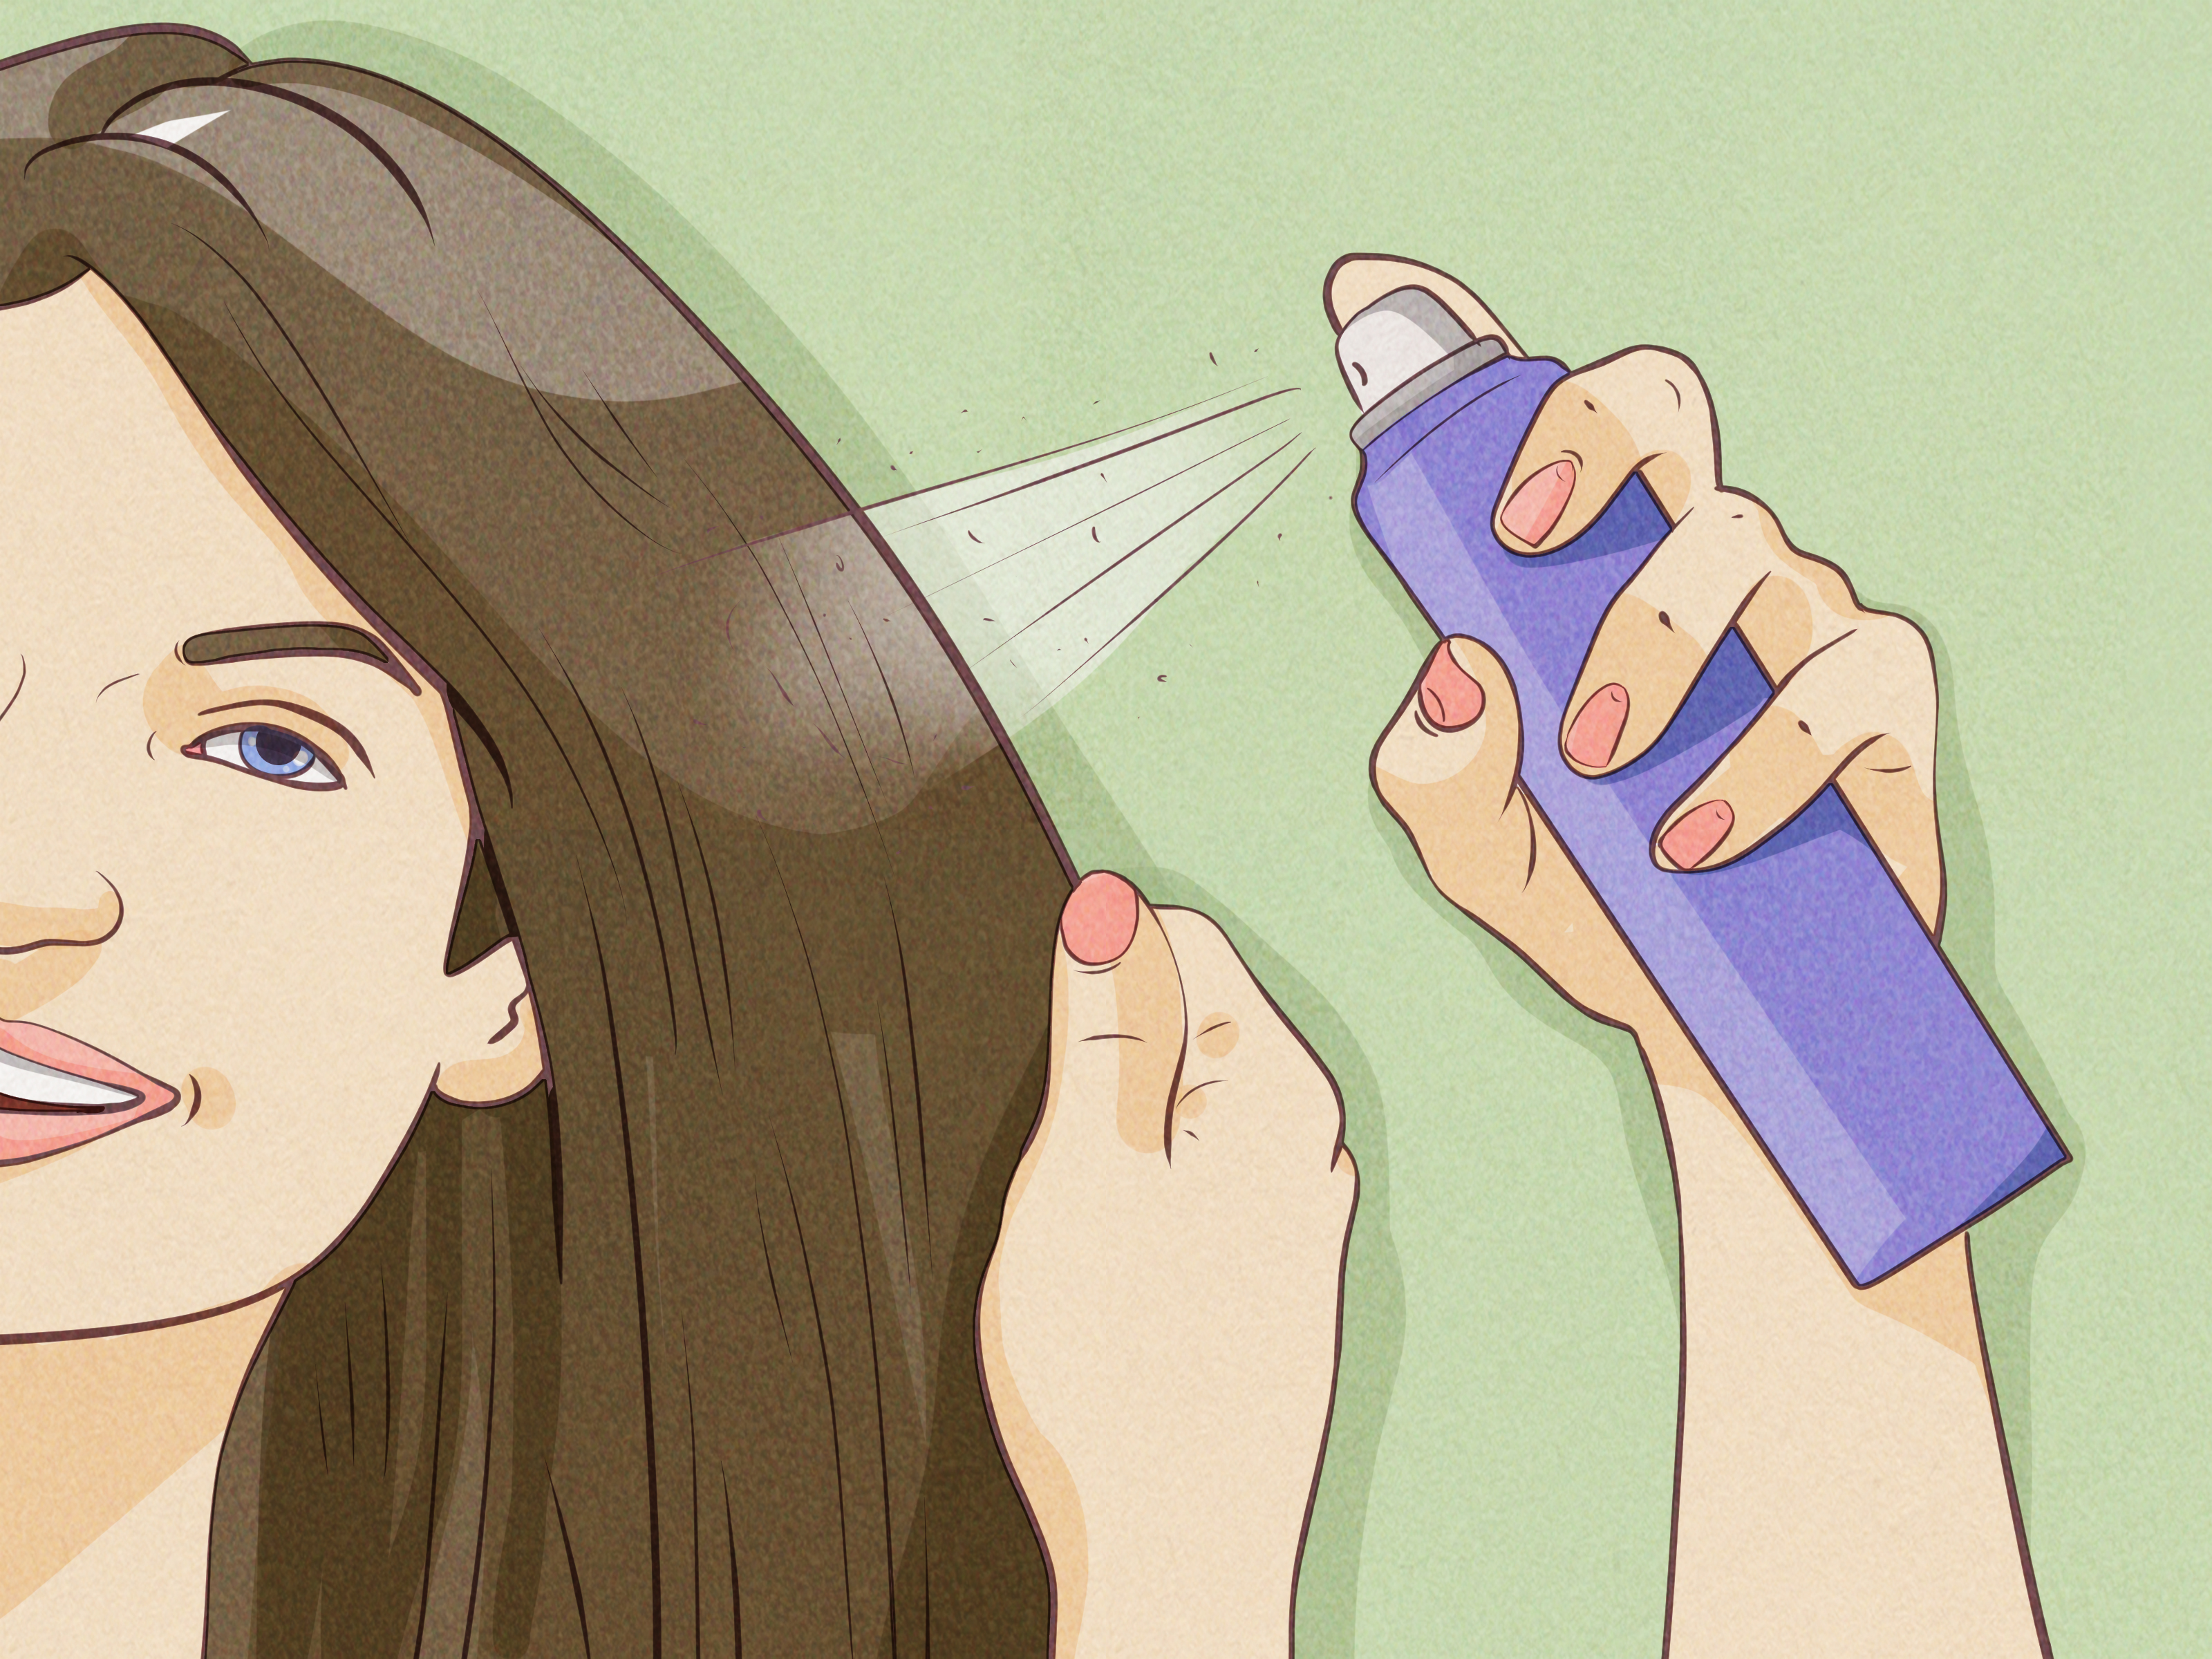
Once both sides are styled, use your fingers or a wide-tooth comb to separate the pieces. Avoid over-brushing, which can turn the feathering into one large swoop. Finish with a light mist of flexible hairspray. The keyword is flexible. If your front layers cannot move, they are no longer feathered; they are architecture.
For extra polish, apply a tiny amount of shine serum to the very ends. Keep it minimal, especially near the face, because too much product can make feathered pieces look oily or heavy.
Way 3: Feather Front Pieces With a Curling Iron, Flat Iron, or Heatless Rollers
If you already have layers or bangs, you can create feathering with a curling iron, flat iron, hot brush, Velcro rollers, or even heatless styling. This method is perfect for second-day hair, quick touch-ups, or mornings when your blow dryer feels like a personal enemy.
Use a Curling Iron for Big, Soft Movement
A large-barrel curling iron works well for long or medium-length face-framing layers. Take the front section on one side and clamp or wrap it around the barrel, directing the hair away from your face. Hold for a few seconds, then release. Do not create a tight curl unless you are intentionally going for retro volume. Feathered hair should bend, swoop, and floatnot form a perfect spiral next to your cheek.
After both sides are curled away from the face, let them cool completely. Then brush through lightly with a wide-tooth comb or your fingers. This breaks up the curl and turns it into a feathered sweep.
Use a Flat Iron for a Sleeker Feather
A flat iron can also feather hair, especially shorter layers, curtain bangs, or bob-length pieces. Clamp the section lightly near the middle, glide downward, and rotate your wrist away from your face as you reach the ends. The motion should be smooth and subtle. If you twist too hard, the piece may flip dramatically outward like it is auditioning for a 1960s sitcom.
This technique is great for people who prefer a smoother, less bouncy look. It gives the front layers direction without adding too much volume.
Try Heatless Rollers for Soft Feathering
For a lower-heat option, use Velcro rollers or soft rollers on slightly damp or dry hair. Roll the front pieces away from your face, secure them, and leave them in while you do your makeup, drink coffee, answer messages, or stare into the fridge with purpose. When you remove the rollers, separate the pieces gently and set with a light spray.
Heatless feathering is especially helpful for fragile, color-treated, or frequently styled hair. It may not create the same instant polish as hot tools, but it can give lovely movement with less stress on the strands.
How to Feather Different Hair Types Around the Face
Fine Hair
Fine hair usually looks best with soft, strategic feathering rather than heavy texturizing. Ask your stylist to keep enough weight at the ends so your hair still appears full. When styling, use lightweight volumizing products and avoid heavy oils near the front. A round brush or hot brush can give fine face-framing layers a fuller look without needing too much product.
Thick Hair
Thick hair can handle more shaping, but the feathering should still blend. If too much weight is left in the front, the pieces may swing forward heavily instead of floating away from the face. A stylist can taper the ends so the layers move more easily. At home, smoothing cream and controlled heat styling can help the feathered shape stay sleek.
Wavy Hair
Wavy hair is a natural friend of feathering because it already has movement. The key is not over-styling it. Use a diffuser, air-dry cream, or a quick curling-iron touch-up on the front pieces. If your waves are inconsistent, style only the face-framing sections away from your face and let the rest stay relaxed.
Curly Hair
Curly hair needs feathering that respects curl pattern and shrinkage. Ask for dry-cutting or curl-aware layering if possible. Around the face, the shortest pieces should be chosen carefully because curls can spring up more than expected. Styling may involve finger-coiling the front curls away from the face, diffusing gently, or using clips at the roots for lift.
Short Hair and Bobs
Feathering short hair around the face can make a bob, lob, pixie, or shag feel softer. With shorter cuts, tiny changes matter. A slight taper near the jaw, cheekbone, or fringe area can add movement without changing the whole silhouette. Use a small round brush, flat iron, or styling paste to direct the front pieces outward.
Common Mistakes When Feathering Hair Around Your Face
Mistake 1: Cutting Too Much Too Fast
Face-framing layers are front and center, so small changes are very visible. If you are trimming at home, cut less than you think you need. Hair can always be shortened more, but unfortunately, there is no “undo” button hidden inside the bathroom cabinet.
Mistake 2: Using Too Much Product
Feathered hair should look light. Heavy creams, waxes, or strong gels can make the front pieces separate in a greasy way instead of an airy way. Start with a small amount of product and add more only if needed.
Mistake 3: Styling Toward the Face
To create classic feathering, direct the hair away from your face. Whether you use a brush, curling iron, flat iron, or roller, the motion should open outward. If your pieces keep falling forward, check your styling direction before blaming your haircut.
Mistake 4: Skipping Heat Protection
The front layers often get styled the most, which means they can become dry or fragile faster than the rest of the hair. Use heat protectant, avoid the highest heat setting unless truly necessary, and give your hair occasional heat-free days.
Maintenance Tips for Feathered Face-Framing Hair
Feathered layers look best when the ends are fresh. Plan trims every six to ten weeks, depending on your hair growth, length, and how polished you want the style to look. Short feathered bangs or curtain bangs may need more frequent shaping, while longer face-framing layers can grow out more softly.
At home, protect the shape by drying the front pieces first. Hair begins setting as it dries, so if your face-framing layers dry in a random direction, you will have to work harder later. Even if you air-dry the rest of your hair, spend one minute guiding the front pieces away from your face with your fingers, a brush, or clips.
Sleep habits also matter. If your front layers flatten overnight, try loosely clipping them back, using a silk or satin pillowcase, or refreshing them in the morning with a mist of water and a quick roller. The refresh does not have to be dramatic. Sometimes ten seconds of reshaping is enough to make the style look intentional again.
Real-Life Experience: What Feathering Hair Around Your Face Actually Feels Like
The first thing many people notice after getting feathered face-framing layers is that their hair suddenly looks “styled” even when they have done very little. That is the magic of strategic front pieces. You can put the rest of your hair in a ponytail, bun, claw clip, or loose braid, and the feathered sections still give the style softness. It is the hair equivalent of putting on earrings before leaving the house: small detail, big difference.
One common experience is the “morning learning curve.” The first few days after getting feathered layers, you may reach for your brush and wonder why the front pieces are doing interpretive dance. That is normal. New layers often need a little training. The easiest routine is to dampen the front sections, blow-dry them away from the face with a round brush, and let them cool in that direction. After a few tries, the movement becomes easier to recreate.
Another real-life lesson: feathered hair behaves differently in different weather. On dry days, the layers may look smooth and floaty. On humid days, they may puff, wave, or separate more. Instead of fighting the weather with half a can of hairspray, use a lightweight anti-frizz product and embrace a softer, more textured version of the look. Feathering does not have to be perfectly symmetrical to be pretty. In fact, a little natural movement often makes it look more modern.
People with bangs often find feathering especially helpful during the grow-out stage. Curtain bangs, side bangs, and long fringe can blend into face-framing layers instead of sitting awkwardly at one random length. If you have ever grown out bangs, you know there is usually a phase where they are too long to be bangs but too short to behave. Feathering gives that stage a plan, which is more than most of us have during major hair transitions.
For long hair, feathering around the face can make the entire cut feel lighter without sacrificing length. This is perfect for someone who wants a change but is not emotionally prepared to watch five inches fall to the salon floor. The front layers create movement in photos, soften ponytails, and help waves or curls look more dimensional. It is a low-commitment update with a surprisingly noticeable effect.
For short hair, feathering can make the difference between a cut that feels sharp and one that feels soft. A bob with slightly feathered front edges can look more relaxed and wearable. A pixie with feathered pieces around the forehead or temples can feel more playful. The key is control: short feathered pieces need careful shaping because there is less length to hide behind.
The best experience comes when the haircut and styling routine match your real life. If you hate spending time on your hair, ask for longer feathered layers that air-dry well. If you love a polished blowout, go for more defined face-framing pieces that respond beautifully to a brush. If you live in a humid climate, keep the layers blended and use flexible products. Feathered hair should make your routine easier, not turn your bathroom into a tiny salon-themed obstacle course.
Conclusion
Feathering hair around your face is a simple way to add movement, softness, and personality to your haircut. You can create the look with a salon cut, a round-brush blowout, or quick styling with a curling iron, flat iron, or rollers. The best method depends on your hair type, length, texture, and daily routine.
If you want the most natural result, start with well-blended face-framing layers. Then learn how to direct the front pieces away from your face using the right tool and a light touch. Keep the ends fresh, protect your hair from too much heat, and avoid weighing the layers down with heavy product.
Feathered hair does not need to look frozen in time or overly retro. Today’s version is soft, customizable, and easy to wear. Done well, it frames your face, upgrades simple hairstyles, and gives your hair movement without demanding a dramatic chop. In other words, it is a small change with main-character benefitsand thankfully, no wind machine required.